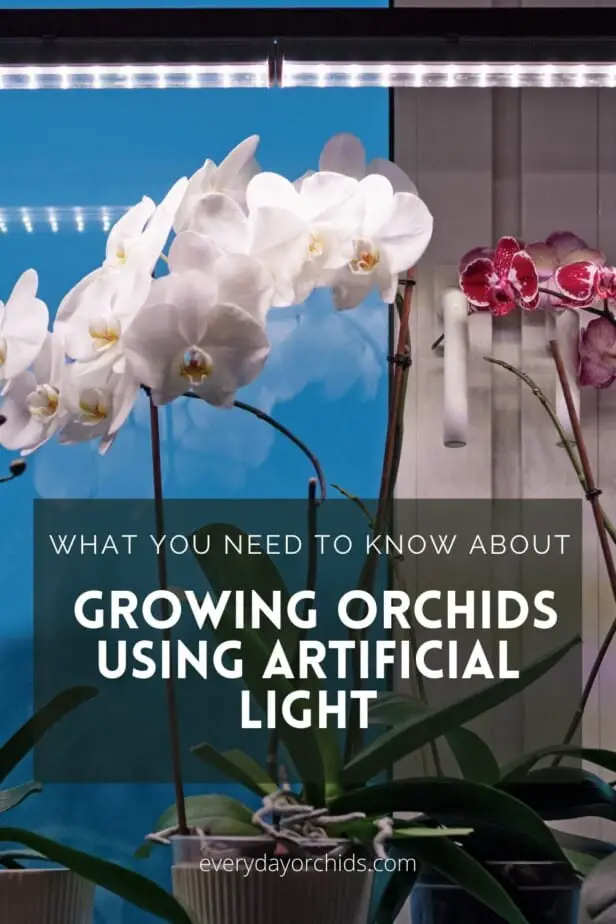
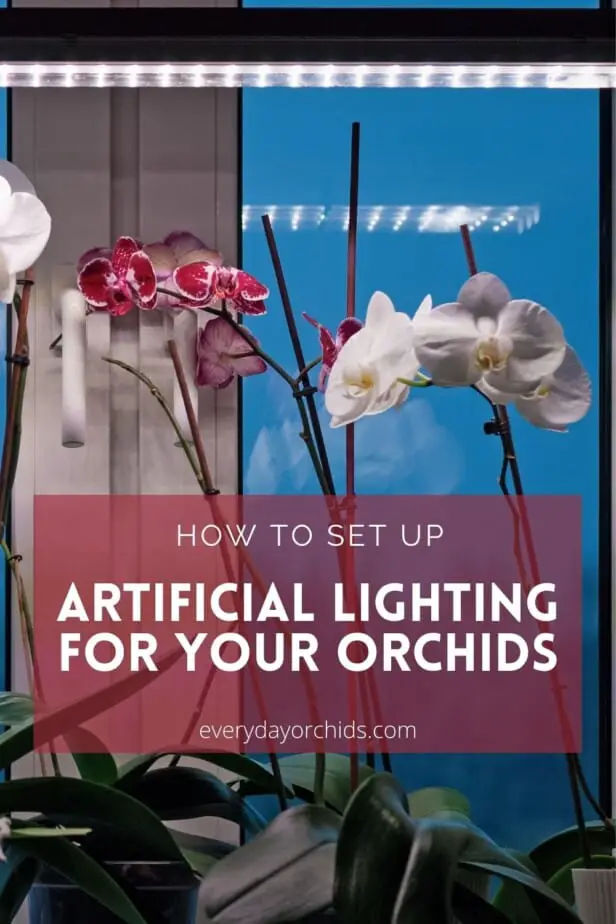
In the winter months, you will likely find that your orchids are not receiving enough hours of natural light. You will see this most readily in the orchid leaves. A dark green leaf color will indicate inadequate lighting. If not addressed, the orchid leaves will also grow longer and larger. In addition, the orchid may have difficulty reblooming.
Some orchid growers compensate for lack of natural lighting or decreased light availability by moving their orchids to different locations in their home. They do this to maximize the amount of light the orchids receive. In climates where there is warmer weather, it is also possible to move the orchids outdoors to receive more light.
However, what if you do not want to move your orchids around the house? What if outdoor temperatures have dropped, making it impossible to put your orchids outside? The answer is artificial lighting.
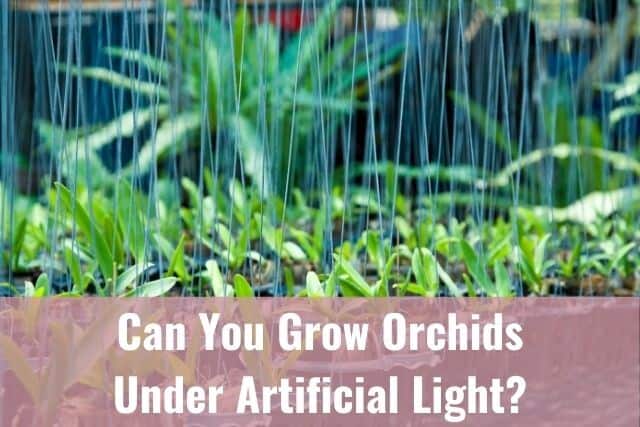
To improve your orchid’s lighting conditions, you can use artificial lighting. Place your orchid plants under a fluorescent, LED, or high-intensity discharge light to provide more light. Contrary to what you may initially believe, orchids can indeed be grown successfully under artificial lighting. This may be a good option if you do not have good natural lighting in your home. You can also use artificial lighting if it is winter and there are less hours of sunlight available for your orchids.
In this article, I’ll go over how you can use artificial lighting to supplement natural lighting for your plants. You’ll learn about the different types of artificial lighting available. Plus, I’ll talk about how to set up artificial lighting for your orchids. By the end of this article, you should have a solid foundation for setting up artificial lighting for your orchids.
Please note that these links are affiliate links and as an Amazon Associate, I earn from qualifying purchases. Purchases made through affiliate links in this post may generate commissions at no additional cost to you. Use this link for a discounted Amazon Prime trial. Thank you for your support!
Table of Contents
Why is Light So Important for Orchids?
Like any other plant, orchids rely on sunlight to perform photosynthesis. Using the energy they obtain from photosynthesis, orchids are able to grow new leaves, orchid spikes, and roots. With the energy they obtain from light, orchids can flower and produce keikis.
To do this, orchids require at least 12-14 hours of bright, indirect sunlight each day. Different species of orchids will may require more or less light than others. To learn more, read this guide about how much light your orchid might need.
Placing your orchids by the window or outdoors will generally provide it with enough light to perform its basic functions. Keep in mind that sufficient lighting is essential to getting an orchid to rebloom. If your orchid appears healthy and you are still having trouble getting your orchid to rebloom, the problem may be inadequate light.
First, take a look at the orchid leaves. Based on the color of the leaves, you can figure out if your orchid is getting enough light or not. Healthy orchid leaves will be a medium grassy green color. This color means your orchid is receiving adequate light.
The Light Spectrum and Orchids

The intensity of light, amount of light, and type of light all play a role in your orchid’s health. Remember the light spectrum that you might have learned about when you were a kid? The different wavelengths of light that an orchid is exposed to does matter.
Sunlight provides light in the green, yellow and orange wavelengths of the light spectrum. These wavelengths of light are certainly enough for plant growth and photosynthesis.
However, photosynthesis is most efficiently performed in the red and blue wavelengths of the light spectrum. This can be provided by a full-spectrum LED or fluorescent light. With all the wavelengths of light, your plants can get that extra boost they need to grow and rebloom.
If done correctly, artificial lighting can provide your orchids with the full spectrum of light. Your orchids will experience faster growth, produce more flowers and spikes, and bloom faster. With the right kind of lighting set up, your orchids will thrive.
What Kind of Artificial Lights Are Best for Orchids?

Artificial lighting is growing in popularity among orchid growers. This is a way to supplement their orchid’s lighting situation during the darker winter months. Some orchid growers even rely solely on artificial lighting to grow and care for their orchids. Professional orchid growers and suppliers also use artificial lighting in greenhouses to grow their orchids.
There are a variety of artificial light bulbs available on the market. You will want to use artificial lighting tailored for plant growth. You can use either fluorescent lighting or LED bulbs when setting up your orchid area. A third, but less well-known option, is high-intensity discharge lighting. I will talk more about each option below.
Please be aware that it is not recommended to use regular household incandescent light bulbs for your orchids for several reasons. Incandescent light bulbs are not energy efficient. They do not provide the full spectrum of light needed for plant growth. They also generate a lot of heat, which can damage and dry out your orchid plants. When choosing artificial lighting, choose one of the options below instead.
Fluorescent Lights
Fluorescent light bulbs are relatively cost-effective and easy to find. Many hardware stores will carry these bulbs in the lighting section. You might also find fluorescent lights specifically made for plants in the garden section.
Choosing the Right Fluorescent Light Bulbs for Your Orchids
When buying fluorescent light bulbs, make sure you choose full-spectrum fluorescent light bulbs, or ones marked as “grow lights.” Warm white lights and cool white lights emit longer wavelengths of yellow lights. This will promote stem growth, but not bloom production. Therefore, you want to make sure you are buying the right kind of lighting for your orchids.
Choose bulbs that are between 48 to 96 inches long and 40-75 watts respectively. These bulbs should last you anywhere from 18 to 24 months, based on 16 hours per day usage.
However, it is recommended that you replace these bulbs after one year. This is because the lights will start to dim over time, gradually decreasing the amount and quality of light reaching your orchids. When replacing your bulbs, replace one bulb at a time, spaced at least one week apart. This is in order to avoid shocking your orchids with the brighter light that comes with new bulbs.
How Many Fluorescent Bulbs to Buy
If you are looking to supplement poor natural lighting in your home with artificial lighting, start with two bulbs. If you are planning to grow your orchids solely under artificial lighting, you should invest in at least four bulbs.
For example, Phalaenopsis orchids do best with low lighting. For these orchids, you will want to use two to four 60 watt fluorescent light bulbs. Position these about 12 inches above your plants.
Positioning Your Orchids Under the Lights
The amount of light emitted from the fluorescent bulbs will be greatest towards the center of the bulb. This will decrease as you move towards the ends of the bulb. When positioning your orchids under the artificial lights, position them under the center of the light bulbs as much as possible for maximum light absorption.
LED Lights
LED lights have many benefits over fluorescent lighting. As a result, LED lights are growing in popularity as the artificial light of choice.
Benefits of LED Lights
LED lights have full light spectrum capabilities, making them a favorite of greenhouse farmers and growers. Although they are more expensive to buy, LED lights have several benefits. They generate less heat, last longer, and use less electricity. As a result, they cost less to run over time.
In addition, LED lights have cool-operating temperatures. They give off very little heat compared to high-intensity discharge lamps or fluorescent lights. This reduces the risk that your orchid leaves will sustain heat damage from the lights.
Also, LED lights are mercury-free. They do not need special disposal like fluorescent light bulbs.
Choosing an LED Light
If you have decided to go with LED lighting, make sure you choose an LED light that has full-spectrum light capabilities. As I mentioned earlier, the best photosynthesis occurs when plants are exposed to the red and blue peaks of the light spectrum. You want to ensure that your LED light has this.
A full-spectrum LED light will combine the best effects of sunlight with the red, blue, IR and UV wavelengths. The Sansi 15W Grow Light Bulb is one example of this. It mixes all the wavelengths of the light spectrum to provide your plant with the quality of light needed to thrive. It is also relatively inexpensive. You can also use the Sansi light bulb for hydroponics, if you are choosing to grow your orchids that way.
If you have many orchids and need a larger LED light that covers more space, I recommend the Spider Farmer SF-2000 LED Grow Light. This light covers a 2 feet by 4 feet area. You can fit multiple orchid plants underneath it. It provides the full spectrum of light and even includes a dimming knob so you can adjust the light intensity.
High-Intensity Discharge Lights
High-intensity discharge, or HID, lights are more expensive and use more electricity than other artificial lights. However, these lights can be a good option for orchids that require high-intensity bright light, such as Dendrobiums, Cattleyas or Oncidiums.
Choosing a High-Intensity Discharge Light
There are two types of high-intensity discharge lights: metal halide and high-pressure sodium lamps.
Metal halide lamps emit a natural blue light, which will encourage leaf growth and flowering in your orchids. An example of a metal halide lightbulb would be the iPower Metal Halide Grow Light, which covers the blue and violet light spectrums.
High-pressure sodium (HPS) lamps emit a orange-yellow light, which will encourage your orchids to grow taller. It will also encourage flowering in your orchids.
If you are starting from scratch, you can buy a HPS light kit, such as the Vivosun Hydroponic HPS Grow Light Kit. This includes everything you need to set up artificial lighting for your orchids, including a cooling reflector, the light bulbs, a rope hanger, and of course, the grow bulbs. It is fairly easy to set up. If you just need the bulbs, you can get something like the Vivosun 2-Pack HPS Grow Lightbulbs.
High-pressure sodium lamps are more energy efficient than the metal halide lamps. However, their orange-yellow light can distort the color of the orchids and their blooms. Some orchid growers may be bothered by this and not choose HID lights for this reason.
These high-intensity discharge lights come in different wattages, ranging from 250 watts to 1000 watts. The higher the wattage, the more intense the light and the hotter the bulbs will be.
Positioning Your Orchids Under HID Lights
High-intensity discharge lights can get hot! As a result, you will want to distance your orchids away from the lights according to the wattage used. Not positioning your orchids at the minimum recommended distance away can result in leaf and tissue damage from the heat. Your orchid might end up with dehydrated roots. There is also the risk of the orchid plant dying due to the heat exposure.
For a 250 watt HID lamp, your orchid plants should be 12 to 36 inches, or 1 to 3 feet, below or away from the lights. A 250 watt lamp will cover a growing area that is 5 feet by 5 feet.
When hanging a 400 watt light bulb, make sure your orchid plants are at least 3 to 5 feet below the lights. A 400 watt HID lamp will cover an area that is 8 by 8 feet.
When hanging a 1000 watt HID light, make sure your orchids are sitting at least 5 to 7 feet below the lights. A 1000 watt HID lamp will cover an area that is 12 by 12 feet. Generally the 1000 watt lights will be used in greenhouse or mass orchid growing situations, where this sort of distancing between the lights and the plants is possible.
How Long Should Artificial Lights Stay On?

While fluorescent lights are not as bright or intense as sunlight, they do offer orchids a steady amount of light for a longer duration. Artificial lighting also allows for more flexibility in where you grow your orchids.
In order to give your orchids enough light exposure, try to leave the artificial lights on for 14 to 16 hours each day. The length of time you leave your lights on will vary depending on the season.
In the winter months, you will want to leave the lights on for 14 to 15 hours per day. In spring and autumn, you can leave the lights on for 15 to 15 1/2 hours a day. During the summer months, you can leave the lights on for up to 16 hours a day.
You would still want to maintain a “day/night” cycle for your orchids. Investing in an automatic timer attached to the lights themselves will help you manage this easily.
Setting Up Artificial Lighting For Your Orchids
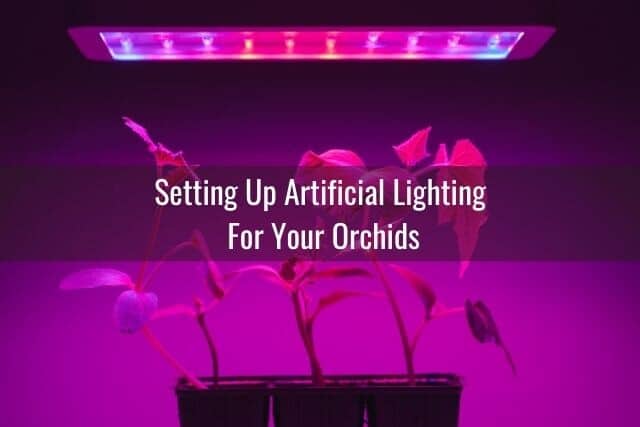
Setting up artificial lighting for your orchids can be rather straight forward. Choose a location in your home that is free of drafts. Make sure you have enough space to set up a table or shelving system to house your orchids and the artificial lights.
You can place your orchids on a table or wire shelving rack in a heated garage, sun room, or spare bedroom. A number of orchid growers set up their artificial lighting and orchid plants in their basement. This makes good use of a commonly neglected and forgotten space.
Next, position your table or wire shelving rack near an outlet that you can use to plug in your artificial lights. When setting up the lights above or around your orchids, closer is not necessarily better. Do not place the orchid pots too close to the light bulb. Doing so risks burning the leaves due to their close proximity to the heat source.
Instead, place your orchid plants at least 12 inches below or away from the lights. If you are using high-intensity discharge lamps, place the orchid plants even farther away from the lamp, as I outlined above. If you are able to hang your lights with adjustable chains or cables, even better. This would allow you to move your lights further away or closer to your orchid plants as needed.
What Kind of Light Bulbs Should You Use?
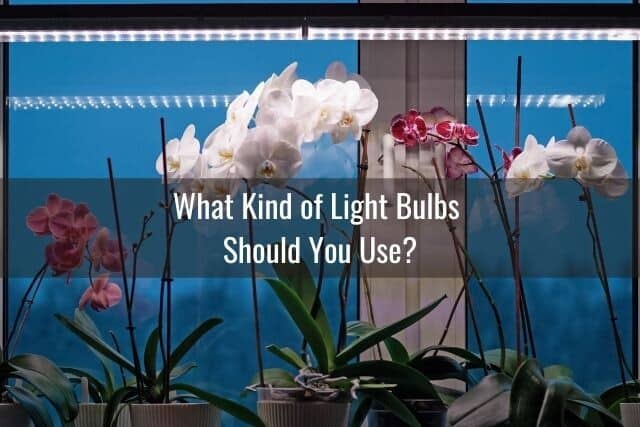
Most people, when setting up a “light garden” for their orchids, use LED bulbs or fluorescent light bulbs. You can hang a full-spectrum fluorescent light fixture such as the Durolux Fluorescent Light System over your orchid table.
If you do not want to hang the lights from your ceiling, you could purchase something like the iPower Grow Light Stand Rack. This is an adjustable stand-alone rack that features an LED light hanging from the top of the rack.
If you only have a few orchids, you can use a single clip-on light bulb. An example of this would be the Relassy Gooseneck Dual Head Grow Light. This light has a C-clamp mount to secure it to the side of the table or shelf. As you can see, there are many options for the design, size, and shape of the artificial lighting available.
Tiered Shelving Systems
If you prefer not to use a table and are looking for something ready-made, you can invest in a three-tiered light cart like the Sun-Lite Garden Grow-Lite System. This includes three fixtures, each with two 48 inch long fluorescent light bulbs, and three shelves, providing 15 feet of growing space. This system would be ideal if you have smaller orchids or are growing keiki orchids.
The benefit of a system such as this is the obvious space saving measures of the tiered design. You would be able to grow multiple orchids in your house without taking up too much space. However, the distance between the lights and the shelf trays of the aforementioned product is just over 14 inches. That makes this particular three-tiered cart impractical for taller orchids such as Dendrobiums.
Instead, you can get a two-tiered light cart such as the LED SunLite High-Intensity 2-Tier Garden. This has more room between shelves for taller orchids. As a bonus, the LED lighting provides more light than traditional fluorescent lights. More light would allow your orchids to grow more quickly.
Alternatively, you could create your own two or three-tiered light cart using a wire storage rack and light fixtures that you mount yourself. Obviously, this will take more work and some knowledge of how to set-up and hang a lighting system.
Key Points for Choosing a Tiered Shelving System for Orchids
When choosing your tiered storage rack, make sure you select one that is waterproof and will not rust. You will need a shelf or rack that has enough space between the shelves to accommodate your orchid plants and the lights. Don’t forget, you still need at least 12 inches from the top of the plants to the bottom of the lights.
This Amazon Basics 5-Shelf Heavy Duty Storage Rack might be a good option. The shelves are adjustable and no tools are needed to put it together. If you prefer wheels on your storage rack to make it easier to move your orchids around, try the Amazon Basics 5-Shelf Storage Unit on 4-inch Wheel Casters. That way, you will have some flexibility in terms of where you want to place your orchids–if one spot doesn’t work out, you can easily move it.
You will also want to ensure that you will be able to attach LED or fluorescent lighting to your rack. The shelves must be able to withstand the heat of the lights safely. Ideally, a rack with adjustable shelving will provide the greatest flexibility.
Other Things to Keep in Mind…
When creating your orchid growing area, you will want to also make sure your orchids are spaced slightly apart. This will allow for air circulation between plants. You can leave a window in the room cracked open to maintain air circulation. If this is not possible due to cold or inclement weather, you can also set up a fan to circulate the air, being sure to point the fan away from your orchid plants.
Humidity
Some orchid growers also place a humidity tray under the orchid pots. Others set up a humidifier nearby to maintain humidity during the drier winter months. Depending on what kind of light bulbs you use, the heat from the artificial lighting can cause the orchid potting media to dry up more quickly than you might expect. Be sure to monitor the potting media regularly. Water the orchids once you notice the potting media is dry and the pots feel light when you lift them up.
Water and Electricity
Remember that electronics and water do not mix. It goes without saying that you will have to be careful when watering your orchids. Make sure that the water can drain away from any electrical plugs or light devices that you have set up. You will also want to ensure that the humidity levels are not too high. High humidity levels may pose a threat to the electrical devices in the room. You can invest in a hygrometer to monitor the humidity levels.
Once your orchids start to grow tall orchid spikes and can no longer fit under the artificial lighting, you can move them out to be near a windowsill. Alternatively, if the weather has warmed up, the orchids can go outdoors. Ideally, by then, the orchids have harvested enough energy from the artificial lighting to develop a flower spike and is ready for blooming.
Final Thoughts
Many people use artificial lights to supplement natural lighting for their indoor orchids. Some choose to grow their orchids using only artificial lighting. Full-spectrum artificial lighting can help your orchids grow faster and produce more blooms and spikes.
Orchids can be successfully grown under artificial lighting. There is a wide array of options for setting up artificial lighting for orchids. Deciding between fluorescent lighting, LED lighting or high-intensity discharge lamps can be a matter of personal preference. There are pros and cons for each option, so choose the one that works best for you and your situation.
If you enjoyed this article, please pin it and share!
