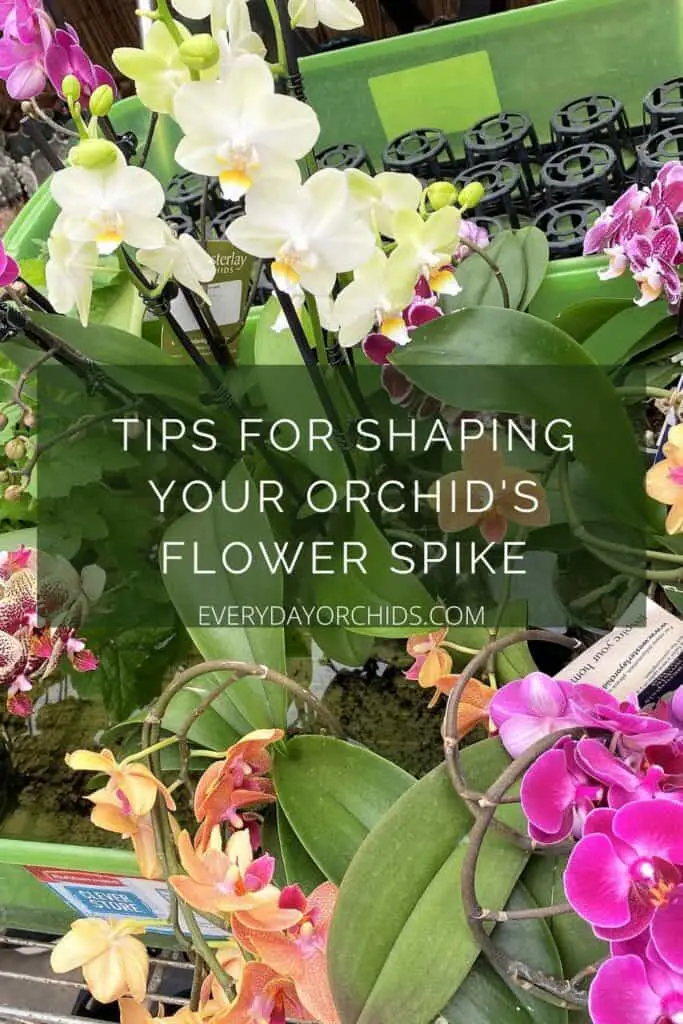
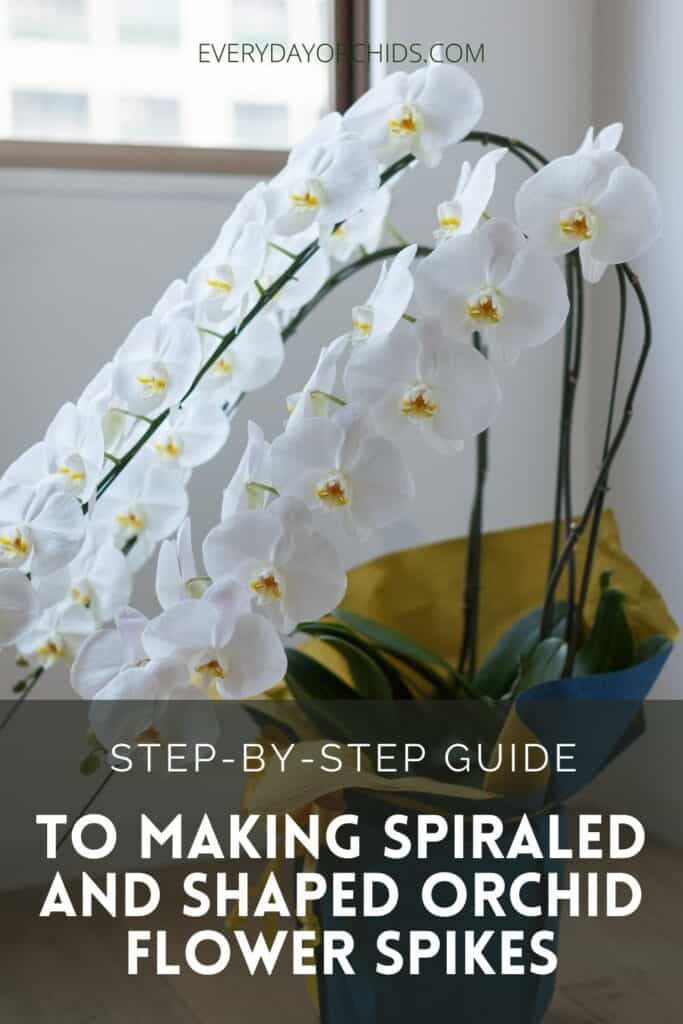
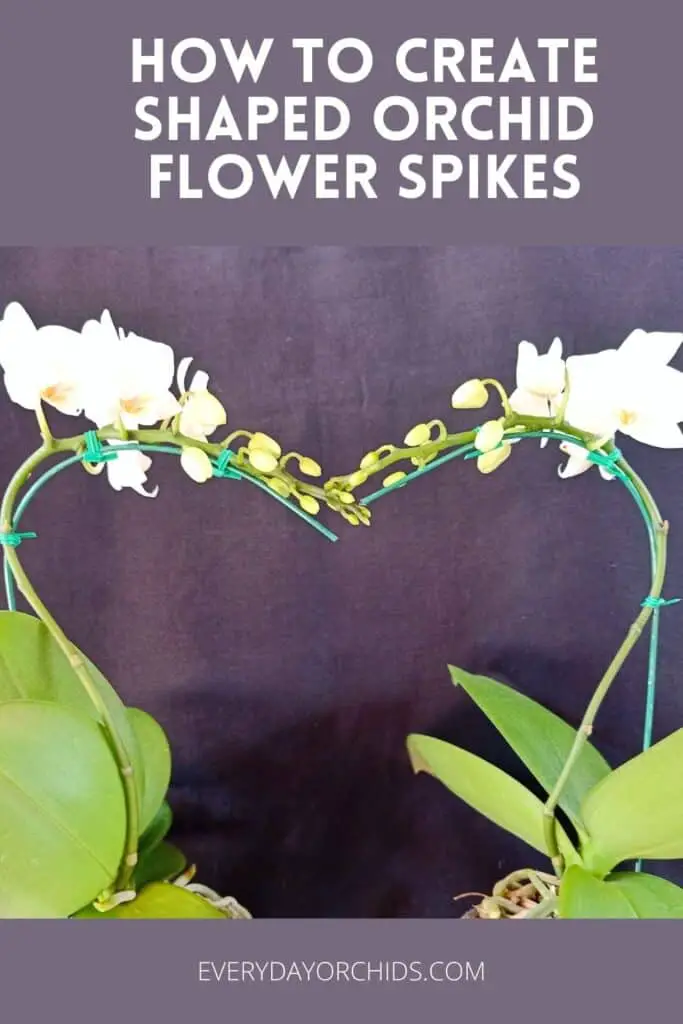
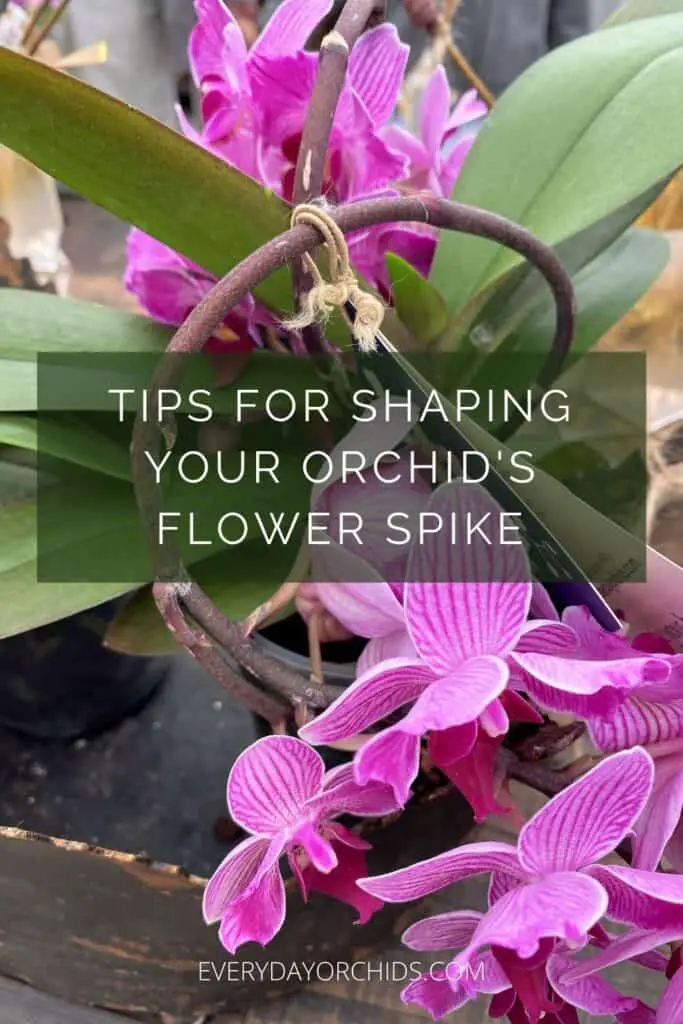
Did you know you can train an orchid flower spike into fun shapes and spirals? This is a design feature that you may see in a flower shop or orchid greenhouse. It has that wow factor and looks complicated, but it isn’t. With a few special tools, you can shape your orchid’s flower spike into a heart, circle, or spiral shape too.
In the orchid greenhouses and flower marts, experienced florists usually train the orchid flower spikes with budded flower spikes. These are long enough to work with but are still flexible. If you do this at home, you can do the same. Alternatively, you can start training the flower spike earlier on, before buds develop. Either way, just make sure you train the spike before it hardens off.
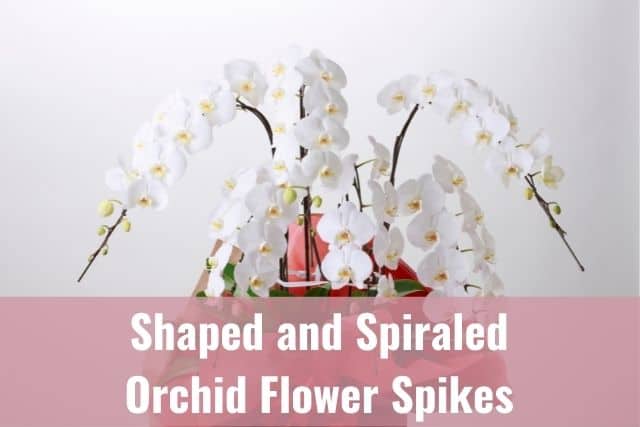
The first time I saw a Phalaenopsis orchid with a circular flower spike in bloom, I was blown away. It was gorgeous and created such a unique, eye-catching display. I didn’t realize that you can do so much more with your orchid flower spikes than just stake them to grow upright.
But believe it or not, there are tools out there to help you shape your orchid’s flower spikes into circles, hearts, spirals, and waterfalls. Yes, it may be a little gimmicky, but if you want to try something different with your orchids, this is something you can do. I’ll go over which supplies you’ll need as well as how to create these uniquely shaped orchid displays. Keep reading to learn more.
Please note that these links are affiliate links and as an Amazon Associate, I earn from qualifying purchases. Purchases made through affiliate links in this post may generate commissions at no additional cost to you. Use this link for a discounted Amazon Prime trial. Thank you for your support!
Table of Contents
How To Train An Orchid’s Flower Spike Into Different Shapes
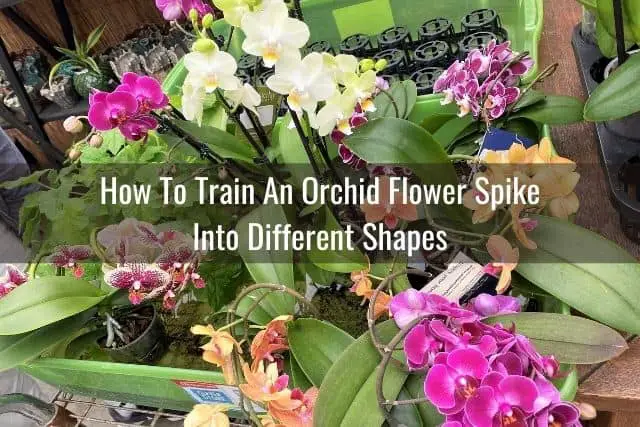
Training your orchid’s flower spike into a circle, spiral, waterfall, or heart is a fun way to shape your orchid flower spikes. It can add some interest and a wow-factor to your orchid collection, especially if you are looking for something different and new. I will say though, be careful when doing this, as you do run the risk of breaking the flower spike.
I say there is a risk for breaking the flower spike because you will be forcing the flower spike to bend and grow in an unnatural direction. The chances that it may snap or break are higher than if you were simply staking it for support. Because of that, this technique is better suited for experienced orchid growers.
When To Shape Your Orchid’s Flower Spike
You can start training your orchid’s flower spike to the trellis early on, when it is at least 6-inches long. I’ve talked extensively about how to train and stake an orchid’s flower spike on Everyday Orchids, so please check that out. The technique of securing the spike to the trellis is practically identical to the basic technique I’ve outlined elsewhere.
Another alternative is to train your orchid’s flower spike once it is longer and beginning to form buds. This will allow you to clip the flower spike to the trellis all at once, rather than doing it bit by bit, over a period of weeks, as it grows.
However, once the flower spike has started to form buds, there is a limited window of time to create the shape. This is because it is only a matter of time before the flower spike hardens off and is no longer flexible or trainable. Once it has started to harden off, you risk breaking or snapping the spike if you try to bend it into a shaped form.
So if you choose to wait, just be very careful. It is incredibly disappointing, to say the least, when a flower spike breaks off before you can enjoy the blooms.

How To Shape Your Orchid’s Flower Spike
To shape your orchid flower spike into a waterfall, circle, heart or spiral, you’ll need specialty curved wires or trellises in these shapes, as well as some clips or ties.
I will give you some suggestions and links to supplies in the next section below. However, if you have any of these items on hand at home, definitely use those first.
Also, I provide more shape-specific instructions in the “tools for shaping your orchid’s flower spike” section below. However, to start, here are some general instructions for how to create shaped and spiraled shaped orchid flower spikes:
- Once you have your shaped specialty trellis, insert this into the potting media close to the base of the orchid.
- Start attaching your orchid spike to the trellis, starting a few inches up from the bottom.
- Moving up, every few inches, secure the orchid flower spike to the specialty-shaped wire using twist-ties or clips.
- Continue doing this until you reach the top of the specialty wire or until you run out of flower spike.
In routine orchid staking, you’d normally stop securing clips to the spike an inch or two below the lowest bud. However, you won’t do that here.
Instead, you’ll continue using clips to the end of flower spike, between the buds, and attach it to the shaped trellis or wire support. This will ensure that the entire flower spike is trained into the desired shape or design.
When placing your clips along the top part of the flower spike, wait until buds are starting to develop. Then place a small twist tie or clip between buds to secure the flower spike in place.
Tools For Shaping Your Orchid’s Flower Spike
You will need the right tools for shaping the flower spike. Typically pre-made, shaped trellises are the easiest tool to use to guide your orchid’s flower spike as it grows. Here are some products you can use to train your orchid flower spike into unique shapes and designs.
Trellises
Waterfall arch. This is possibly the easiest design to do and a good place to start. You can use this arching support stake to guide your orchid blooms downward in a waterfall design.
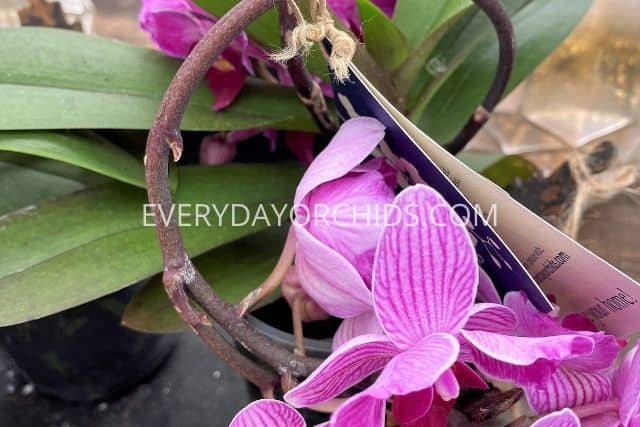
I have a waterfall arch hook that came with my orchid. It’s basically a tall wire stake that is bent downwards near the top, forming a J-hook that slopes downward. If you have a straight wire stake that is bendable, you can make your own.
To give your orchid blooms that waterfall design, secure the length of the flower spike to the stake. Each flower spike will need it’s own arched stake, so factor that in when you are buying or making these.
Heart-shaped trellis (2-pack) or a one-pack heart-shaped trellis. This works best if you have a double-stemmed orchid. You can train each flower spike to arch up and then down to meet in the middle. Each spike makes up one-half of the heart shape, if you can picture it.
Circular trellis (2-pack). Admittedly, this will also probably work best if you have a double-stemmed orchid, but you can try it with a single orchid flower spike. Simply train one or two flower spikes up along the base of the circle, moving up and around the top. Two flower spikes, one from each side, will give a fuller look and better cover the wire, but you can also make do with one flower spike.
Small spiral, circular, and hexagon trellis (3-pack). If you have multiple orchids and want to give this a try, this is a good option for a variety of different shapes. These are small metal trellises. Train your orchid’s flower spikes along one of these trellises as it grows. I would do one shape per orchid just so it doesn’t look too busy in the pot, but that’s just me.
Clips And Ties
- Dark green orchid clips. This is a pack of 100 clips. They look like mini-jaw clips and they are great for securing the orchid’s flower spike to the trellis or stake without digging into the spike itself.
- Multi-color dragonfly, butterfly and ladybug clips. These colorful clips will help secure your orchid flower spike to the trellis or stake. It also adds interest and color to your not-yet blooming orchid.
- Flexible plant wire. This is a 12-feet long green-coated wire that you would cut to size to create smaller wire ties. Since this is 12-feet long, it will last you quite a while and can be used if you have multiple orchids.
- Twist ties. If you want to use something that will blend in better, these green twist ties come in a pack of 100 and will help secure your orchid’s flower spike to the trellis or stake. If they are too long, you can cut them down to size.
I actually have used all of these different types of clips and ties at one time or another. I’ve found that they all work equally well. It’s just a matter of preference, price, and whether you want the clips to blend in more discretely or be a part of the display.
All of these products can be used again and again, unless, of course, they break. So be sure to save them after the flowers fall off and when the blooming season is over. Just clean them well and store them away. You’ll be able to use them again the next year when your orchids bloom again!
Final Thoughts
Shaping your orchid’s flower spike is a fun way to create unique and eye-catching flower displays. People will be amazed and ask how your orchid managed to grow like that.
It does take time, patience and a gentle hand, so this is best attempted by more experienced orchid growers. You can either start training the orchid flower spike early on when it is at least 6-inches long, or wait until it is fully formed, with closed buds. Either way, you will need to do this before the flower spike hardens off. Thank you for reading Everyday Orchids, and as always, happy orchid growing!
If you enjoyed this article, please pin it and share!
