
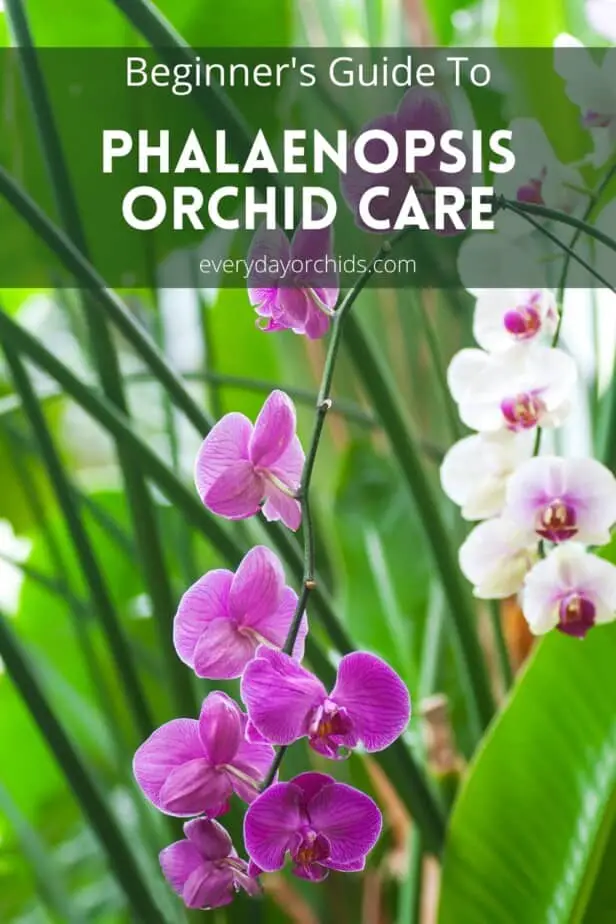
If you aren’t familiar with orchid care, you may be at a loss with regards to how to care for your new Phalaenopsis orchid. Don’t worry. In this article, I’ll outline the basic things you need to know in order to care for your Phalaenopsis orchid.
I will admit that caring for an orchid, any orchid, will be fairly different than caring for other houseplants. After all, orchid roots, potting media, watering habits and care needs are unlike the care needs for say, your English ivy plant. But once you know what to do, caring for a Phalaenopsis orchid is not that hard.
Phalaenopsis orchids have some basic care needs that are unique to their species, but are also one of the easiest orchids to grow. In short, Phalaenopsis orchids prefer low light and humidity levels around 50%. For the most part, you can water these orchids once a week and fertilize regularly with an orchid-specific fertilizer. Use medium-grade orchid potting media to pot your Phalaenopsis orchid.
Those are the basics, but I’ll go into more detail about each care topic below. Keep reading to learn more about Phalaenopsis orchid care!
Please note that these links are affiliate links and as an Amazon Associate, I earn from qualifying purchases. Purchases made through affiliate links in this post may generate commissions at no additional cost to you. Use this link for a discounted Amazon Prime trial. Thank you for your support!
Table of Contents
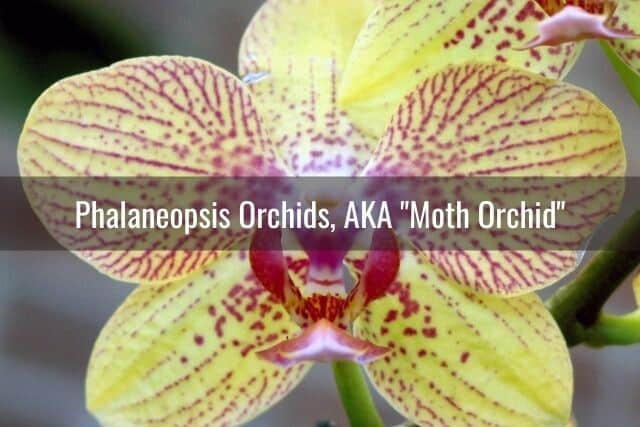
Phalaneopsis Orchids, AKA “Moth Orchid”
Phalaenopsis orchids are sold practically everywhere. You can find these orchids at nearly every grocery store, garden center, and flower shop.
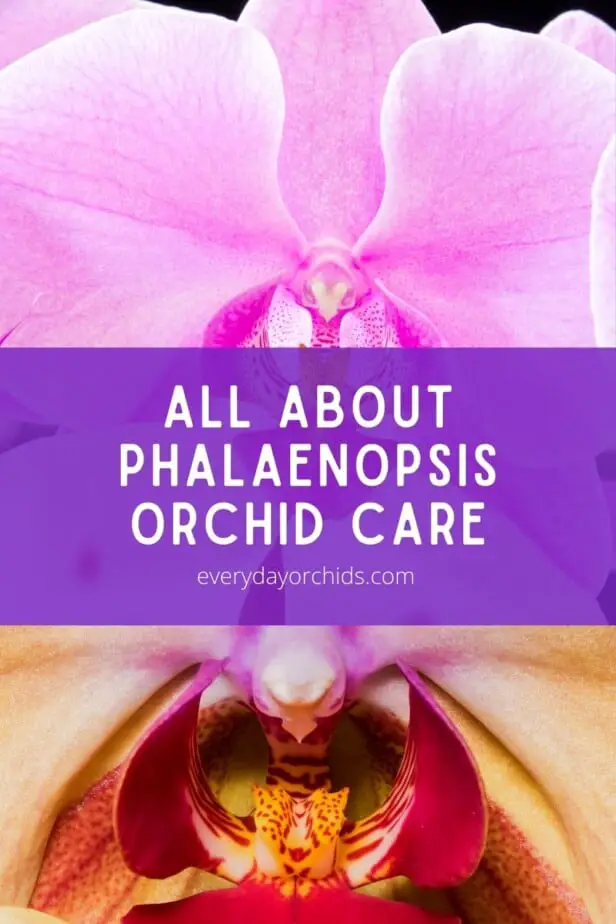
In fact, Phalaenopsis orchids account for about 75% of all orchid sales in the United States. Phalaenopsis orchids are one of the most popular orchids out there and are what most of us picture when we think of orchids.
These orchids are popular gifts, in part due to their long-lasting flowers. When compared to cut flower arrangements sold at the flower shop, Phalaenopsis orchids are relatively inexpensive. You can easily find a potted Phalaenopsis orchid for under $20 and feel good about giving it as a gift. It just looks luxurious and beautiful.
You will often see these orchids sitting in the entryway of a new business, by the bed of a sick patient in the hospital, or used in weddings, funerals and other significant events like Lunar New Year. Like I said, these orchids can be found everywhere!
Phalaenopsis orchids are also sometimes referred to as “moth orchids.” This nickname dates way back to the 1700s, when a naturalist named Peter Osbeck gave them this name. Supposedly, he mistook a cluster of Phalaenopsis orchids in a field for a group of moths, and the nickname stuck.
I guess if you squint and look at Phalaenopsis flowers from afar, they could look like moths. I don’t see it, but this is why sometimes you will hear Phalaenopsis orchids referred to as “moth orchids.”
Most beginner orchid growers will start off with a Phalaenopsis orchid, then gradually expand their collection to include either more Phalaenopsis orchids or other species, or both. This is what happened to me. I started off with my first Phalaenopsis orchid in college and that started my love for these flowers. To this day, Phalaenopsis orchids still make up the majority of my orchid collection.
Now, without further ado, let’s get into the nuts and bolts of Phalaenopsis orchid care.
Watering Your Phalaenopsis Orchid
Watering orchids, no matter what the species is, is probably the trickiest thing to master when it comes to orchid care. However, it is also arguably the most important aspect of orchid care.
Many orchids have died and been lost due to improper watering techniques. Overwatering your Phalaenopsis orchid can lead to root rot, faster decay of potting media, and a host of other problems, including fungus gnats, mold, and disease. Underwatering your orchid can lead to dried, shriveled roots, limp orchid leaves, and early flower loss. Getting water in the orchid’s crown can lead to crown rot. The list goes on.
Check The Potting Media First
The best thing you can do for your Phalaenopsis orchid is to check the potting media before you water. This means to actually put your finger in the potting media and check to see if it is still damp.
Don’t just touch the surface of the potting media, but actually stick your finger in the potting media down by the roots. Check the top 2-inches worth of potting media.
If the potting media dry, go ahead and water your orchid. If the potting media is still damp, wait another day or two and check again before watering.
How Often To Water Your Phalaenopsis Orchid
The frequency of watering will vary based on the weather and season. In the spring and summer, when the weather is either becoming warmer or is just plain hot, your Phalaenopsis orchid will likely need weekly or maybe even twice a week waterings. In the fall and winter, you can get away with watering your orchid less often, about every 10 days or so.
Again, the best thing to do is to check the potting media before you water. The longer you care for your Phalaenopsis orchid, the easier it will be to tell when it needs water and when it doesn’t.
How to Water Your Orchid: Technique
In general, I find that the soaking method works best for watering orchids of all kinds, not just Phalaenopsis orchids. Try to water your Phalaenopsis orchid in the morning. This will give the potting media a chance to drain out any excess water before nightfall.
Use lukewarm, room-temperature water when watering your orchid. Be careful not to get the leaves or orchid crown wet. If water gets in these areas, just use a napkin or paper towel to dry it off.
I wrote a detailed guide on how to water your orchid, so please check out that resource to learn more. There, I go into more detail about when and how often to water your orchid, the different watering techniques you can use, and how to water your orchid in different seasons and scenarios.
Humidity Requirements for Phalaenopsis Orchids
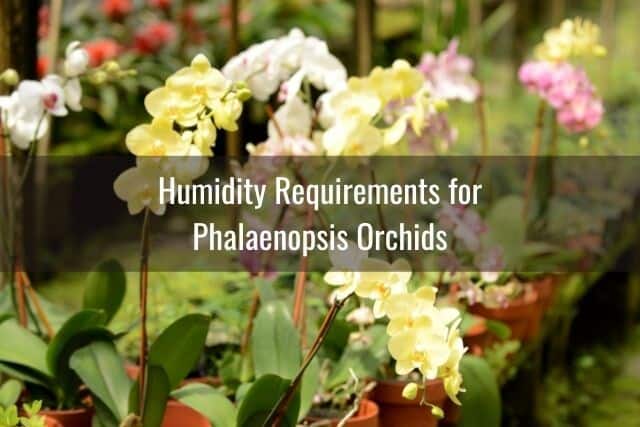
Watering your orchids regularly is key, but maintaining the right humidity levels in your home is also important if you want your orchids to really grow and thrive.
Phalaenopsis orchids prefer humidity levels around 50%. Each time the stomata in the orchid leaves open to take in carbon dioxide and release oxygen, they lose a little bit of moisture. Maintaining proper humidity levels around your orchids will help keep them from drying out and losing too much water through their leaves.
You can use a hygrometer to measure the humidity levels around your orchids. I use this hygrometer by ThermoPro and it allows me to track both humidity and temperature levels around my orchids throughout the day.
Now, most homes have humidity levels between 30-50%. That may drop even lower in the fall and winter, when space heaters and central heating comes into play.
If you find that your home’s humidity levels are too low, you may need to add a humidifier near your Phalaenopsis orchid to give it a little extra humidity. If you need to add humidity to your orchid growing area, check out this article with some suggestions on how you can increase humidity around your orchids.
Fertilizing Your Phalaenopsis Orchid
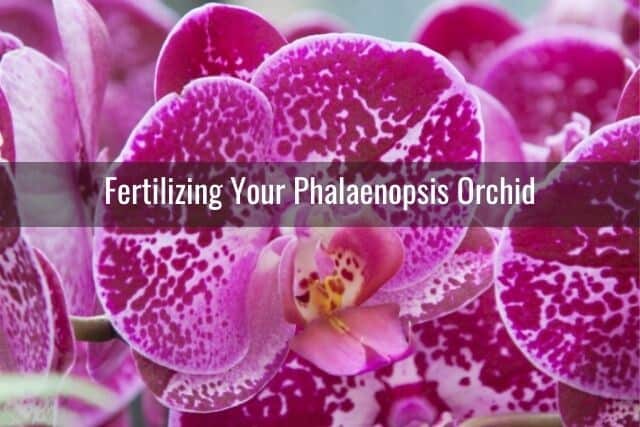
Just like how we need extra nutrients from time to time (think vitamins and supplements), orchids also need extra food in the form of fertilizer. When you are buying a fertilizer for your Phalaenopsis orchid, be sure you choose an orchid-specific fertilizer. Some good orchid fertilizers are rePotme’s orchid food, Sun Bulb’s Better Gro orchid fertilizer, and Grow More’s combination orchid fertilizer.
Miracle Gro’s orchid fertilizer is also very popular. I myself have used this for my Phalaenopsis orchids. Some people don’t like it because it contains urea, but I have not found that to be a big issue.
You can read more about the pros and cons of using Miracle Gro on your orchids if you are interested. The good thing about Miracle Gro is that most places sell it. So, if that is all you can find for your orchid, just use that.
The only thing to keep in mind is, make sure it is an orchid-specific Miracle Gro fertilizer. Don’t use the generic Miracle Gro that is for any type of plant. This all-purpose version will not work for your orchid.
Different Types of Orchid Fertilizer
You will notice that Grow More’s combo orchid fertilizer actually comes with two different kinds of orchid fertilizer. This is because during the growth season, you will want to use an orchid fertilizer that has more nitrogen. This will help your Phalaenopsis orchid grow more roots and leaves.
During the fall, you will want to switch to a bloom booster orchid fertilizer. This typically has a higher concentration of phosphorus. More phosphorus will help your orchid produce flower spikes and bigger, more plentiful blooms.
Check out this resource on orchid care in the fall to learn more about fall-specific watering and fertilization care for your orchid.
How Often to Fertilize Your Phalaenopsis Orchid
During the growth season in spring, you can choose to fertilize your orchid “weekly, weakly.” This means, prepare your orchid fertilizer according to the product label directions, then dilute it even further with more water.
You want to end up with a quarter-strength orchid fertilizer. To get this, mix one part prepared orchid fertilizer with three parts water. Use this diluted, weak orchid fertilizer to feed your orchids each week.
One of the main reasons why you want to use diluted orchid fertilizer is that orchids prefer weak fertilizer. Not diluting the fertilizer can cause root burn and damage the delicate velamen on the orchid roots.
Keep in mind that since the orchid fertilizer is already mixed in water, you will be watering and fertilizing your orchid at the same time. You do not need to fertilize your orchids, then follow-up with watering. This would be too much water for the orchid.
Every fourth week or so, skip fertilizing your orchids and just water them with plain water. This will help wash away any residual fertilizer salts that may be sitting in the potting media or orchid roots.
During fall and winter, you can fertilize your orchids every other week or just once a month. As the weather becomes cooler, the orchids will transition into a dormant state and will need less watering and less food. Check out this guide about winter orchid care to learn more.
I have written extensively on how to fertilize your orchids elsewhere on my site, so please see that resource for more information. You can also learn about how to make homemade orchid fertilizer or use Epsom salts to boost your orchid’s nutrition.
Temperature Tolerance Levels of Phalaenopsis Orchids
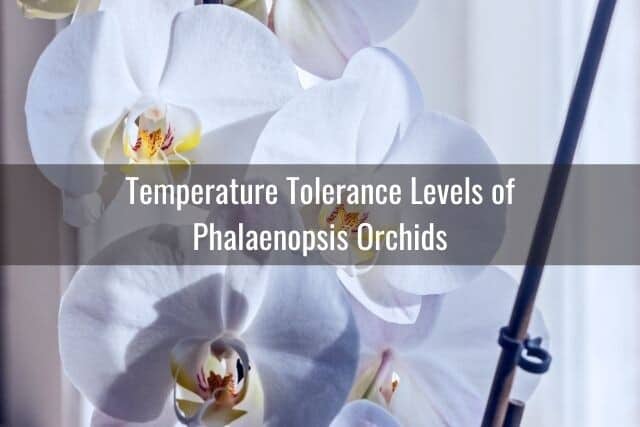
In terms of temperature requirements, Phalaenopsis orchids will do well in most households. Phalaenopsis orchids have a temperature tolerance range between 60 to 85 degrees Fahrenheit. This is, coincidentally, the temperature range inside most homes. This makes it even easier to care for these orchids.
Avoid exposing your Phalaenopsis orchid to temperatures below 60 degrees Fahrenheit. Exposure to low temperature can stress the plant and make it more vulnerable to pests and disease.
If you keep your orchids outdoors during the summer, fall is a good time to start transitioning your orchids indoors.
Location, Location, Location
When finding a place for your orchid in your home, try to avoid placing it near a drafty vent or window. Keep in mind that if an orchid is next to a window, even if the window is closed, the orchid may be exposed to wider ranges in temperature.
For example, in the afternoon, the hot afternoon light coming in through the window can heat up the orchid. It can also cause sun damage and leaf burn. In the winter, cold injuries could occur if an orchid leaf is accidentally left touching the glass.
To prevent these problems from occurring, position your orchid so that it is not touching the window glass. Have a thin curtain available to cover the window in the afternoons to try to filter the intense light and minimize the heat.
Lighting Requirements for Phalaenopsis Orchids
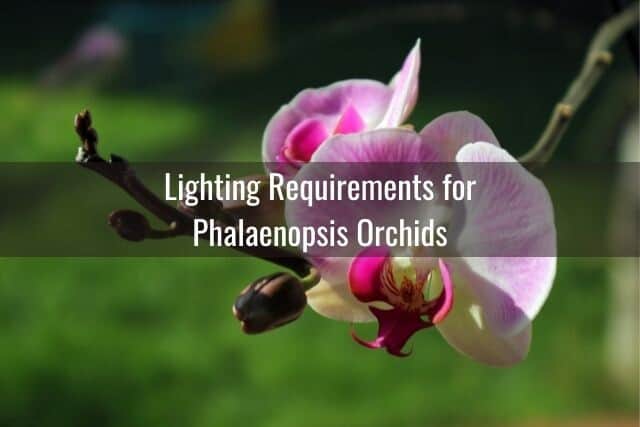
Phalaenopsis orchids are low light orchids, making them easily adaptable to most settings and locations. These orchids will do best near an east-facing window.
If you don’t have that, then a south or west-facing window will also work. Just know that these windows get the bulk of the hot afternoon sunlight. You will need to use a thin curtain to block out some of the intense rays during the afternoon so your orchid’s leaves don’t burn.
If you aren’t sure what kind of lighting your room has, check out this guide about orchids and light. There, I provide more information about how you can figure out what kind of light you have. Based on the orchid’s leaf color, you can tell if your orchid is getting enough light or not.
How Many Hours of Light Does a Phalaenopsis Orchid Need?
In general, orchids need about 12-14 hours of light each day. Like other plants, orchids need adequate sunlight in order to harvest energy and perform their basic functions. An orchid that is not getting enough light will communicate this with stunted, slow growth and minimal or no flowering.
In fact, inadequate lighting is one of the big reasons why an orchid doesn’t rebloom. If your Phalaenopsis orchid is not blooming, here is a guide on how to get your orchid to rebloom.
If lighting is an issue, you’ll definitely want to add more light to your growing area. You may need to do this by adding artificial lighting to your orchid growing area.
There is a wide variety and selection of lights you can choose from, and it may feel overwhelming. Here is a guide on how to set up artificial lighting for your orchids. It includes information about the different types of lights available.
Many experienced orchid growers use artificial lighting for their orchids. Some may even argue that artificial lighting is even better for orchids because it provides the full spectrum of light, allowing orchids to grow and bloom more profusely.
Even if you don’t plan to use artificial lights year-round, you may want to add artificial lighting for the darker winter months. This will help ensure that your Phalaenopsis orchid gets enough quality light each day in order to continue growing and blooming.
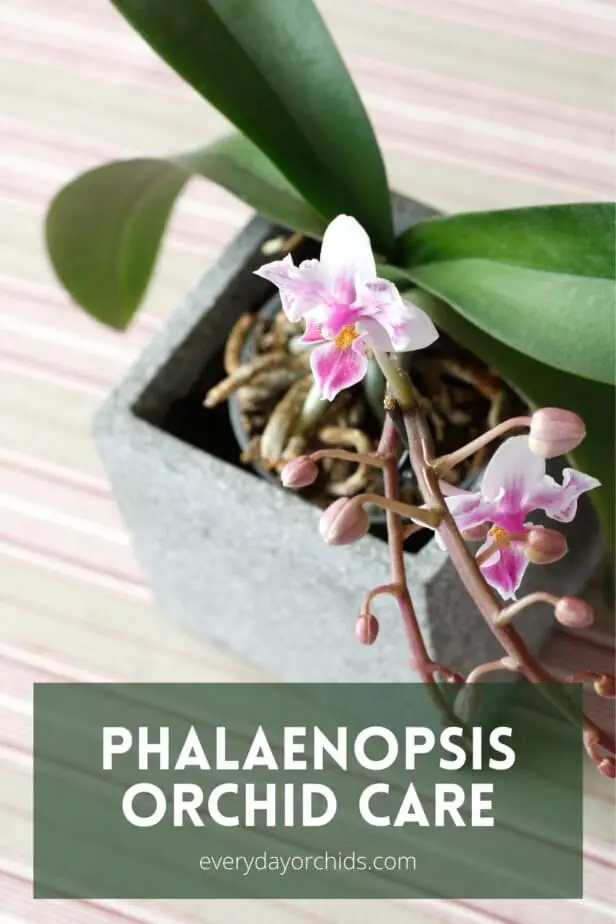
Potting and Repotting Your Phalaenopsis Orchid
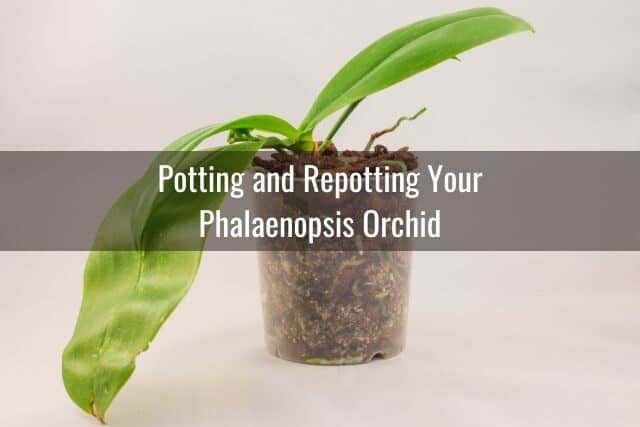
Phalaenopsis orchids are epiphytes, which means that in their natural habitat, their orchid roots are attached to trees. These orchids are not normally potted in soil.
Since their roots are attached to tree trunks or branches, that also means they have lots of exposure to air and do not stay wet for prolonged periods of time. Keep this in mind as you are deciding what kind of potting media you want to use for your orchid.
What Kind of Orchid Potting Mix Should You Buy?
Orchid potting mix is unlike regular potting soil, so you want to be sure you want to get the right potting mix. Your orchid’s roots need to breathe! Before you go out and start shopping, read this guide to orchid potting mix to learn more about what to look for in an orchid potting mix.
Orchid potting media usually looks like bark chips mixed with perlite, charcoal, or other items. This special potting media is specially designed to allow for airflow around the orchid roots and easy drainage of water.
I have personally used Sun Bulb Phalaenopsis orchid growing mix with good results. I feel that this is a good mix of fir bark pieces, charcoal and perlite for my Phalaenopsis orchids.
This orchid potting mix by Perfect Plants also gets great reviews. It uses pine bark, sponge rock, charcoal, and coconut chips to provide drainage and aeration for Phalaenopsis orchids.
Before you repot your Phalaenopsis orchid, be sure you also learn how to repot your orchid and how to choose an orchid pot.
Sphagnum Moss and Orchids
Sometimes, store-bought Phalaenopsis orchids come potted in a ball of sphagnum moss. I would not recommend potting your orchid in sphagnum moss for several reasons. Moss is highly water retentive. Prolonged exposure to moisture can lead to root rot.
Then, as the moss starts to dry up, it will try to absorb water from any nearby available source. This water source will, unfortunately, be your orchid roots. This will cause the roots to dry up and can lead to dried, shriveled orchid roots.
Moss makes it hard to figure out when to water your orchid. This is because the outer layers of moss will dry up first, but moss on the inner core will remain wet.
If you are gifted a Phalaneopsis orchid that is potted solely in moss, I would recommend repotting it into orchid potting media as soon as the orchid is done blooming. Try to avoid repotting your orchid while it is still blooming because repotting may cause the flowers to fall off early.
Note: there are times when you may want to use moss to pot your orchid. This may be when you are trying to save an orchid without roots or when you are using moss to propagate new orchids. In these instances, using moss is fine! You can also use moss as a decorative accent in your orchid terrarium or along the tops of your orchid pots.
How Often to Repot Your Orchid
Curious about when the right time is to repot your orchid? Wait until after the orchid has finished blooming and is in its growth phase. This is the best time to repot.
In addition, most Phalaenopsis orchids will need to be repotted every one to two years. At about the two year mark, the orchid potting media has degraded and broken down enough to need replacing. When repotting your orchid, make sure you use orchid-specific potting media, as mentioned above.
Flowering and Blooming in Phalaenopsis Orchids
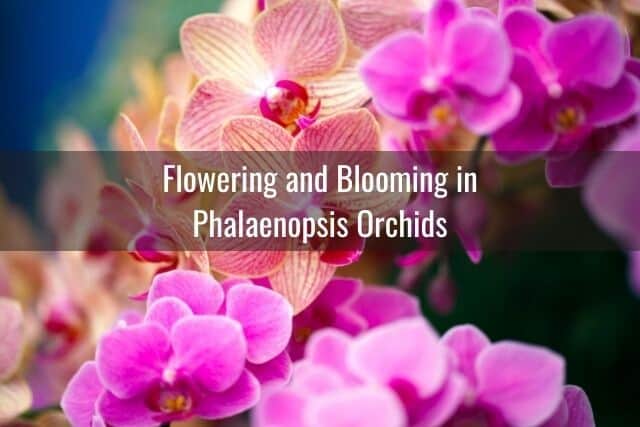
One of the best things about having a Phalaenopsis orchid is that when it blooms, those flowers last for a looong time. In fact, Phalaenopsis blooms can last up to 12 or 13 weeks each blooming season. That means, with the right care, you can get your orchid to bloom and rebloom and enjoy those flowers for weeks on end.
Here are some ways you can get your orchid to bloom: provide lots of light each day (see the section about lighting above), fertilize regularly and use a bloom booster fertilizer in the fall.
In addition, you can try exposing your orchid to day/night temperature differences of about 20 degrees Fahrenheit. This will trigger the growth of a flower spike.
For example, if daytime highs were 85 degrees Fahrenheit, expose your orchid to nighttime lows of 65 degrees over multiple days. In the past, I have managed to do this just by leaving my orchids outdoors (day and night) in the fall. I have been rewarded by multiple flower spikes on each orchid by doing this.
Propagating Phalaenopsis Orchids
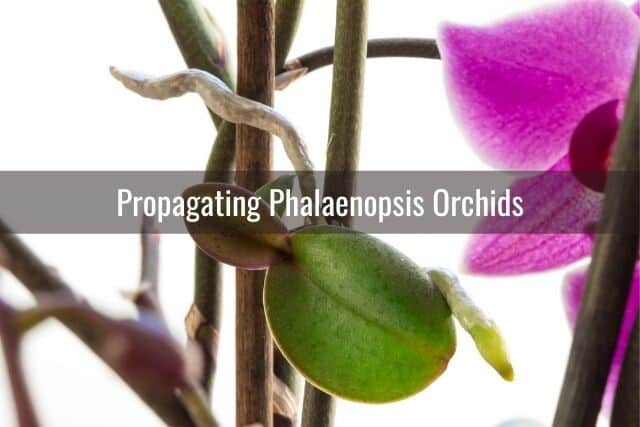
Phalaenopsis orchids can be propagated easily. Sometimes, keiki orchids, or baby orchids, will spontaneously grow from an orchid node on a flower spike.
If you find this happening on your orchid, read this guide on how to care for keiki orchids. You will need to wait until the keiki roots are at least two-inches long and the keiki has grown at least two or three leaves before you attempt to remove it from the mother plant.
You can also take steps to propagate new orchids on your Phalaenopsis orchid yourself. I outline several ways you can propagate orchids in another article, so be sure to read that if this is something you are interested in doing.
Dealing with Pests and Diseases
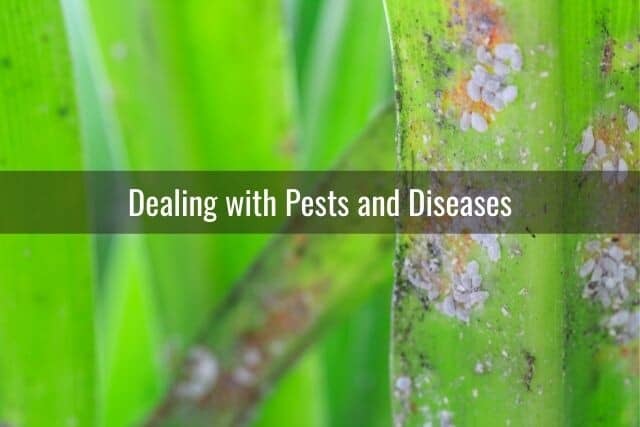
Orchid pests and diseases are a concern for any grower, new or experienced. A good practice to get into is to regularly inspect your orchid. If you can do this daily, great.
The more often you can look over your orchid leaves, roots and potting media, the earlier you will be able to spot problems. It is easiest to deal with pests or disease when you can catch it early on and nip it in the bud.
There are many different types of pests that can attack Phalaenopsis orchids. Likewise, these orchids can succumb to a wide variety of infections and diseases. Rather than go over each one individually, let me point you to some links that you can go to for more information:
- How to Treat Mold and Fungus on Orchids
- How to Get Rid of Orchid Pests
- Top Problems Growing Orchids (includes information about common diseases and infections)
- How to Get Rid of Fungus Gnats (this is a common problem if the potting media is too wet or rotting)
- How to Treat Brown Spots and Brown Rot on Orchid Leaves (two common fungal infections)
- Getting Rid of Mealybugs
Final Thoughts
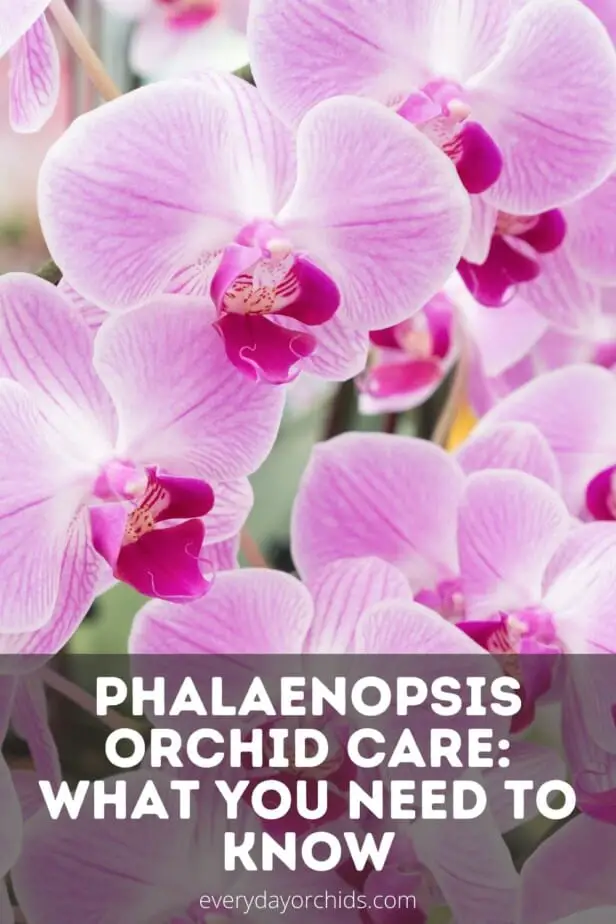
Phalaenopsis orchids are the most popular orchid available in the United States and for good reason. These orchids are elegant, beautiful and can flower for weeks on end. Once you understand what your orchid needs and how to take care of it, Phalaenopsis orchids are actually fairly low-maintenance.
Many people have Phalaenopsis orchids, but may be unfamiliar with the nuances of orchid care. In this article, I’ve covered the basics of watering, lighting, fertilization, temperature, potting, and more with regards to these orchids. Hopefully this in-depth guide to Phalaenopsis care has been helpful to you and you feel more comfortable caring for your orchid.
As always, happy orchid growing! Thank you for reading.
If you enjoyed this article, please pin it and share!
Recent Posts
Fusarium wilt in orchids is, unfortunately, a problem that you may encounter at one point or another. It is caused by the Fusarium pathogen and this kind of infection can be hard to identify at...
When it comes to choosing an orchid potting mix and knowing what kind of orchid soil is best, the decision can feel daunting. After all, there is a huge variety of options out there, from orchid bark...
