
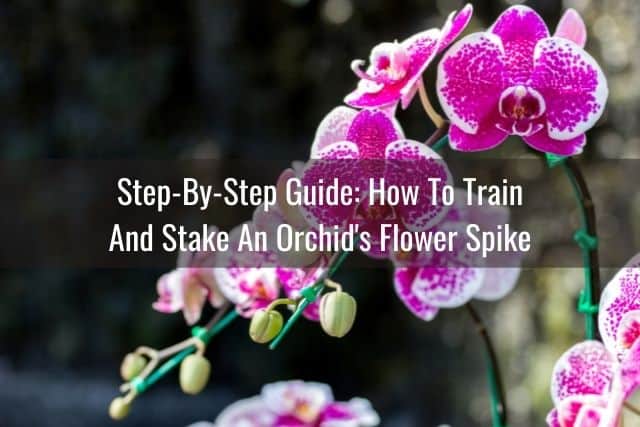
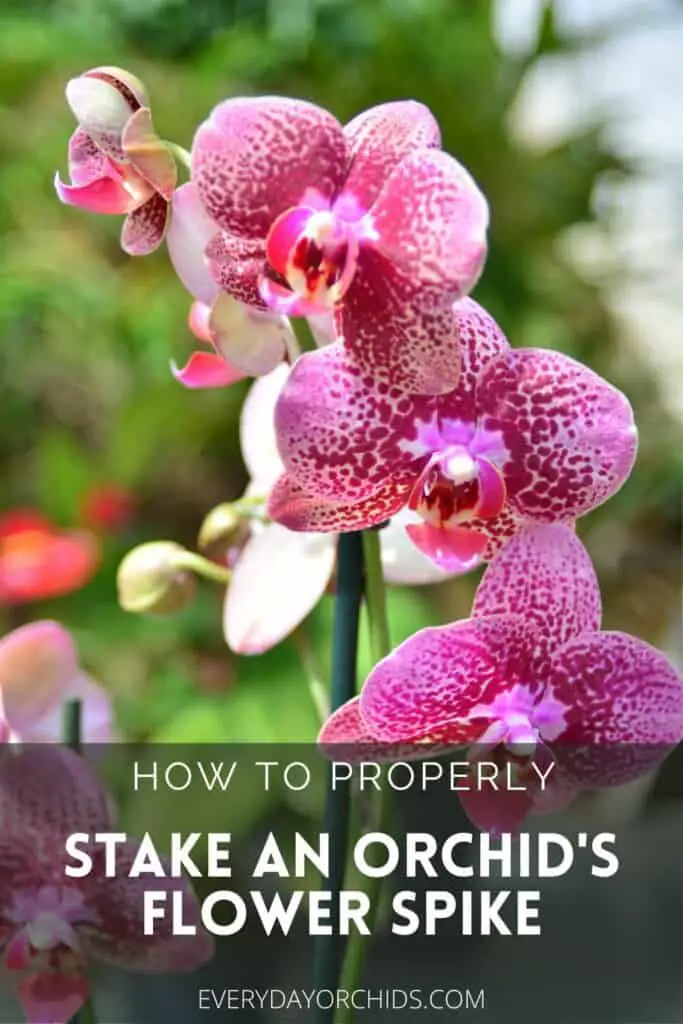
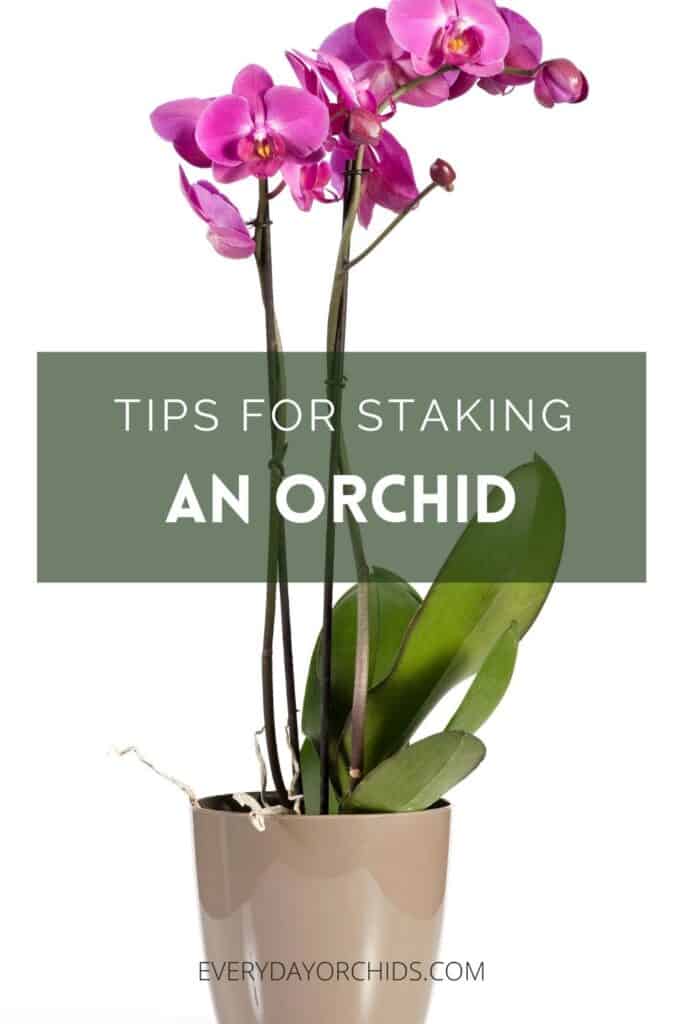
Once your orchid starts developing a flower spike, you will need to train and stake your orchid’s flower spike. As buds form and the blooms start to open, the orchid’s flower spike will become increasingly top-heavy. It will need extra support and this is where you come in. Staking your orchid’s flower spike will keep it from breaking while also creating a cascading display of orchid flowers.
To train and stake an orchid’s flower spike, you’ll need a few supplies, namely sturdy bamboo or wire stakes. You’ll also need twist ties or clips to secure the flower spike to the stake. Wait until the flower spike is at least 6-inches long before you attempt to start training it upwards. Staking too early will result in broken flower spikes.

Are you wondering how to train and stake an orchid flower spike? I’ll go over the step-by-step method on how to stake and train an orchid flower spike next. Even if your orchid’s flower spike starts to grow sideways, you can still train it to grow upwards. Keep reading to learn more.
Please note that these links are affiliate links and as an Amazon Associate, I earn from qualifying purchases. Purchases made through affiliate links in this post may generate commissions at no additional cost to you. Use this link for a discounted Amazon Prime trial. Thank you for your support!
Table of Contents
Train And Stake Your Orchid’s Flower Spike
Orchid blooms are the reason why many of us grow orchids. Those flowers are the reward for all of our efforts and time spent caring for these plants. When you see those orchid flower spikes start to sprout and grow each winter, congratulate yourself for a job well done.
However, don’t celebrate too early. You still need to do a little more work to make sure those flower spikes are well-supported and grow properly. In other words, you’ll need to stake and train your orchid’s flower spike.
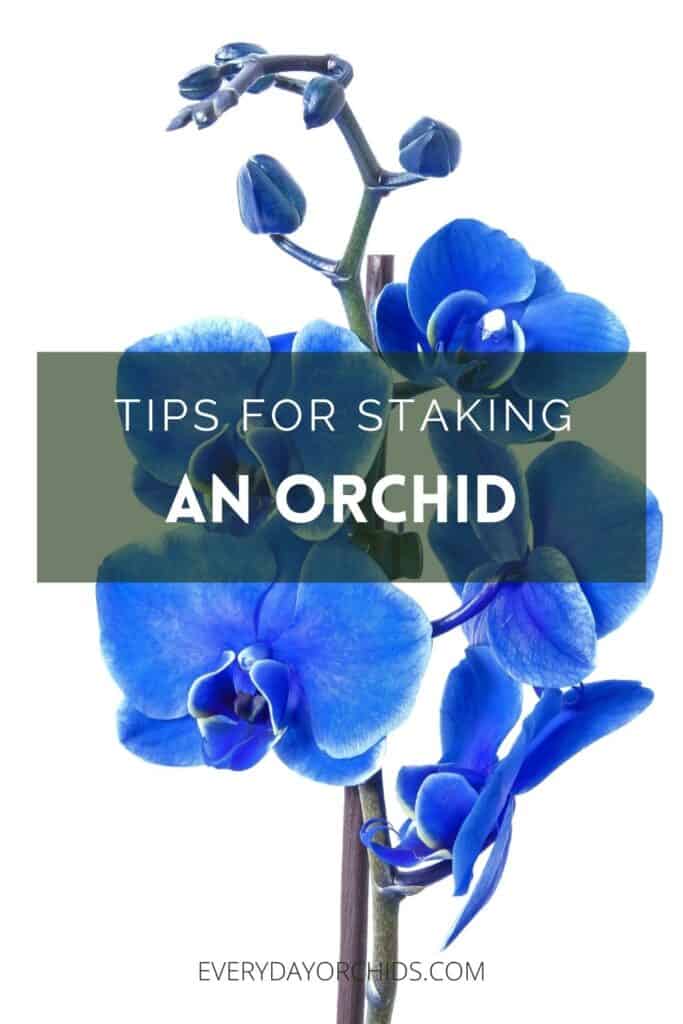
Why You Should Stake Your Orchid’s Flower Spike

Training and staking your orchids is important for several reasons. It provides the flower spike with support and prevents it from breaking due to the weight of the blooms.
Staking the orchid also keeps the flowers centered over the leaves and the main orchid stem. This, in turn, will prevent the orchid from tipping over as the blooms start to open and the orchid becomes top-heavy.
Staking the flower spike will also help you manage the space around the orchid. What I mean by this is, it allows the flower spikes to be contained closer to the orchid leaves and stem. Otherwise they would end up going sideways or leaning out over the edges of the pot.
Staking an orchid flower spike is the same as training an orchid flower spike. I will use these terms interchangeably throughout this article. In essence, you are using stakes to guide and manipulate the flower spike to grow in the direction you want it to grow. It’s actually pretty simple, but if you are doing this for the first time in your life, here’s a little “how-to” guide.
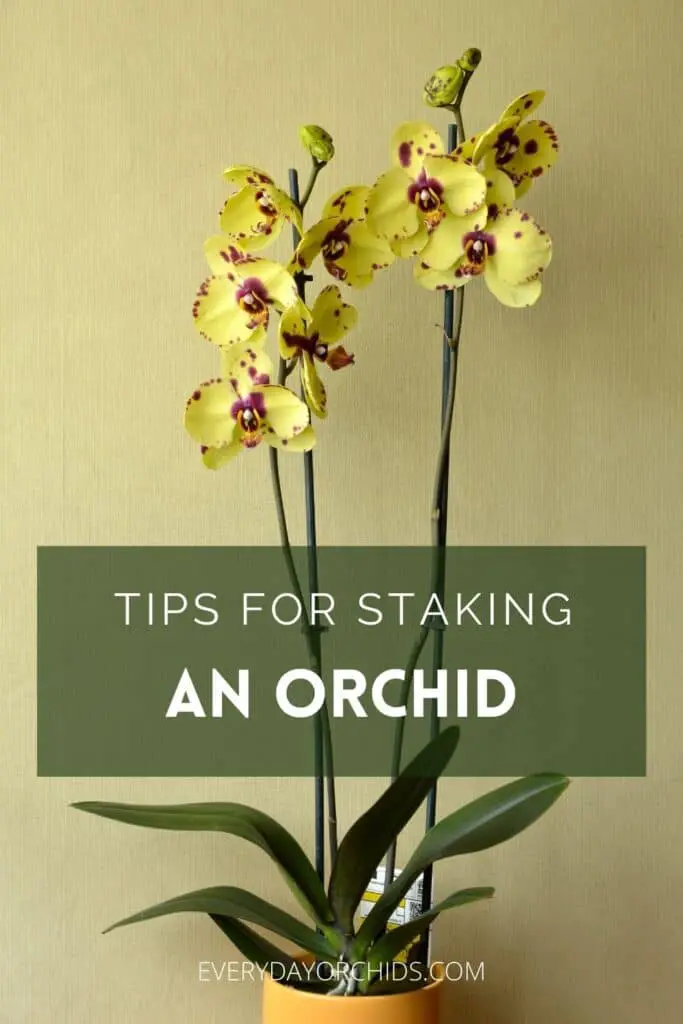
Supplies You’ll Need
First you’ll need some supplies. To train and stake an orchid’s flower spike, you’ll just need some stakes and clips. You can find these in most hardware or garden centers or online.
Stakes
You’ll need one stake for each flower spike on each orchid, so plan accordingly. You can use specialty orchid stakes or basic garden stakes for tomatoes or vegetables. These green bamboo stakes are vertical stakes that come in a pack of 25. You can also buy natural-colored bamboo stakes to support your orchids.
Depending on what type of orchid you have, a circular support “cage” may be better suited for your orchid than stakes. For example, I use this type of support for my Oncidium and Miltoniopsis orchids.
This half-ring metal support cage is ideal for Dendrobiums, Oncidiums, Miltoniopsis orchids, or reed-stem Epidendrums. These orchids tend to grow tall canes or reeds or have many leaves and pseudobulbs. The circular cage helps support the many canes, reed-stems, or leaf clusters with flowers at the top, while keeping the orchid looking tidy.
You can also buy a complete starter pack with everything you need. This pack comes with metal support stakes, twist ties, and clips, basically everything you need to stake your orchid.
Clips Or Twist Ties
You’ll need some clips or twist ties to secure your orchid’s flower spike to the stake. In many cases, you’ll need about 4 to 6 clips per orchid flower spike.
You can use these basic dark green orchid support clips if you just want something that will get the job done. This comes in a pack of 100 and will basically last you for years and years if you have a small orchid collection.
I also love using cute and colorful clips to stake my orchids. I like to buy things like these ladybug clips and dragonfly clips to stake my orchids’ flower stems. These add a pop of color and some visual interest to the orchid. I usually mix it up with colorful fun clips like these and those basic ones I mentioned earlier.
If you prefer not to use clips, you can also use twist ties. This is a twist tie support wire that I use for some of my orchids. It comes in a 12-foot length so you’ll just need to cut it down to the length you need. This should last you for years. If you have extra twist ties leftover from bread bags, you can just use those as well.
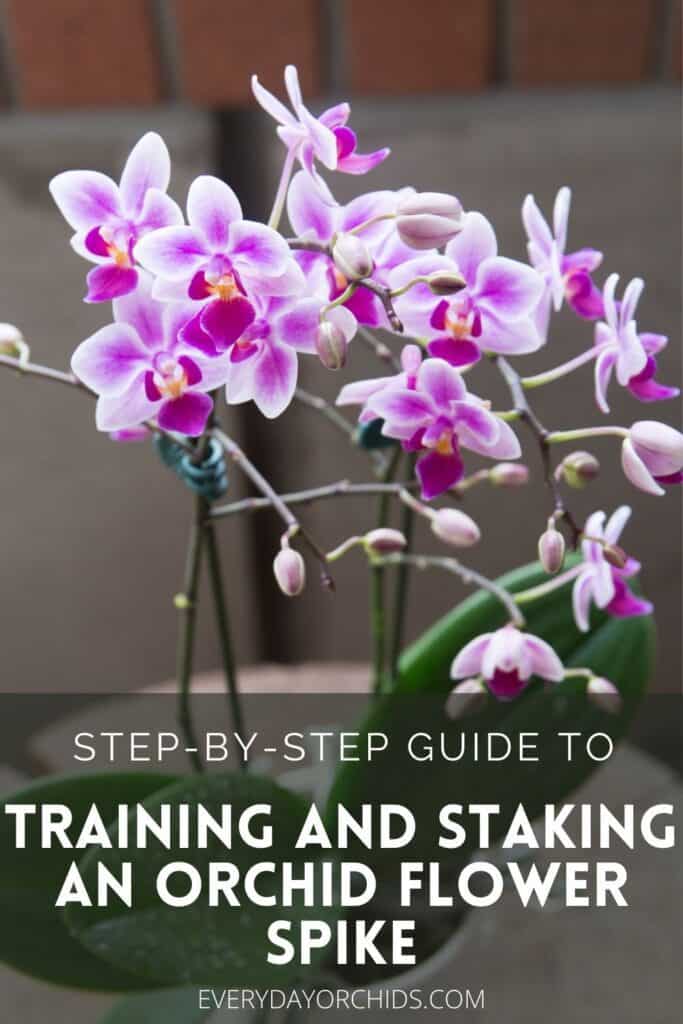
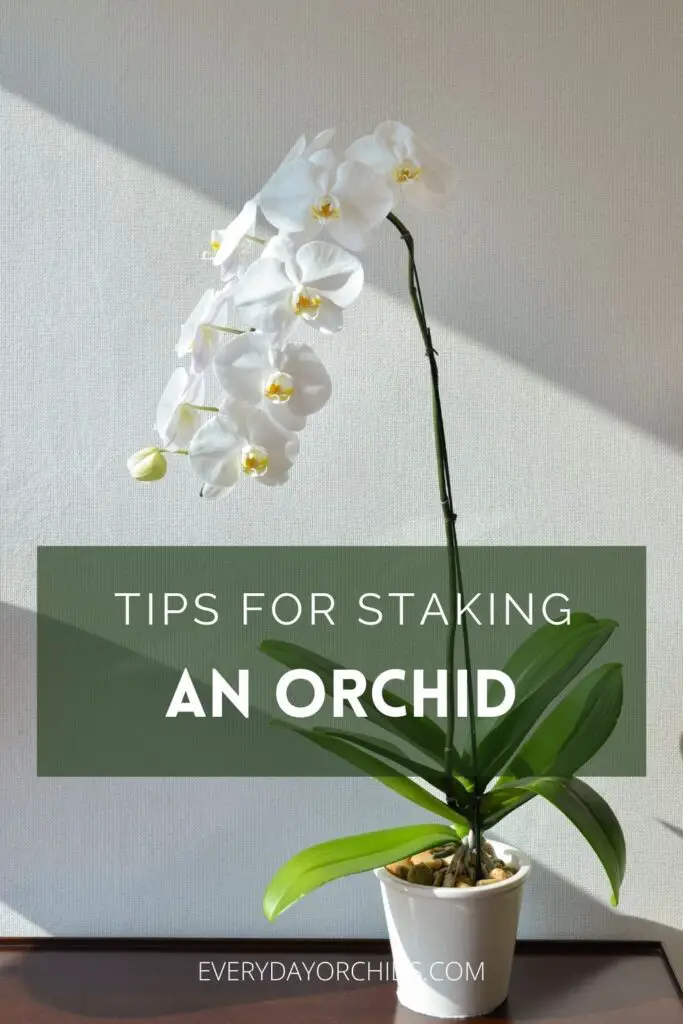
Step-By-Step Guide: How To Train And Stake An Orchid’s Flower Spike
Wait until the flower spike is at least 6 inches long before you start staking it. When you do begin to stake it, don’t place the first clip too close to the base of the flower spike.
- Insert your bamboo, wire, or plastic stake into the orchid pot, near the orchid’s main stem. Be very careful as you insert the stake into the orchid potting media. Try not to hit or damage any orchid roots. You may need to twist the stake or maneuver it around the roots as you go further down into the pot.
- Try to push the stake down to the bottom of the pot, if you can. This will help secure the stake in the potting media and ensure that the stake will not move around.
- Next, attach your orchid’s flower spike to the stake at the first, or lowest, node using a clip or twist tie.
- The node is a triangular shaped bump on the orchid’s flower spike. Flower buds, keikis, or secondary flower spikes can form from these nodes. However, since this is near the base of the flower spike, it is unlikely either of those events will happen. So go ahead and clip your orchid’s flower spike to the stake at the lowest node.
- Depending on how long your orchid’s flower spike is, move up the flower spike. Every 4 to 5 inches, use a clip or twist tie to secure the flower spike to the stake.
- As the flower spike grows, use more clips to attach the upper part of the flower spike to the stake.
- Stop when you start to see buds forming along the end of the flower spike. The last clip or twist tie should be several inches below the first flower bud.
- Placing the last clip here will allow the flower spike to bend slightly with the weight of the flowers. The resulting blooms will cascade down over your orchid plant.
You may notice that this guide seems like it is geared more towards staking and training a Phalaenopsis orchid, and you would be correct. Phalaenopsis orchids tend to get top-heavy with blooms and need staking, whereas for other orchid species, it is recommended, but not mandatory.
If you have a different type of orchid, you can still stake it using this guide. Alternatively, you can use a circular support cage, similar to the one I mentioned above.
Words Of Caution
Once you start to see flower buds start to grow and develop, don’t move your orchid or try to reposition it. This is because when you reposition the orchid, you will also be changing the direction of the light. As a result, the flowers will open up in different directions.
In other words, you won’t get those perfect cascading orchid blooms if you reposition your orchid when it is “in bud.” Once all the blooms have opened up, you can safely move your orchid around again.
Also, be careful not to try to stake the flower spike too early. You shouldn’t need to bend the flower spike in any way to get it onto the stake. If you do, there is a high chance that you might end up breaking or snapping off the flower spike.
If you find that you can’t stake the flower spike without bending or pulling it, stop trying to stake it. Either your flower spike is too short or your stake is too far away. Wait for the flower spike to grow a few more inches before you reattempt to secure it to the flower spike. Otherwise, reposition the stake so that it is closer to the flower spike and try again.
While 6-inches is possibly the earliest you can start staking and training your orchid’s flower spike, it does not mean that you need to start staking it at this time.
You can also wait until the orchid flower spike is 12-inches long or greater before training it. You just want to stake it before buds start to develop.
Or, if the flower spike starts to grow sideways, you will want to stake it sooner than later. This will allow you to train it to grow upwards before it is too late. I’ll talk more about this scenario next.
Why Do Orchid Flower Spikes Grow Sideways?
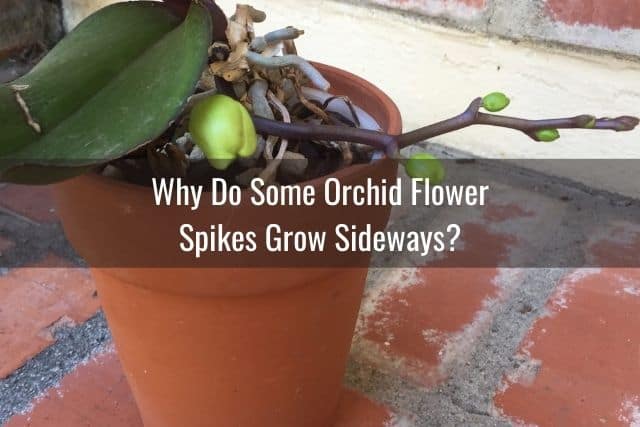
Sometimes orchid flower spikes will grow out and to the side, instead of growing in an upward direction. This is actually a common orchid spike problem that you may come across.
As you can see in the picture above, one of my orchid’s flower spikes ended up growing out to the side. While not the end of the world, it did cause the orchid to take up more space and I didn’t get my beautiful cascade of flowers.
If your orchid’s flower spike is growing sideways, this may be due to one of several reasons. It could be that the light source is to the side of the orchid, and the orchid’s flower spike is merely growing in the direction of the light.
Another reason why orchid spikes grow sideways are that it cannot physically grow upward. There could also obstructions, such as leaves, blocking the flower spike from growing upwards.
What To Do If The Orchid Spike Is Growing Sideways
Here are a few techniques and tricks to deal with a sideways growing orchid flower spike.
Use Artificial Lighting
If the flower spike is growing sideways because of the lighting location, there are a couple ways to address this if you catch it early enough.
To fix this, you can add lighting so that the best, strongest lighting is coming from overhead. Artificial lighting, such as grow lamps or even a simple desk lamp, can help achieve this. Keep the lighting about 12 to 18 inches above the orchid.
This will take some time, but the flower spike will eventually start to grow upwards towards the light. As an added bonus, the extra light will stimulate photosynthesis and growth in your orchid.
Check out this guide on how to set up artificial lighting for your orchid. You’ll get some ideas on what kind of light bulbs to buy and how long to leave the lights on, depending on the season. The light spectrum makes a big difference in whether you end up stimulating growth or bloom production in your orchids.
Reposition The Orchid
Some people also try to reposition their orchid, so as to change the direction of the light source and force the flower spike to stop growing sideways. This has mixed results, and can result in the flower bud placement being “off.”
If the flower spike is just a few inches long and there are no buds yet, you can get away with repositioning your orchid.
However, if you wait too long and the flower spike is already well-developed with multiple buds, don’t attempt to reposition it. Repositioning the orchid after the flower buds are established will lead to the flower buds becoming twisted and misaligned. This is because they will try to adapt to the new lighting position and reach the light.
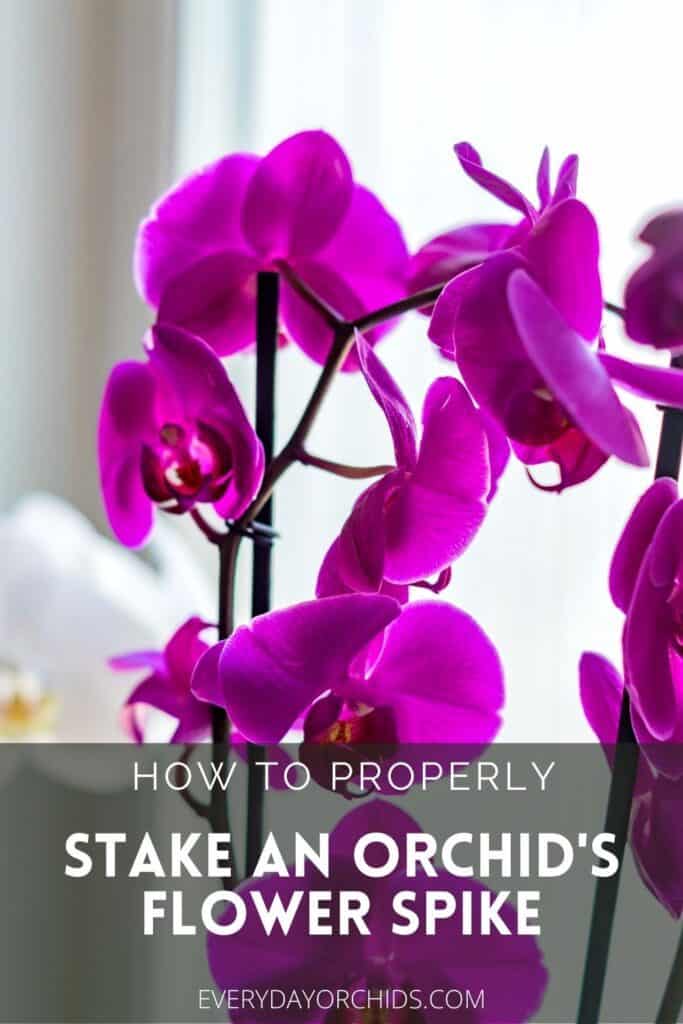
Stake The Flower Spike
In both scenarios above, if you catch this early enough when the flower spike is still flexible and young, you can gently train your orchid’s flower spike to grow upward using stakes. I would even recommend this with the addition of overhead lighting and repositioning. This will help guarantee that your orchid’s flower spike will stop the sideways growth and move upwards.
Orchids grow slowly and it can take a couple of months for a flower spike to fully develop, so you have some time. Just make sure you stake the flower spike before the buds are open.
Once the buds open, the flower’s position (usually downward due to gravity) is set. Trying to stake it may change the alignment of the flower spike and positioning of the flowers. As a result, they may end up facing in a different direction than what you may want.
What If You Can’t Train Your Sideways Orchid Flower Spike?
If you don’t notice the sideways flower spike until it is too late, don’t despair. This has happened to me before, as you can see in the picture above.
Fortunately, it’s not the end of the world. The orchid will still produce flowers and bloom. It’s just that the flower spike and blooms will be to the side of the orchid instead of cascading down.
Once the flower spike has hardened off, there’s not much that you can do to change the orientation of it. That’s why I suggest training and staking your orchid’s flower spike sooner than later. Any attempts to manipulate it once it has hardened off may cause it to break or snap.
Instead of worrying about the sideways spike, just continue to care for your orchid as you normally would, with proper lighting, humidity and watering.
In addition, give this particular orchid lots of space around it. This way, you won’t inadvertently bump the orchid and break off the sideways flower spike.
Enjoy the blooms. Next year, just pay closer attention to developing flower spikes and train them to grow upwards early on (lesson learned for me).
Final Thoughts
Training and staking an orchid flower spike is a basic part of orchid care. While you can get away with not staking the flower spikes, you may find that most orchids need to be staked. Otherwise, they become top-heavy and the flower spikes tend to fall over to the side. Unstaked flower spikes are also more prone to breaking because they are so top-heavy. In a worse case scenario, the entire orchid may topple over and become damaged.
Staking an orchid flower spike takes just a few minutes and uses just a few supplies. The benefits of training and staking your orchid’s flower spike are well worth the time and effort. You’ll be able to keep the heavy orchid blooms over the center of the plant, enjoy your cascading orchid blooms, and better manage the space around your orchids.
Hope this helps! As always, happy orchid growing.
If you enjoyed this article, please pin it and share!
Recent Posts
Fusarium wilt in orchids is, unfortunately, a problem that you may encounter at one point or another. It is caused by the Fusarium pathogen and this kind of infection can be hard to identify at...
When it comes to choosing an orchid potting mix and knowing what kind of orchid soil is best, the decision can feel daunting. After all, there is a huge variety of options out there, from orchid bark...
