
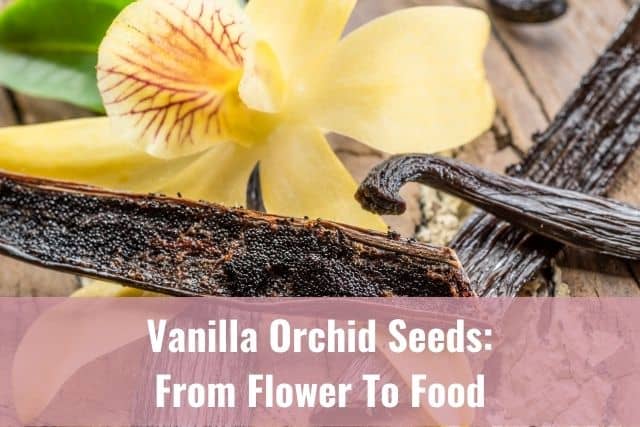
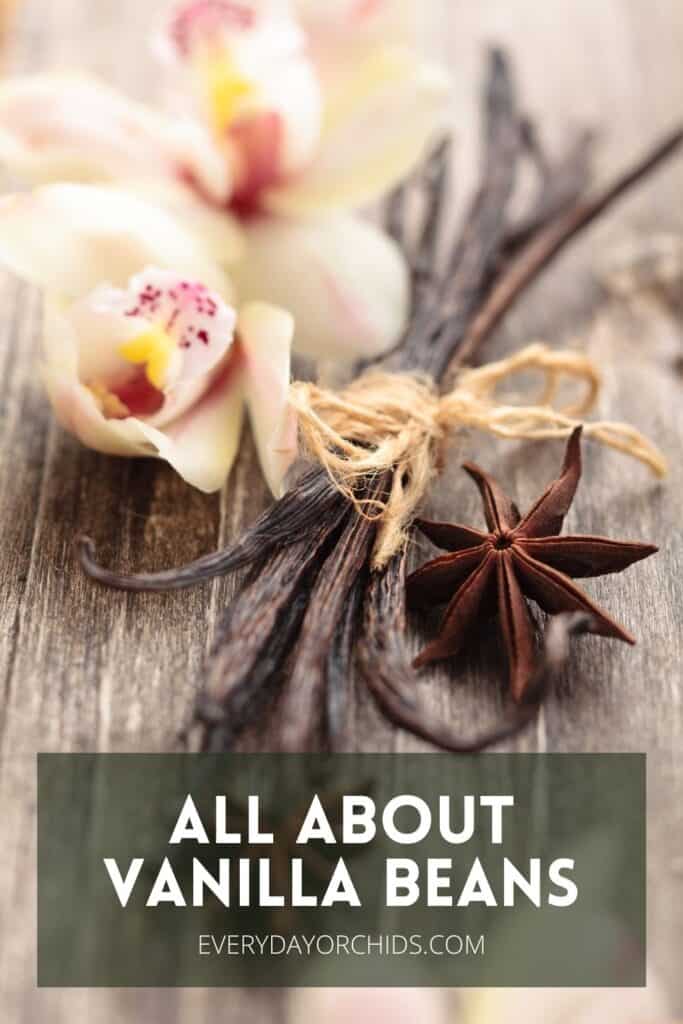
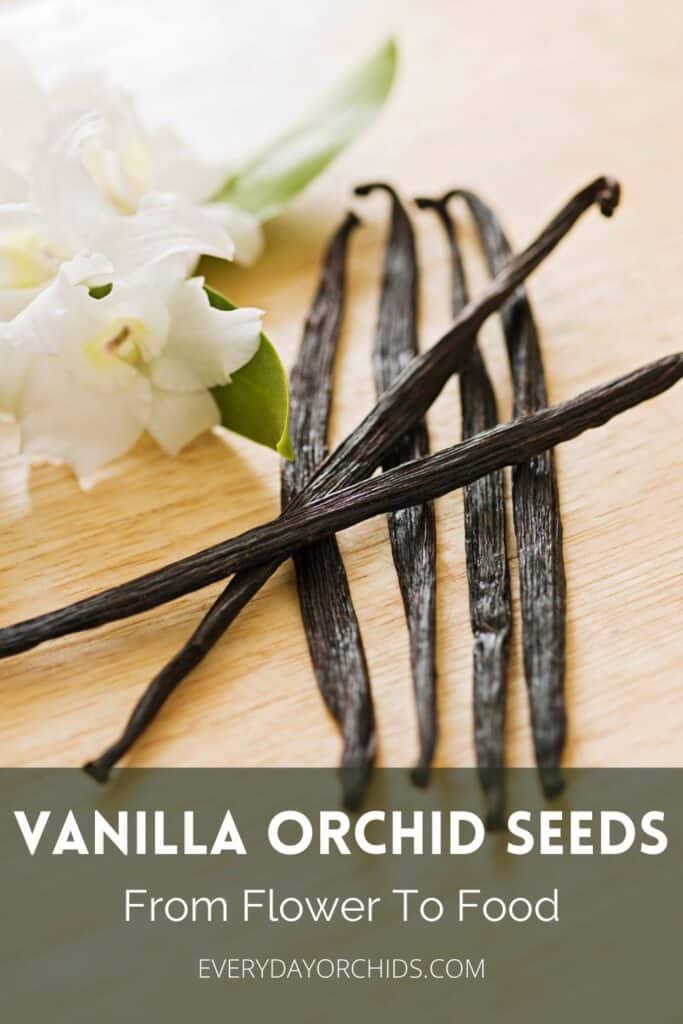
Did you know that vanilla extract is made using vanilla bean seeds? Also known as vanilla orchid seeds, vanilla beans are prized for their flavoring and aroma.
If you have a vanilla orchid, you can grow vanilla beans seeds. You can then use those vanilla seeds, AKA vanilla beans, in cooking and baking. You can even make your own homemade vanilla extract. But first, there are a few things you’ll need to do in order to get those vanilla bean seeds.
Vanilla orchid flowers must be hand-pollinated in order to form seed pods. Those seeds take months to grow and develop. Once they are ready to be harvested from the vanilla orchid plant, you will need to cure the pods. Then, you can soak the vanilla bean pods, or the vanilla beans, in a bottle of high proof alcohol for a minimum of 2-3 months to extract the vanilla flavor.
In this article, I’ll go over the step-by-step journey of preparing vanilla beans grown from vanilla orchids, from flower to finished product. You’ll learn how to hand-fertilize vanilla orchid blooms and what to do if your plant fails to flower.
I’ll also talk about growing and curing the vanilla bean pods and what that entails. Lastly, you’ll get some step-by-step instructions on how to make vanilla extract using vanilla bean seeds, as well as some other ideas of how to use your vanilla beans in the kitchen. Keep reading to learn more.
Please note that these links are affiliate links and as an Amazon Associate, I earn from qualifying purchases. Purchases made through affiliate links in this post may generate commissions at no additional cost to you. Use this link for a discounted Amazon Prime trial. Thank you for your support!
Table of Contents
Wonders Of The Vanilla Orchid
Vanilla orchids are prized for their beauty, scent, and most of all, their seeds. Did you know that the vanilla orchid is the only fruit-bearing orchid in the whole world? The vanilla that is extracted from the pod is then used in cosmetics, aromatics, and to add flavor to food and beverages.
The flavor and smell of true, authentic vanilla is unlike anything else in this world. Commercial growers cultivate vanilla orchids to produce vanilla beans and make pure vanilla extract.
Producing the vanilla bean seeds and getting them to the point where they are usable, however, is a multi-step process. Depending on what you consider to be the starting point of the process, it can take months or even years. This is a large part of the reason why vanilla beans and pure vanilla extract are so expensive.
The first step in the journey to getting vanilla bean seeds is to get a vanilla orchid to bloom. Let’s talk about that next.
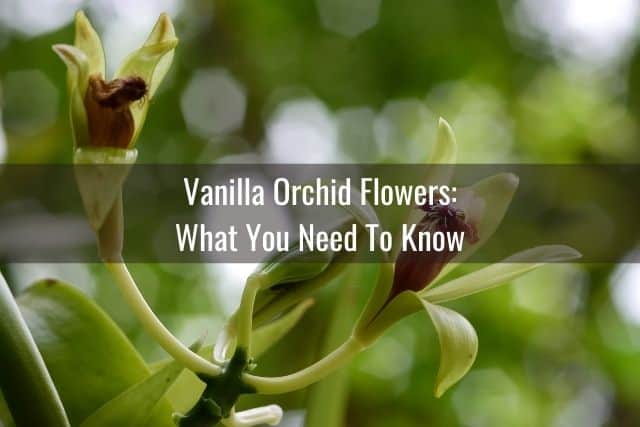
Vanilla Orchid Flowers: What You Need To Know
I went over in depth about how to care for a vanilla orchid in a previous article. Vanilla orchids can be challenging to grow, as they need very specific day/night temperatures, high humidity levels and partial shade conditions. Along with proper watering and fertilization, all of these factors have to be just right so that a vanilla orchid can grow and reach blooming age.
This can take several years, so patience is key. With some luck and the right care, however, your vanilla orchid will bloom. Vanilla orchid flowers are the necessary first step in developing those coveted vanilla beans.
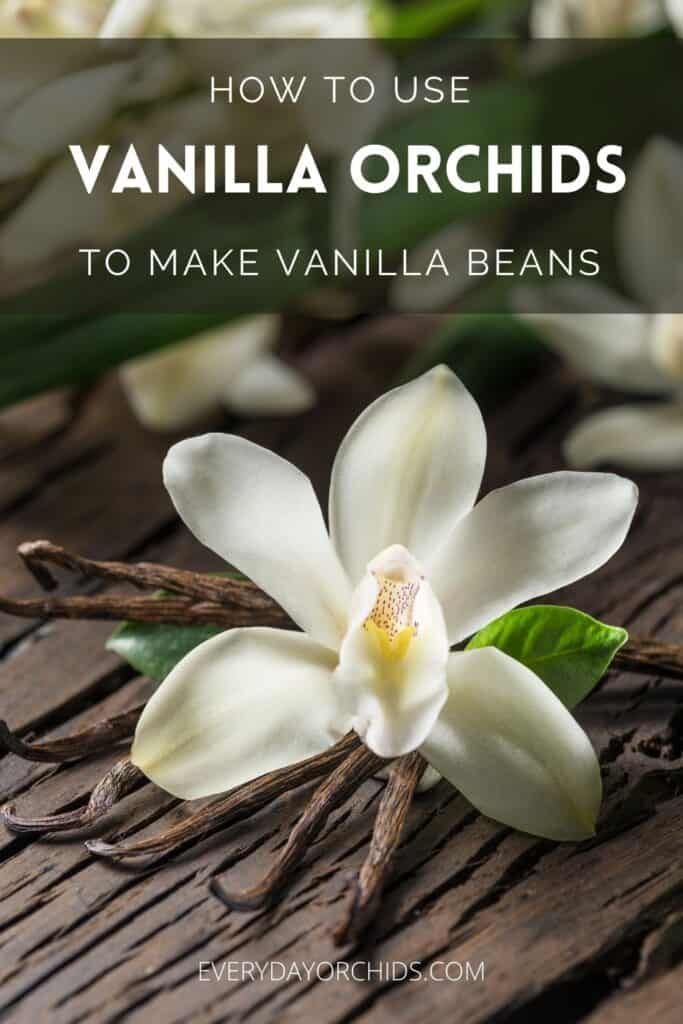
Once your vanilla orchid vine starts to flower, take a moment to admire it. Vanilla orchid flowers are a sight to behold. These blooms are rather large, spanning 2-inches across.
The colors are also beautiful, with flowers ranging from pale yellow to light green to off white. Each branch of the vanilla orchid vine will have one to two dozen flowers at a time. This means that a large, mature vanilla orchid can have several hundreds of blooms a year.
When Do Vanilla Orchids Bloom?
Vanilla orchids typically bloom from March to May each year. However, the orchid needs to be at least 3 or 4 years old before it is mature enough to produce blooms.
Once you see blooms starting to form on your orchid, give yourself a pat on the back! Vanilla orchids are finicky plants and blooming does not always happen.
Troubleshooting: Vanilla Orchid Not Blooming
If your vanilla orchid is over 3 years old and is not blooming, you likely need to make some adjustments to it’s growing environment. It may take some detective work on your part to figure out what is wrong and what needs to be changed.
Check Your Temperature And Humidity Levels
First, make sure that the orchid is exposed to a day/night temperature difference of at least 20 degrees Fahrenheit. If you are meeting the orchid’s preferred day and night temps already, then perhaps it is an issue with humidity levels being too low.
Low humidity levels can cause slower or stunted growth. This can, in turn, negatively affect the orchid’s ability to produce flowers.
Check Fertilization Needs
A lack of flowering can also be caused by inadequate fertilization, either too little or not frequent enough. You may also not be using the right orchid fertilizer.
You can experiment and try a bloom booster orchid fertilizer during the fall and winter months. Do this before the start of the next blooming season and see if this makes a difference.
Bloom booster fertilizers typically have a higher phosphorus content, which is used by the orchid to produce flowers.
Check Lighting
Lastly, you can also check your lighting levels. These orchids prefer partially shaded conditions and need protection from direct sunlight. However, you still want to give them at least 12 to 14 hours of bright, indirect light each day.
A lack of bloom production could be due to inadequate lighting. This can be in the form of not enough hours of light or the light is not bright enough.
For more information, check out this article about how to get flowers to bloom and rebloom. Also, for more detailed information about the growing requirements for vanilla orchids, read this vanilla orchid care guide.
What Do Vanilla Orchid Flowers Smell Like?
The flowers are fragrant and smell like vanilla. This is hardly surprising. In addition to cooking and baking, vanilla orchids are used in fragrances and cosmetics.
Fertilizing And Pollinating Vanilla Orchid Flowers
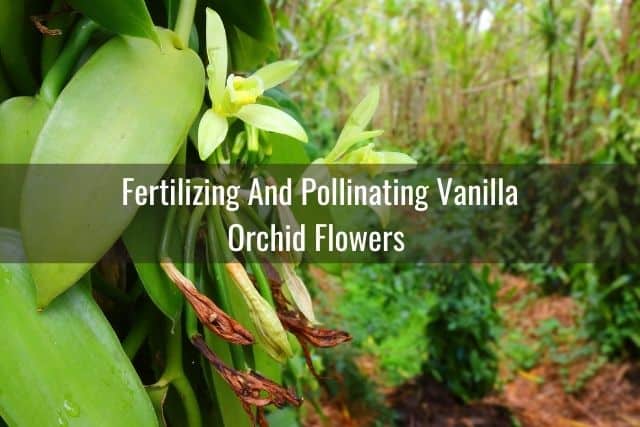
One of the questions orchid growers ask is, are vanilla orchids self-fertile? In other words, do the orchids pollinate themselves? Unfortunately, the answer is no.
Vanilla orchids are not self-fertile and require hand pollination in order for the flowers to develop into vanilla pods. Once your orchid has bloomed, hand-pollination is the next step you’ll need to take on the journey to getting usable vanilla beans.
Hand-Pollination
Hand pollinating vanilla orchid flowers can be a time-consuming and delicate process. Each flower has a very short blooming period. Very short. We are talking about a day.
Each vanilla orchid flower typically blooms early in the morning and closes in the late afternoon. Once it closes, the flower does not open again. Pollination must happen during this small window of time.
Use a toothpick or a small brush to hand-pollinate the orchid flowers during this brief blooming period. Hand-pollinating these flowers is similar to how you would hand-pollinate any other flower. Essentially you are doing the work of bees and insects.
Gently use the toothpick or soft pollination brush to capture some pollen from the stamen of one flower. Then, transfer this pollen to the stigmata of a neighboring flower. Continue this process until you have hand-pollinated all the open flowers.
Success! Vanilla Orchid Bean Seeds
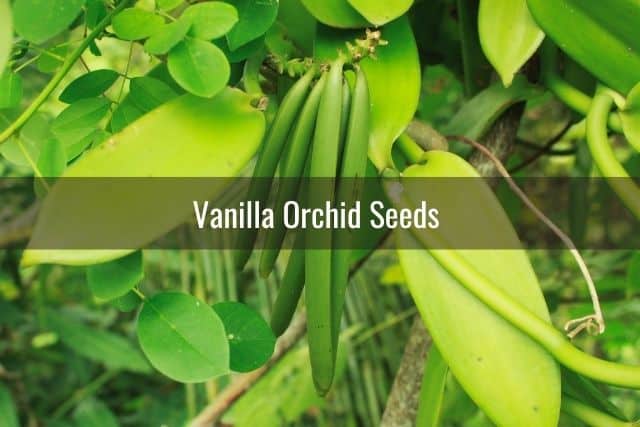
If you were successful with hand-pollinating the flowers, small green pods will start to develop in a week. These pods contain the vanilla orchid beans.
By this time, the flower will have closed and fallen off. Go ahead and prune off any dead or wilted flowers. Doing so will encourage more growth from the orchid.
The vanilla seed pods grow slowly, over the course of many months. In total, it takes anywhere from 8 to 10 months for the seed pods to fully develop.
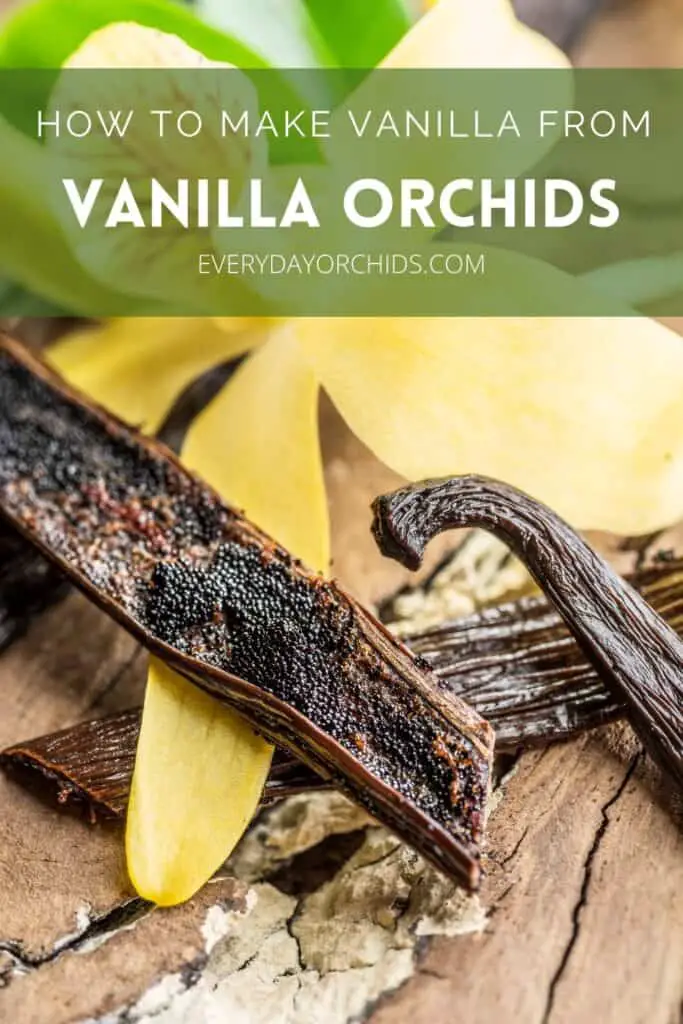
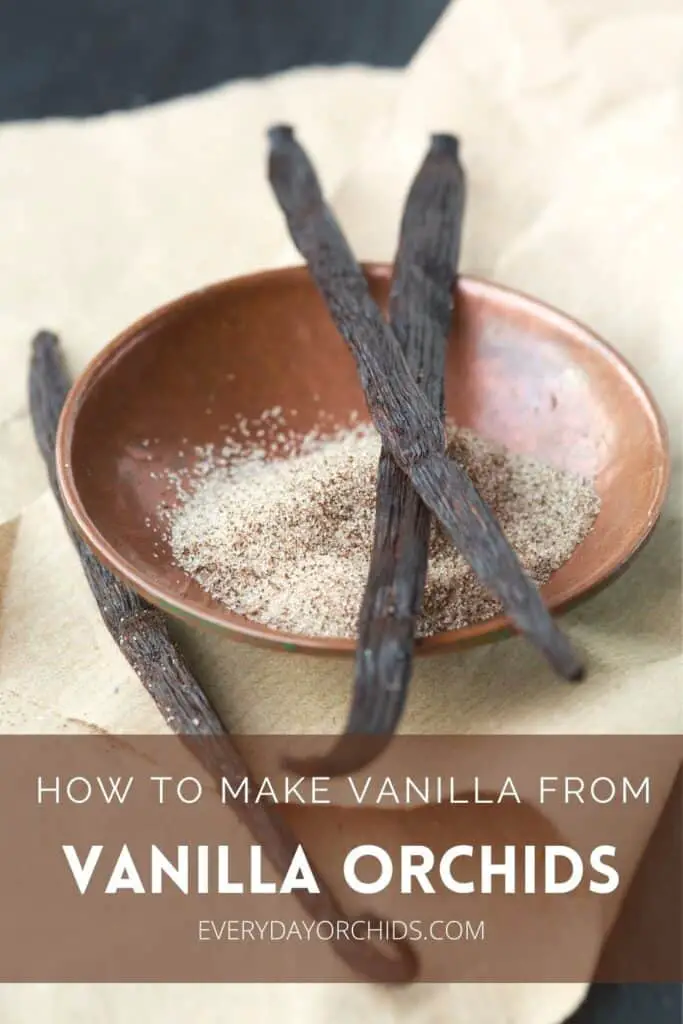
Within these seed pods are thousands, if not millions, of tiny vanilla seeds. These vanilla seeds are often referred to as vanilla beans.
Once the green pods are at least 6-inches long, they are ready to be picked off the vine.
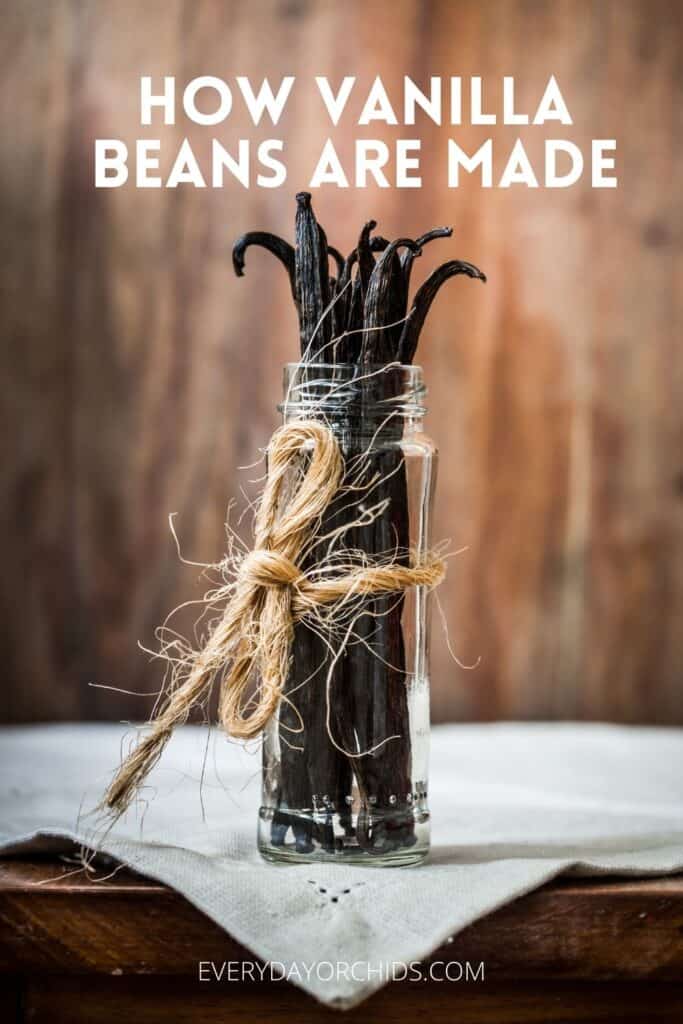
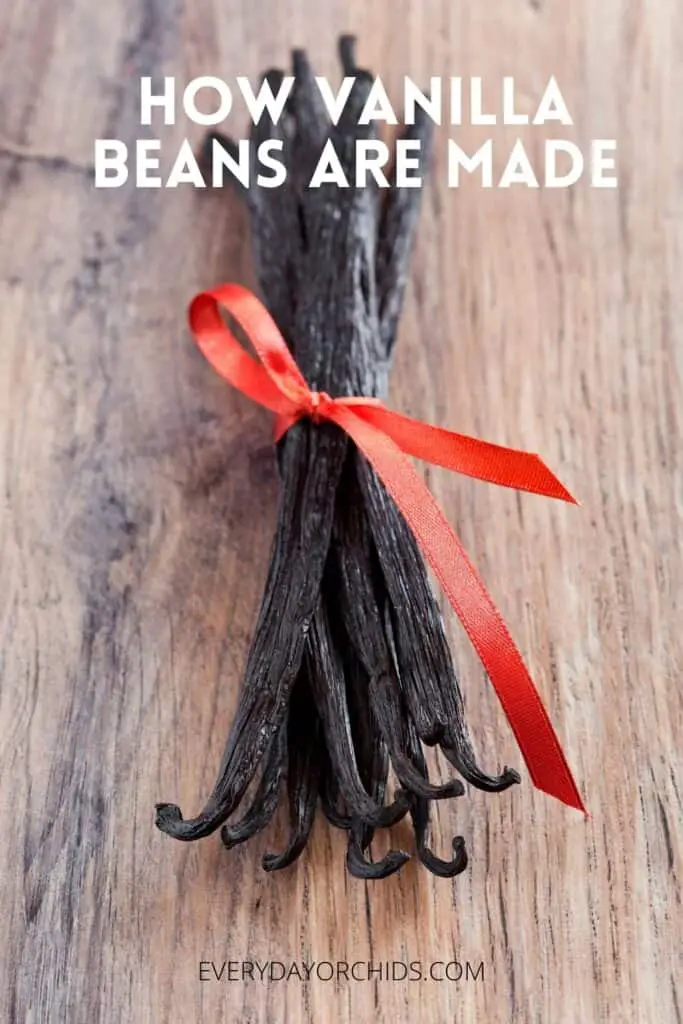
Curing Vanilla Orchid Beans
After harvesting the vanilla orchid seed pods, the next step you will need to take is cure the seed pods. Right now, they cannot be used in their current state. Curing vanilla seeds is a multi-step process that can take months. This is in addition to the time it took for the seed pods to grow to maturity.
To cure vanilla orchid beans, first you will need to expose the seed pods to heat and light during the day. You can do this by leaving them out in the sun.
Then, at night, wrap the seed pods in a cloth so that they can “sweat” and form condensation.
The next morning, take them out to dry in the sun. At night, wrap them in cloth. Rinse, repeat, every day for several months.
Once the seed pods are dark and dry looking, they are almost ready. Note, you don’t want these vanilla bean pods to become completely dried out and desiccated. Ideally, they will have lost a bulk of their moisture content, but still be pliable and not brittle.
Next, place these dried vanilla orchid bean pods in a dark, cool area for a month. This will allow the vanilla beans to develop further and get that rich, complex vanilla flavor. This is the last step in the curing process. After a month has passed, the vanilla bean seeds are finally ready for use.
How To Make Homemade Vanilla Extract

Once you’ve cured your vanilla orchid seed pods, they will be ready for use in cooking and baking. One of the most popular uses for dried vanilla bean pods is to make homemade vanilla extract.
Even if you weren’t successful in growing your own vanilla beans, don’t despair. You can easily buy dried vanilla bean pods in stores or online and use these in your cooking and baking. Just look for whole vanilla pods sourced from Tahiti or Madagascar.
To make vanilla extract, you’ll need some dried, vanilla bean pods and high-proof alcohol.
While you can use rum, bourbon, brandy or vodka, most people choose vodka. Vodka doesn’t have as strong a flavor as rum, brandy or bourbon do. Thus, using vodka allows the vanilla flavor to be more pronounced.
Rum has a sweetness to it and your resulting vanilla extract will be sweeter as well. Using brandy will add some smokey notes to your final vanilla extract product.
All this to say, just be aware that any underlying notes and flavors of the alcohol you choose to use will translate into the finished product to some degree.
Also, whatever alcohol you choose, make sure it is around 70 proof (35% alcohol) or 80 proof (40% alcohol). A high proof level is required to extract the vanilla flavor from the vanilla beans.
Some people opt to use a cheaper alcohol, and if this is all you have, that is fine. But if you can afford it, go for a higher quality alcohol. The higher the quality of alcohol you use, the better the final product will taste. The vanilla extract will simply taste smoother and more flavorful.
Supplies
- At least 6 dried vanilla seed pods
- Sharp knife
- 8-ounces of 70 proof or 80 proof alcohol of your choice
- Glass jars with a tight sealing lid, minimum 8-ounces in size. Mason jars are great for this.
- Labels for the jar
Making The Vanilla Extract
Before you begin, make sure your jars have been sanitized in boiling water before use. Allow them to cool to room temperature before you fill them. While the jars cool, gather your supplies.
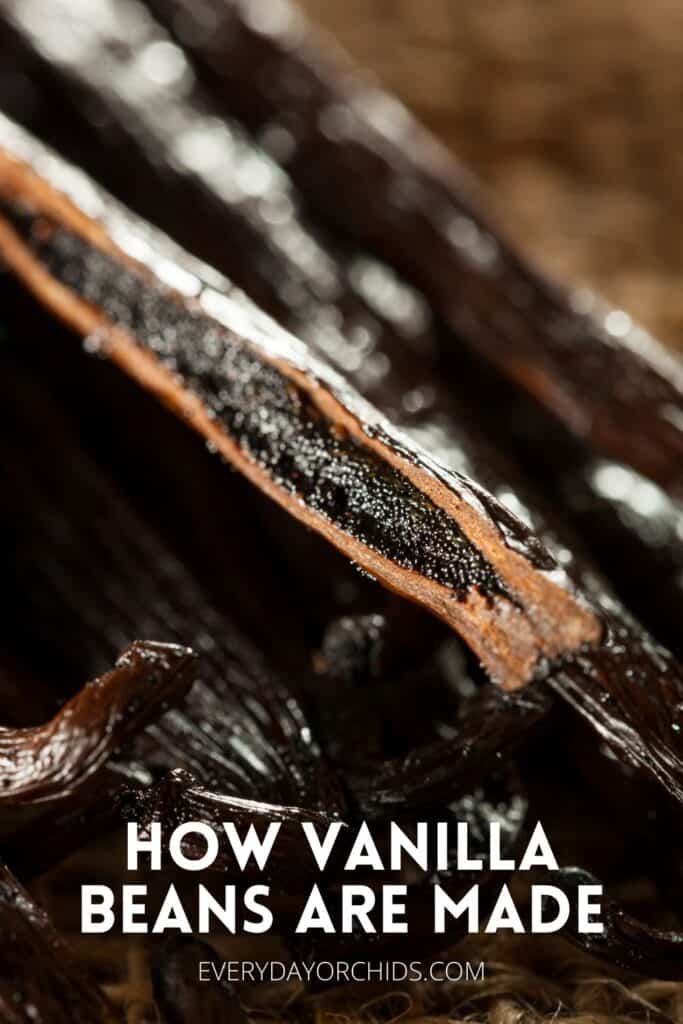
Once you have all your supplies lined up on the counter, the next part is easy. Run the tip of the knife vertically down the vanilla orchid bean pod.
This will create a slit down the entire pod and expose the vanilla beans. Making this slit will allow the vanilla beans to soak and flavor the alcohol.
Repeat this step for all the vanilla seed pods.
Place the cut vanilla seed pods into the glass jar. Carefully pour the alcohol over the pods, making sure that they are fully covered and submerged in the alcohol.
If the tip of the knife has some vanilla beans, add these to the jar as well. Seal the jar tightly with the lid. Shake the jar a few times to mix the alcohol and the vanilla beans.
Place this jar in a cool, dark place for at least 2-3 months. Once a week, shake the jar to mix the ingredients.
Over time, you will see the alcohol change color and start to turn amber brown, as the alcohol works to extract the vanilla flavor from the beans. The longer you let the jar sit, the more pronounced the vanilla flavor will become.
After 2 months, taste the vanilla extract and see if you are happy with the flavor. If you are, great! If not, then replace the lid. Give the jar a good shake and let it sit a little longer, continuing to shake the jar once a week.
Once your homemade vanilla extract is ready, you can use it as you normally would in baking and flavoring desserts and dishes.
Using Vanilla Bean Seeds In Cooking And Baking
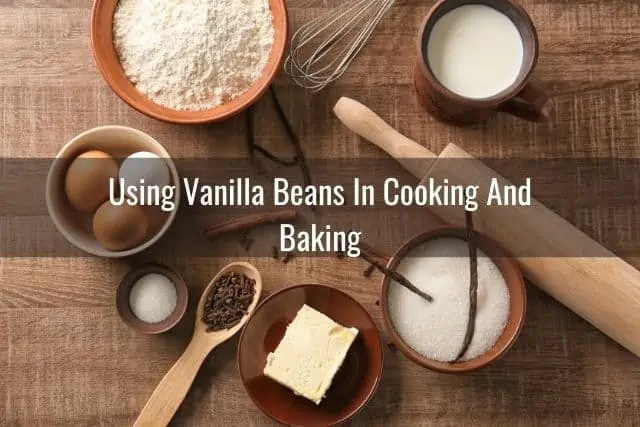
While using vanilla beans to make vanilla extract is a popular option, did you know there are so many other things you can do with the vanilla beans? You can also use the vanilla bean seeds in cooking and baking.
Even if you don’t have your own vanilla orchid, it doesn’t mean that you can’t join in on the fun. You can buy vanilla seeds online and make your own vanilla extract or use the vanilla bean seeds in baking or cooking. In fact, this is what most people end up doing and there’s nothing wrong with that. Simply search for grade-A vanilla beans grown in Indonesia, Madagascar or Tahiti.
To harvest the seeds, split open the vanilla bean pod. Use the tip of the knife to scrape out the tiny vanilla beans. You’ll find that there are thousands, if not millions, of tiny seeds hidden within the seed pod.
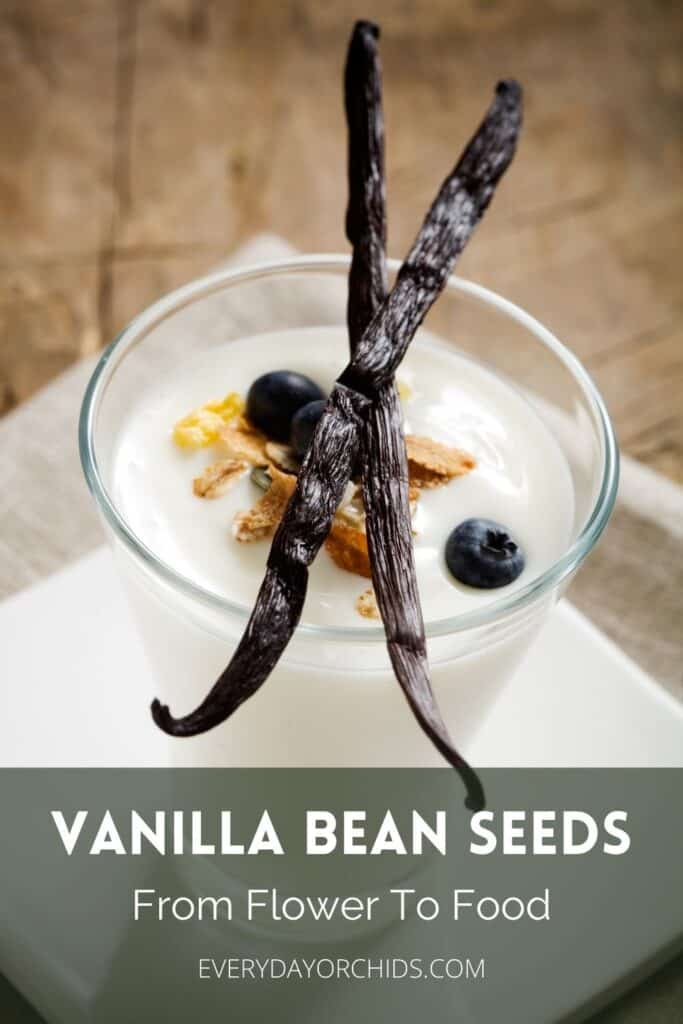
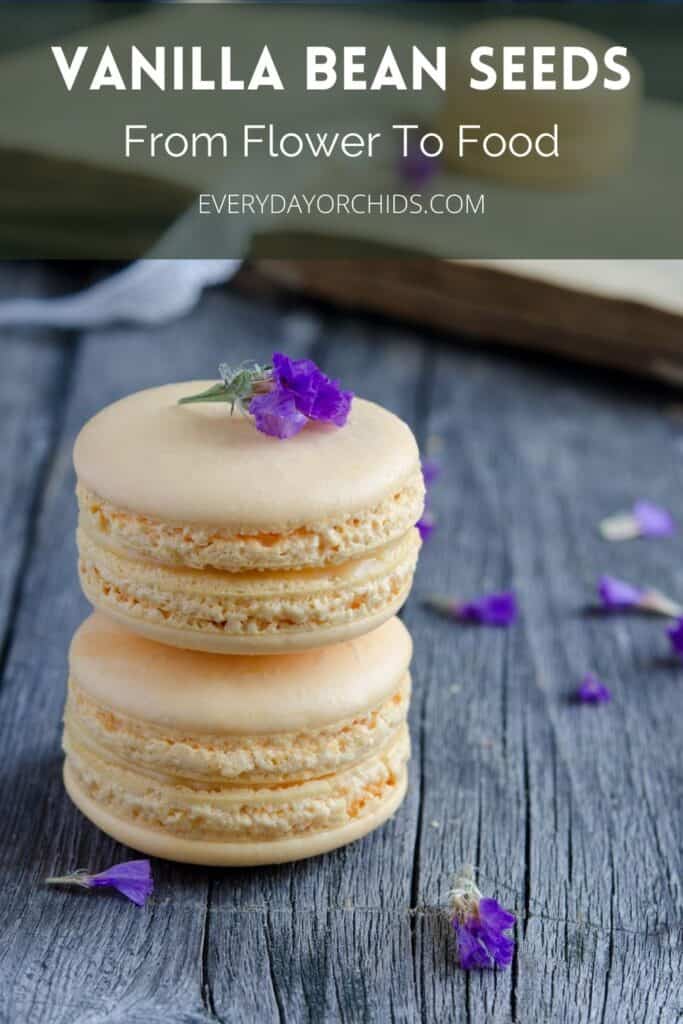
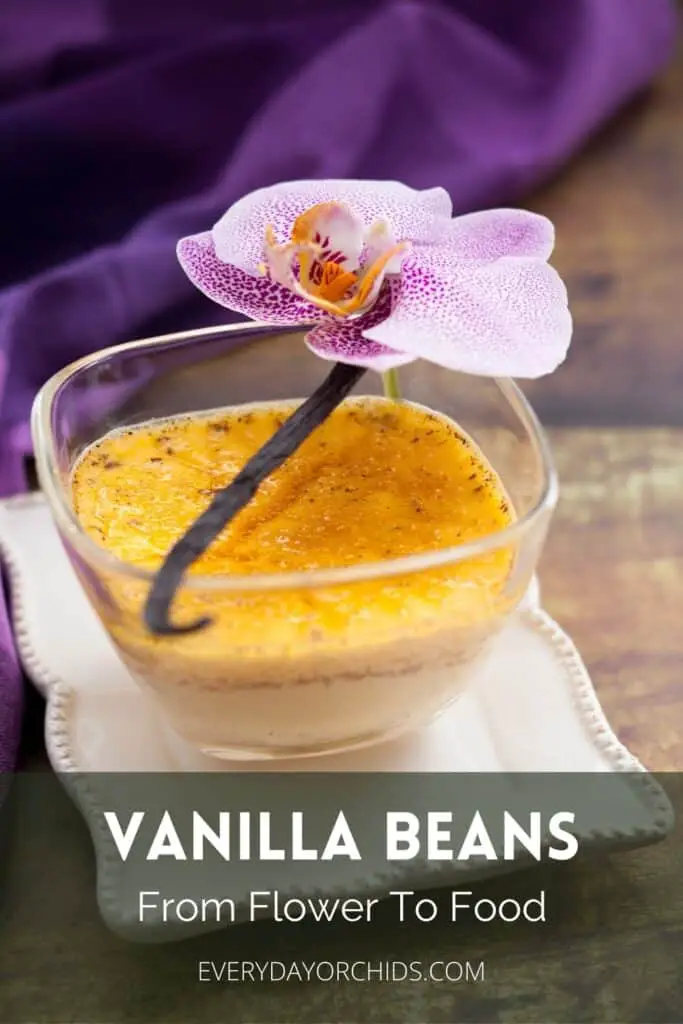
You can then use these precious vanilla beans to flavor beverages or infuse the vanilla beans into custards and creams. Vanilla beans can also be used to make vanilla pudding, vanilla ice cream, or flavor frosting and cake. You can also make vanilla bean frappuccinos or milkshakes. The possibilities are endless.
The vanilla bean pods themselves can be also used as a garnish to drinks and dishes. This adds a “wow factor” to the meal. Just lay the vanilla bean pods across the top of the scoop of ice cream or across the top of a vanilla cake as a finishing touch.
Here is some more inspiration for ways to use those vanilla beans:
- Tips from the Kitchn for using and storing vanilla beans, plus a recipe for creme brulee, vanilla ice cream and apricot-vanilla bean jam.
- ZoeBakes has a wonderful guide on how to use vanilla beans to make vanilla-scented sugar.
- LittleSweetBaker has a recipe for vanilla bean pound cake you can try.
- Food52 has 6 ways to repurpose leftover vanilla bean pods.
These are just a few sources for inspiration, but you can find so many more ideas for using vanilla beans and vanilla extract online.
Final Thoughts
As you know understand, vanilla beans can be difficult to grow and produce. It takes months, if not years, of careful cultivation and care.
The process of hand-pollinating the flowers, waiting for the seed pods to grow, then curing them is labor-intensive to say the least. You’ll find that the whole process takes at least a year from start to finish. This is a large reason why pure vanilla extract and vanilla beans are so expensive.
Yet, if you can get your vanilla orchid to flower and grow those vanilla bean seeds, the end result is so rewarding. There’s nothing like making your own homemade vanilla extract using the vanilla beans from your own orchid.
Even if you don’t own a vanilla orchid, you can still buy vanilla beans and experiment with them. Try making your own vanilla extract, or incorporate vanilla beans into your baking. You may find that doing so elevates your desserts and sweet dishes to a whole new level.
Thank you for coming along with me on this vanilla orchid journey. I hope you’ve enjoyed reading this and have learned something along the way. As always, happy orchid growing!
If you enjoyed this article, please pin it and share!
Recent Posts
Fusarium wilt in orchids is, unfortunately, a problem that you may encounter at one point or another. It is caused by the Fusarium pathogen and this kind of infection can be hard to identify at...
When it comes to choosing an orchid potting mix and knowing what kind of orchid soil is best, the decision can feel daunting. After all, there is a huge variety of options out there, from orchid bark...
