
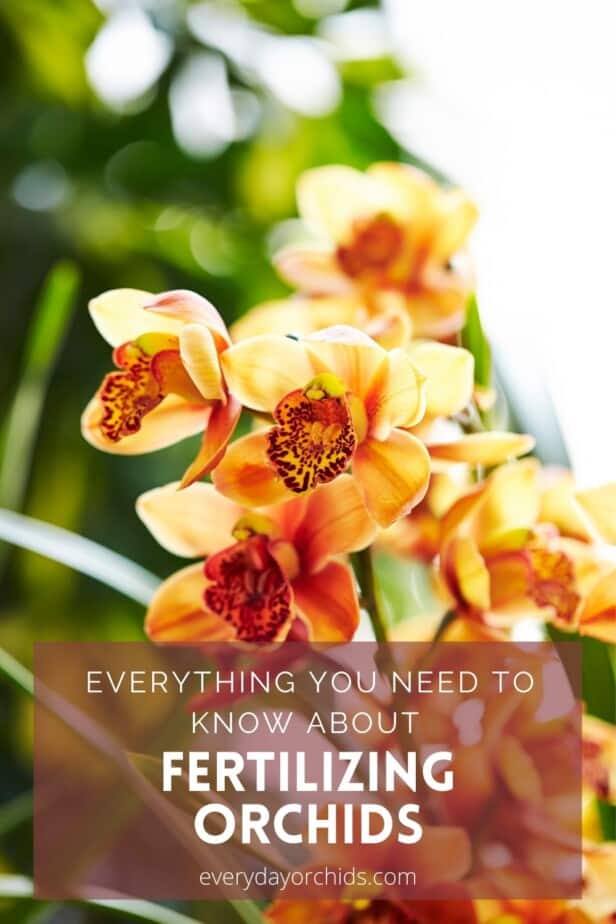
If you are wondering how to fertilize orchids, you have come to the right place. Orchids are known for their extraordinary flowers. These blooms can add a touch of beauty and color to any outdoor or indoor space. Fertilizing orchids properly will help them grow and produce beautiful, long-lasting blooms. The question is, how do you fertilize orchids properly?
To fertilize orchids, you can follow the “weakly, weekly” rule. This means you should fertilize your orchid plant each week with a diluted amount of fertilizer. You will need to choose the ideal fertilizer with no urea in it and use a fertilizer specific to orchids. You can dilute the fertilizer with water, and then apply the solution directly onto the roots after watering your orchid.
It’s as simple as that! However, there are some things that you must know to ensure that your orchids can quickly absorb the nutrients in the fertilizer. You should also know when to start feeding your orchid and how much fertilizer to use. Keep reading to learn how to master fertilizers for your orchids.
Please note that these links are affiliate links and as an Amazon Associate, I earn from qualifying purchases. Purchases made through affiliate links in this post may generate commissions at no additional cost to you. Use this link for a discounted Amazon Prime trial. Thank you for your support!
Table of Contents
The Basics of Fertilizing Orchids
Fertilizing orchids may seem like a daunting task, but it is actually quite straightforward. How often you fertilize your orchid correlates with how often you would water your orchid.
Fertilizing Frequency
In cooler temperatures, such as in the fall and winter, growth slows down. When this happens, you may want to fertilize just once or twice a month when you water your orchid.
Warmer temperatures in the spring and summer coincide with an orchid’s growth period. If the weather is very warm this may cause your orchid potting media to dry out quickly. During this time, you will want to water your orchids once or twice a week and fertilize your orchids once a week.
Dilute Your Orchid Fertilizer
One thing you should remember is that orchids will require less fertilizer than your regular plants. When fertilizing your orchids, use a diluted amount of orchid-specific fertilizer. Once you have selected your orchid fertilizer, dilute it using one part “prepared fertilizer” to three parts water.
By “prepared fertilizer,” I am referring to fertilizer that you have already mixed according to package instructions. Yes, you are going to dilute this even further. Orchids prefer weak fertilizer. You can prepare your diluted orchid fertilizer in a large container. This way, you will have diluted orchid fertilizer available to use next time you need it.
Diluting the fertilizer is essential to protecting the health of your orchid roots. Not diluting the fertilizer adequately can lead to over fertilization and chemical burns on your orchid roots. Root burn can lead to root death. If enough roots are affected, this can adversely affect the health of your orchid.
Fertilizing Before or After Watering
There is some debate among orchid growers about having the medium be dry or wet before you fertilize. You can try both. I usually lightly water my orchids with plain water first before fertilizing.
Watering before fertilizing allows the orchid roots and media to dampen. This reduces the risk of root burn. This will also ensure that the roots are moist enough to absorb nutrients from the fertilizer.
Some key points to remember when fertilizing orchids are:
- If you have several orchids to fertilize, you might want to mix the orchid fertilizer with water in a large container to save time.
- Follow the instructions and recommended dosage that comes with the fertilizer that you buy. Moreover, use a measuring spoon to make sure that you accurately use the right amount of fertilizer.
Now you know how to fertilize your orchids properly, but you may have some lingering questions. Why do you need to fertilize your orchids, anyway? When and how should you fertilize your plants? I will cover these topics below.
How Do Fertilizers Help Orchids?
You can do several things to make your orchids produce beautiful blooms and remain healthy throughout several flowering cycles. Give it an excellent growing medium, water it properly, and fertilize it correctly.
Fertilizers provide orchids with the nutrients that they need to thrive. This nourishment is especially crucial for an epiphyte that does not have access to the soil like regular plants.
Many orchid fertilizers contain these key components:
- Nitrogen, which promotes the growth of leaves
- Phosphorus, which helps the orchid grow more roots and produce more blooms
- Potassium, which helps the orchid thrive
Studies have shown that fertilizers at the right amounts promote plant growth. It would also seem that the most critical aspect is the presence of nitrogen in the fertilizer. Nitrogen promotes leaf growth. In the case of Phalaenopsis orchids, the more leaves it has, the better it grows. The better it grows, the more flowers it can produce.
Another study on Phalaenopsis orchids underscores the importance of fertilizers. Researchers found that more fertilizers applied meant your orchids would have more flowers, thicker and longer stalks, and produce more leaves after blooming. Fertilizers did not affect the size of the flowers and when the orchids would bloom.
Fertilization is crucial to produce a second set of blooms on your orchids. The study found that more fertilizers caused the plants to bloom earlier. The orchid also had more flowers, thicker stalks, and bigger, more numerous leaves.
What Is Phosphorus Deficiency in Orchids?
What happens to your orchids if you do not give them fertilizer? Even if you do not fertilize your orchids, the potting medium and the water will probably provide enough nutrients for the orchids. The exception to this is nitrogen and phosphorus. These nutrients may not be found in sufficient quantities in your potting medium and water alone.
When your orchids lack nitrogen, the leaves may start to turn yellow. The yellowing will start with the older leaves and then progress to the newer leaves if not addressed. You might also notice that your orchid has smaller leaves.
Phosphorus deficiency rarely happens in orchids. However, if you mistakenly fertilize your orchids with too much nitrogen, this will cause rapid growth of your orchid. As a result, this can lead to phosphorus depletion in your plant. The newer orchid leaves will appear dark green, with some orchid species developing foliage with a reddish shade.
In orchid phosphorus deficiency, you will also notice that the older leaves will appear lighter. A classic sign of phosphorus deficiency is that the plant’s older leaves’ tips will curl in and eventually die back. As a result, your plants might initially look healthier, but it will suffer from stunted growth in the long run.
Calcium deficiency can also cause leaf tip necrosis. Often times, phosphorus deficiency can be mistakenly diagnosed as calcium deficiency. This is because in both cases, the tips of the leaves die back.
Why You Should Feed Your Orchids
When you consider the fact that you are likely growing your orchids outside of their natural environment, it makes sense that you will likely need to supplement their nutrition with regular fertilization. Fertilizing your orchids will help them get the nutrients they would otherwise would receive growing in a greenhouse or rainforest.
Fertilizing orchids also helps make up for the diminishing nutrients found in the growing media you use. When you apply fertilizer to the roots and potting media, you are feeding the plants and the potting media.
How to Choose an Orchid Fertilizer
Different fertilizers have different NPK formulas. These formulas are usually indicated on the packaging. Those three numbers separated by dashes represent the level of nitrogen, phosphorus, and potassium in the product.
The NPK rating refers to the total nitrogen, the available phosphoric acid, and the soluble potassium that your orchids will receive from the fertilizer.
Aside from the NPK numbers, it would help if you looked at the guaranteed analysis breakdown. This is required to be put on fertilizer labels. This information will help you get a clear idea of the levels of synthetic urea, ammonium phosphate, and potassium nitrate in the fertilizer.
If you suspect that your orchids have a specific deficiency, then you can use a fertilizer that will provide your orchids with the specific nutrients they are missing. Some products are specially formulated for orchids. An example of this would be the Miracle-Gro Orchid Plant Food Spikes. This fertilizer promotes more leaves and flowers for your orchids.
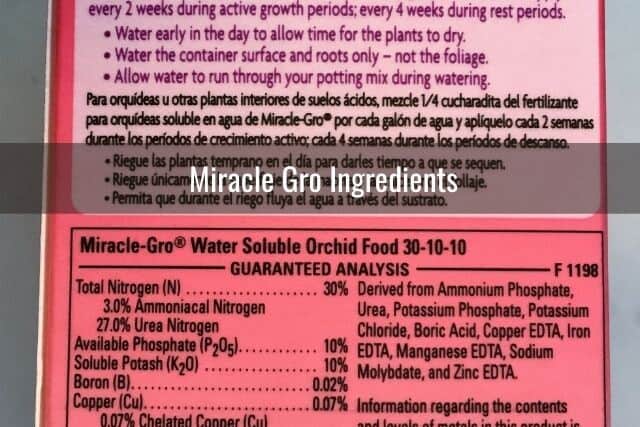
Yes, Miracle Gro can be used to fertilize orchids, but be sure you choose an orchid-specific Miracle Gro fertilizer, rather than a general one for all plants. I personally use the Miracle Gro water soluble orchid fertilizer, but they also sell fertilizer mist sprays, plant food spikes and time-release capsules that are specific to orchid plants.
You can also buy the Cute Farms Orchid Plant Food Fertilizer Mist. This has a weak formulation of 0.02-0.02-0.02 so that you do not over-fertilize your plants. Meanwhile, the Grow Co Ready to Spray Orchid Food allows you to use an organic fertilizer that is urea-free. It can help your orchids get greener leaves, longer spikes, and prettier flowers.
For the most part, you can get away with using general fertilizers or those containing the same levels of NPK, such as 20-20-20. These products are ideal for orchids that are growing in osmunda, tree-fern, and other non-woody media. A balanced fertilizer ensures that your orchid will have everything it needs:
- Nitrogen creates new tissues for growth.
- Phosphorus makes sure it has the energy to produce new leaves and spikes.
- Potassium ensures the overall growth of your orchid.
On top of these major nutrients, you also need to make sure that your chosen fertilizer has micronutrients. These trace elements can help make your orchids healthier. Most of the time though, these nutrients are readily available in the growing medium.
Tips When Choosing Orchid Fertilizers
What are the key points to remember so that you can choose the best fertilizers for your orchids?
- Do not apply dry fertilizers on orchids because they can burn your plants’ roots. Instead dilute the fertilizer in water before applying.
- Look at the other nutrients as well.
- Fertilizers with higher proportions of potassium and phosphorus are often marketed to boost the number of flowers your orchids have. Still, these rarely work because the plant needs all the primary nutrients, or NPK, in equal measure.
- Be careful of organic fertilizers. They usually have a terrible smell, and their nutrients are not always readily available to orchids.
- Avoid buying fertilizers that have urea if you have an epiphyte orchid such as a Phalaenopsis. High nitrogen fertilizers will contain urea. Urea needs soil organisms to help convert it into a form of nitrogen that plants can absorb. Because many orchids grow in orchid-specific potting media made of bark, plant fibers, and other material, there is no soil to convert the urea to nitrogen efficiently.
What Are Soluble Salts?

When you research fertilizing orchids, you will come across soluble salts. Fertilizers are made up of different soluble salts. You can also find soluble salts in potting mixes and your water supply.
The problem is that these salts often react with one another. When the water dries up and evaporates, salt deposits can be seen on your orchids. Too much salt deposits will make the orchid’s leaves look pale with white streaks and spots all over. These salt deposits can lead to problems if it cakes on the roots.
At minimum, salt buildup on the roots might hamper the orchid’s ability to absorb the nutrients from the potting mix or fertilizer. Salt buildup can also cause the root to turn black, starting at the tips.
You must clear away any salt buildup to address this problem. Flush the pot with water to wash away the salt.
You can also accomplish this by skipping an orchid feeding every fourth feed. If you are fertilizing your orchids every week, skip the fertilizer on the fourth week. Only water your orchids with plain water on the fourth week. This will help flush away any residual or excess salts from previous feedings.
If you are using a terracotta or clay pot, you might find a lot of salt residue on the inside of the pot. This is because the porous clay allows most of the water to evaporate quickly, leaving behind salt residue. To address this, just flush the pot with plain water periodically, as described above.
When Is the Best Time to Fertilize Orchids?
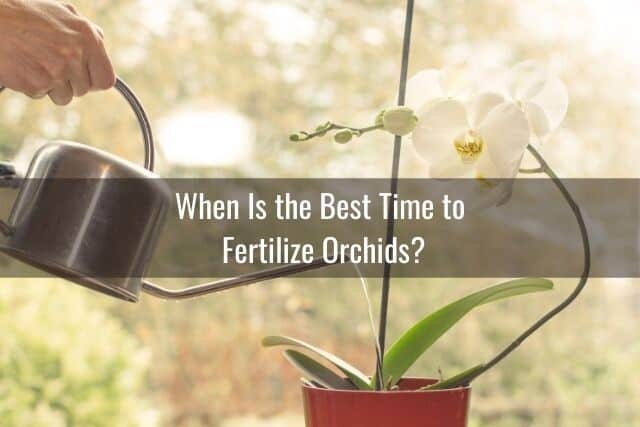
Now you know the best fertilizers to use for your orchids. You should also know just how much you would need to use and when you should feed your plants. Orchids grow slowly, and they are composed of 90% water. As such, there is no need for you to overly fertilize your orchid.
However, there are some exceptions. Here are some situations when you may need to use more fertilizer for your orchids:
- Use more fertilizer if there is fungi present. Check if fungi are growing in the potting medium, especially for orchids that are in woody growing media such as bark. These fungi will compete with your orchids for nutrients, especially nitrogen.
- Active growth. Orchids that are actively growing will need to be fed more. However, micronutrients from your water supply will usually be enough for your orchids even during periods of growth.
The NPK ratio and the amount of fertilizer that you decide to use is important. The American Orchid Society recommends that you start fertilizing with half the recommended dose on the fertilizer package. This proportion will usually translate to using half a teaspoon (2.5 milliliters) of 30-10-10 fertilizer. Dilute it with 1 gallon (3.8 liters) of water for orchids that use bark as a growing medium.
When Should You Fertilize an Orchid and How Often?
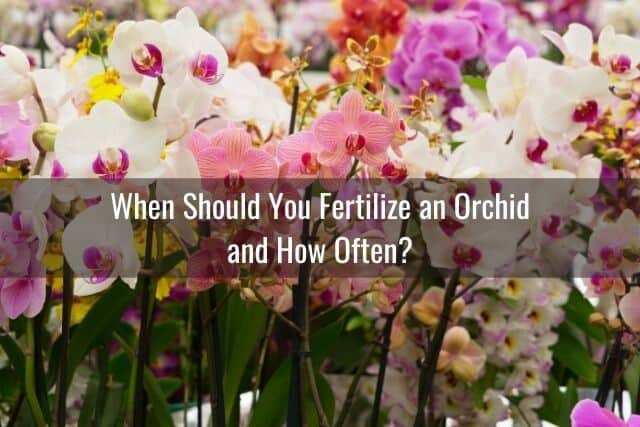
The bark in the potting media you use for growing your orchids has a porous surface. In addition, the bark will contain fungi. This will compete with your orchids for nutrients, so the nutrients will not remain available to your orchids for long.
This situation means that you will need to fertilize regularly. You can alternate light feeding with watering, or fertilize each week, subscribing to the “weakly, weekly” rule of thumb. Feed your orchids when the last bloom has fallen off the spike and the orchid enters its growth phase.
Follow a schedule. Feeding just once a month is sufficient during colder weather when most orchids are dormant. This is what is called a winter rest. Likewise, during this time, when your orchid is not actively growing, you can get away with watering only once a month.
You can also stop fertilizing your orchid if it is growing on osmunda or any other decaying medium that has some degree of fertility left in them.
During the growth phase during the spring and summer months, you can increase fertilization frequency to once a week. Fertilize when you water your orchids.
How Often Should You Fertilize Newly-Repotted Orchids?
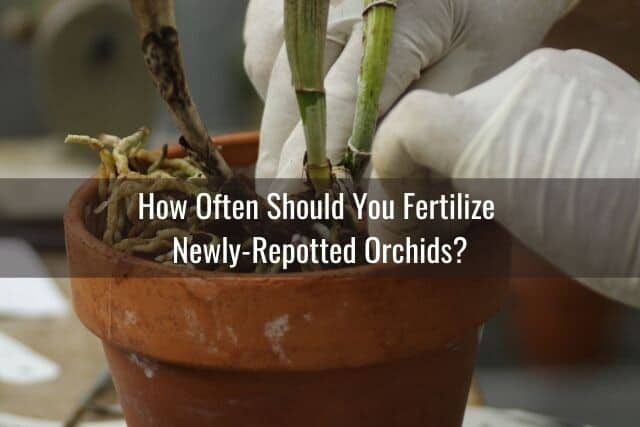
If you have just repotted your orchids and are using fresh orchid bark as your potting medium, the newly transferred plant will need more fertilizers. That is because the repotting may have damaged some of your orchid’s roots. You may have also needed to trim off other dead or rotted roots. Due to the stress to your orchid’s root system, your orchid’s ability to capture nutrients will be reduced.
If you did not thoroughly soak your orchid potting mix prior to repotting, the dry potting mix will end up competing with your orchid for water. In addition, the new colony of microbes in the potting mix will also compete with your orchid for nitrogen. This resulting nitrogen deficiency is one reason why some newly repotted orchids’ leaves turn yellow.
In order to fix this nitrogen deficiency problem, provide the newly repotted plant with a fertilizer high in nitrogen levels. After watering your orchid, apply the diluted fertilizer directly to the roots each week. Do this until you see the plant returning back to normal.
What You Should Know When Fertilizing in the Winter

When the colder days of winter looms, you will need to make some adjustments to your orchid fertilization routine. With most other plants, you can completely stop fertilizing them over the colder months. Not so with orchids. Most orchid species still need to be fertilized occasionally. This will help them withstand the temperature extremes and fend off possible attacks of pests and diseases.
Caring for orchids during winter should also involve removing older leaves, dying flowers, and dried up spikes. Do this as part of your orchid care each fall, as you prepare your orchids for winter and the colder weather. This step will help lessen the crowded conditions that can attract more diseases and pests in the winter.
Fertilizing Outdoor Orchids
If your orchids live outdoors year round, fertilizing them has the added benefit of making them more resistant to the cold. The additional two or three degrees of hardiness can spell the difference between a healthy plant or a dead orchid in the middle of winter.
How to Choose an Orchid Fertilizer in the Winter Months
In the winter months, you will want to choose a fertilizer that has lower levels of nitrogen and higher potassium content. The NPK ratio should be 15-5-20 or something similar. Your feeding schedule should allow for less frequent fertilizing, such as once a month or twice a month at most.
If you want your orchids to bloom over the winter months, you should give them some orchid bloom booster fertilizer in late autumn. This can be part of your fall orchid care. These fertilizers contain more phosphorus, such as 5-25-5 or 10-40-10.
Start transitioning to your winter fertilizer formula by mid-November and continue using this fertilizer until January or February. These new fertilizers will keep your plants healthy, but you may see very little growth.
What’s more, winter feeding can differ depending on the genera of orchids that you have.
- Cattleya orchids prefer less feeding and watering over winter.
- Dendrobium phalaenopsis and Dendrobium canaliculatum need low nitrogen fertilizer to promote flowering.
- Paphiopedilum orchids only need a small amount of fertilizer.
- Phalaenopsis orchids need a bloom booster fertilizer to encourage the inflorescences or flower spikes to sprout. You can also apply magnesium sulfate to prevent damage to the lower leaves and promote flowering.
- Vanda orchids need to be protected from the chilly winter temperatures. You should fertilize Vanda orchids less often during the winter.
Can You Fertilize Orchids When They Are in Bloom?
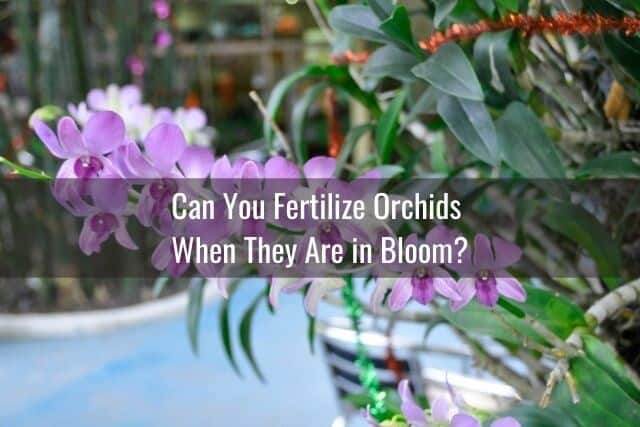
Buds and blooms appearing along the spikes of your orchids can be an exciting sight. Most people appreciate orchids more once they bloom and beautify the space around them. Some owners will want to add more fertilizers to encourage the plant to flower some more, but does this work?
Technically, you can fertilize your orchids while they are in full bloom. However, it is not needed and will more or less waste your fertilizer. Instead, you want to fertilize your orchid before it blooms with a bloom booster fertilizer such as this one. You also want to fertilize your orchid while it rests after each blooming period.
Choosing a Fertilizer To Make Your Orchid Bloom
When it comes to flowering, you will need to keep some things in mind:
- Use a balanced fertilizer while your orchids are actively growing to encourage them to bloom.
- Use a fertilizer product with high nitrogen levels if your orchids are growing in bark.
- Switch to a bloom booster fertilizer in the fall. Choose one with higher levels of potassium and phosphorus.
- Dilute fertilizers to a quarter or half strength. You only need 25 to 50 parts per million of phosphorus for optimum flowers. Adding more will not help your orchids have more flowers. This requirement means that you can use a teaspoon of a 10-20-10 fertilizer and dilute it in 1 gallon (3.7 liters) of water.
- If your orchid is currently growing or blooming, fertilize it once a week.
- Using too much fertilizer might cause your orchids to fail when flowering. If you have a leggy plant, too much nitrogen is the cause. Although your leaves are flourishing, it will not bloom.
Do You Water an Orchid Before or After Fertilizing?
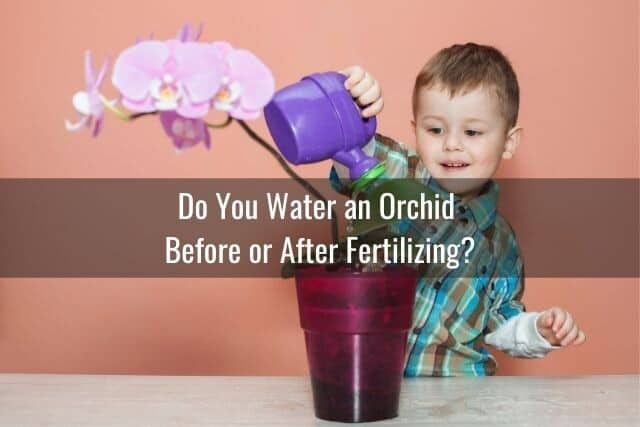
Yes, you can definitely water your orchids before fertilizing them. Some people do not but I personally give the orchid roots a little rinse with plain water before fertilizing them. This step is to make sure that the roots are moist enough to absorb the nutrients. Watering your orchids before you feed them can also help protect their roots from burning.
What about after fertilizing? Should you water an orchid after feeding it? No, you are essentially providing your orchids with additional water in the form of diluted fertilizer. Watering after fertilizing is not necessary. Watering with plain water after fertilizing might rinse away the fertilizer that you just added.
In fact, watering your orchid more after fertilizing can also lead to over watering. Overwatering can lead to root rot, which turns the roots brown and then black as the root dies. When left unattended, it can kill your orchids.
Why You Should Avoid Fertilizing a Sick Orchid

Some people think that they can revive a sick, weak, or dying orchid by giving it more fertilizer. However, the opposite is true: you should not try to rescue a sick orchid by fertilizing it. It is already under stress and applying fertilizers will be stressing your orchid further. Instead, try to figure out the root cause of your orchid’s illness and treat that first.
Dark and floppy leaves can indicate that you are overfeeding your orchid. What is more, overfeeding an orchid will make it grow faster than it should. This will result in a plant that is weak and vulnerable to diseases. The solution is to stop fertilizing immediately. Hold off on fertilizing your orchid again until after you see it has returned to health.
What Are Three Popular Orchid Fertilizers?
As you have learned, there are several types of fertilizers that you can use to keep your orchids adequately fed, healthy, and thriving.
All-Purpose Fertilizer
For the most part, you need to use a general-purpose fertilizer with equal amounts of nitrogen, phosphorus, and potassium. Peter’s Water Soluble Fertilizer can be used for orchids and has an NPK of 20-20-20. It also has different sources of nitrogen, some of which are slow release.
This product is ideal for Dendrobiums, Cattleyas, and Vandas but can be used for other types of orchids. As long as the orchid is in active growth, you can fertilize it with a 20-20-20 NPK fertilizer.
Bloom Boost
If you prefer beautiful flowers on your orchids, use products such as the Sun Bulb 8305 Better Gro Orchid Plus Bloom Booster. This product has higher levels of phosphorus, which can help your orchids grow more vibrant and larger flowers. Bloom boosters should be applied in October or November, just before the long months of winter.
Unique Formulas and Orchid Food
Some products are specially formulated for orchids, such as Orchid Love. This plant food encourages your orchid to bloom better and rebloom after its flowers die back. Orchid Love is a fertilizer that is made with top quality organic ingredients. This plant food has 1.2% nitrogen, 1.1% phosphorus, and 0.4% potassium.
Consider Homemade Fertilizers For Your Orchid
If you prefer to make your own orchid fertilizers, you can definitely do this. For instance, you can make a diluted fertilizer out of common kitchen items. You can use scraps such as ground coffee, used tea bags, crushed egg shells, or crushed oyster shells.
The Correct Way to Fertilize Your Orchids
So, how exactly do you fertilize your orchids?
- Wait until the last bloom dies and falls off the spike to begin fertilizing. The orchid is now entering its rest period and it will need nutrients to rebloom and grow leaves and roots.
- Choose the right fertilizer depending on the nutrients that your orchid needs. Base your fertilizer on whether the orchid is actively growing, getting ready to bloom, or preparing to go dormant.
- Dilute the fertilizer with water.
- The best way to fertilize your orchid is to put the diluted fertilizer in a watering can. Choose a product like the WhaleLife Indoor Watering Can, which has a long and narrow spout.
- Avoid getting the diluted solution on the leaves to help protect them from getting burned. Get as close to the orchid’s roots and growing medium as possible and apply the diluted fertilizer.
- Allow the orchid potting media to drain completely. Ensure that the water does not collect anywhere on the pot, in the orchid’s crown or the leaves. Standing water in the crown can cause crown rot. Contaminated water on the leaves can lead to brown rot or a brown spot infection.
- Follow a schedule for your watering and fertilizing of your orchids.
Final Thoughts
Your orchid does not need frequent feeding. Even when you do fertilize, you only have to do so at most once a week or twice a month, depending on the season. During growth seasons, fertilize “weakly, weekly.” Develop the habit of feeding your orchids regularly. Use a diluted mix of fertilizer and water. You will be rewarded in time with beautiful blooms and healthy orchids.
If you enjoyed this article, please pin it and share!
Recent Posts
Fusarium wilt in orchids is, unfortunately, a problem that you may encounter at one point or another. It is caused by the Fusarium pathogen and this kind of infection can be hard to identify at...
When it comes to choosing an orchid potting mix and knowing what kind of orchid soil is best, the decision can feel daunting. After all, there is a huge variety of options out there, from orchid bark...
