
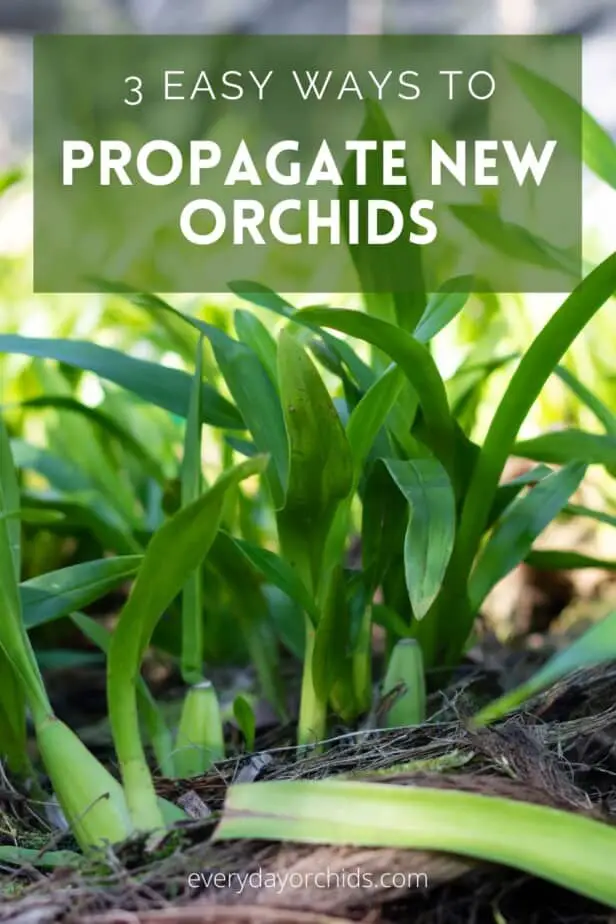
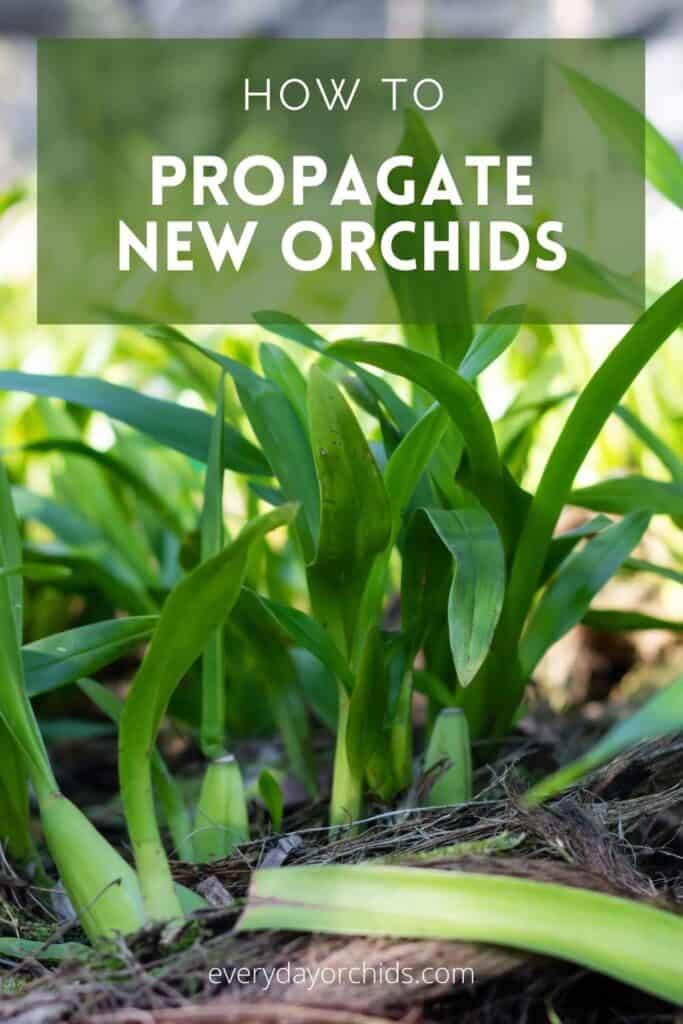
Ever wonder how orchid growers produce so many orchids to sell? Many of them propagate new orchids from orchids they already own. I first got curious about this process thanks to a farmer’s market nearby. An orchid grower there sold many different sizes of orchids, mostly Phalaenopsis orchids. She would tell her customers that she grew them all herself. The smallest orchids looked like keiki orchids, and there were dozens of them. I asked, how did she grow all of these orchids? Is it hard? Could I do it too? The answer I found was that orchid propagation is easy and anyone can do it!

To propagate new orchids, you can stimulate keiki growth on an orchid you already have, divide an orchid with pseudobulbs or grow new orchids from stem cuttings. Each method does take some effort and time, but the end result is very rewarding. Learning how to propagate orchids can be a lot of fun. It is also useful if you want to build a business or grow your orchid collection.
Stick around and learn how to propagate orchids easily. I will teach you the top three orchid propagation methods you can do at home. I’ll give you step-by-step techniques you can use to propagate your own orchids. Keep reading to learn what to expect and how long each process takes. You’ll learn which method is best for you and your orchids.
Please note that these links are affiliate links and as an Amazon Associate, I earn from qualifying purchases. Purchases made through affiliate links in this post may generate commissions at no additional cost to you. Use this link for a discounted Amazon Prime trial. Thank you for your support!
Table of Contents
Which Method Is Best for Propagating New Orchids?

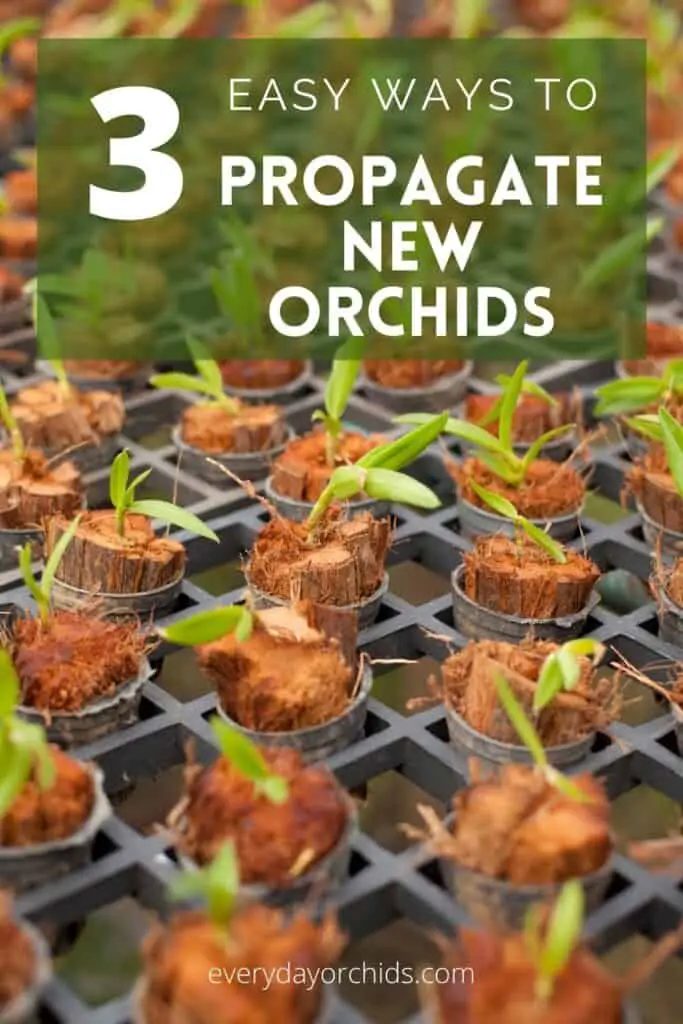
There are three main ways you can propagate new orchid plants: keiki growth, pseudobulb division, and growing orchids from stem cuttings. The method you choose really depends on how many new orchids you want to grow. More importantly, the method you decide on will have a lot to do with the type of orchid you have. There is also a fourth, less commonly used method for growing orchids. That is by using seeds. I will briefly talk about that as well.
Keiki Growth
Many Phalaenopsis, Epidendrum, and Dendrobium orchids can grow offshoots, called keikis. “Keiki” is Hawaiian for “baby,” which is fitting because these offshoots are baby orchid plants that sprout and grow from the mother.
Sometimes this growth happens spontaneously, with no intervention from the orchid grower, and it is a pleasant surprise. You can also stimulate keiki growth using a few methods, which I will further outline below.
Pseudobulb Division
Pseudobulb division is only possible with orchids that have pseudobulbs (of course). Phalaenopsis orchids and other monopodial orchids cannot be propagated this way. Instead, orchids such as Cattleya, Dendrobium, Epidendrum, Oncidium, and Laelia can. These orchid species have pseudobulbs. By dividing the pseudobulbs, you can get more orchids. More on this down below.
Stem Cuttings
A third method for propagating new orchids is by taking stem cuttings. You can stimulate the nodes on each stem cutting to grow another orchid. This is most often used with Phalaenopsis orchids.
In theory, it can be used with any orchid that has a stem with nodes. I go into more detail about this method in the sections below. I’ll also provide some step-by-step instructions on how you can do this at home.
Growing Orchids From Seeds
Seeds are another way to propagate orchids. I will mention it briefly here, but will not go into great detail about it. This is because it can be very difficult to have success propagating orchids this way.
Orchids produce tiny seeds, which can then be used to grow new orchid plants. In the wild, these seeds require the help of a certain fungus to germinate. The fungus provides the nutrition needed for germination. The seeds themselves do not have stored nutrients and cannot germinate on their own. Orchid propagation from seeds is notoriously very difficult for orchid growers and not often done.
How Long Does Orchid Propagation Take?
Don’t be surprised, but orchid propagation can be a slow, tedious process. It is rewarding, but will take a long time. You’ll need to have a lot of patience and temper your expectations.
Depending on which method you use, it can take months to grow a new orchid to a size where it can be potted into an orchid pot. Up to a year can pass by before you see your new orchid bloom. A lot of this has to do with the different seasons of orchid growth.
When growing orchids, it can take 2 to 8 weeks before you notice growth on the orchid stem. This is true whether you are trying to grow orchids from pseudobulbs, stem cuttings, or stimulate keiki growth. It can take another year before your new orchid has grown big enough to be planted on its own.
That said, although it can take a while to propagate new orchids, it is a very rewarding process.
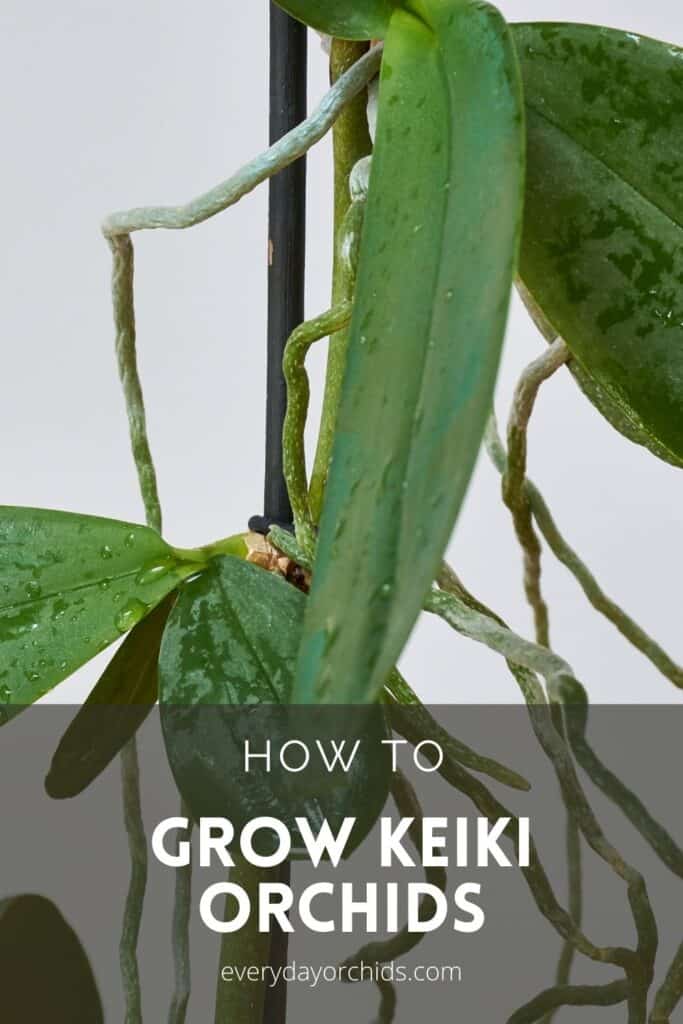
How to Grow Orchid Keiki
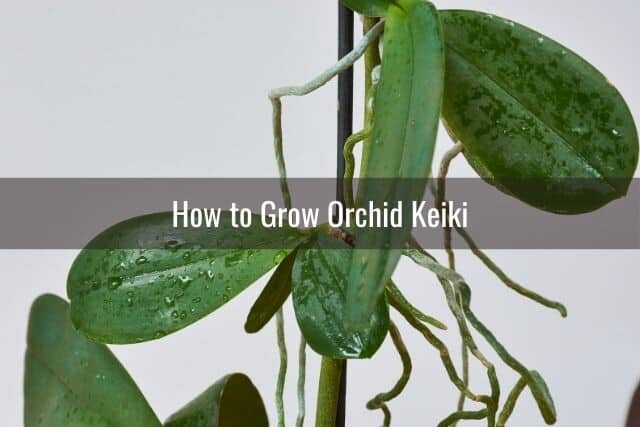
Sometimes keiki growth on orchids is spontaneous and unpredictable. Healthy orchids can produce keiki offshoots as a response to excess growth hormones. Other times, keiki production in an orchid can be a sign that your orchid plant is dying. In that case, producing an offspring is one of the last things it will do.
Instead of waiting for your orchid to produce keiki on its own, you can take some steps to trigger keiki growth on your orchids.
Commonly, Phalaenopsis orchids are used to grow keiki. You can also do this with Dendrobium and Epidendrum orchids as well. In Dendrobiums and Epidendrums, keikis can develop at the nodes, which is where you usually see leaves grow.
Step-By-Step Guide to Growing Keiki Orchids
Using an orchid cloning paste, you can encourage your orchid to grow a keiki along its stem. The keiki paste contains growth hormones. This stimulates the orchid into producing a keiki.
To stimulate keiki growth in your orchid, follow these steps:
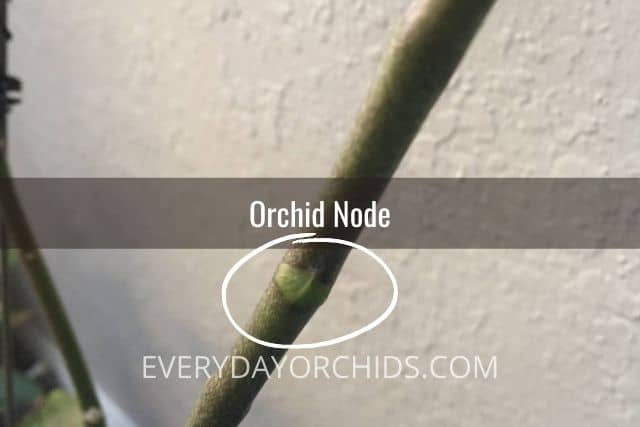
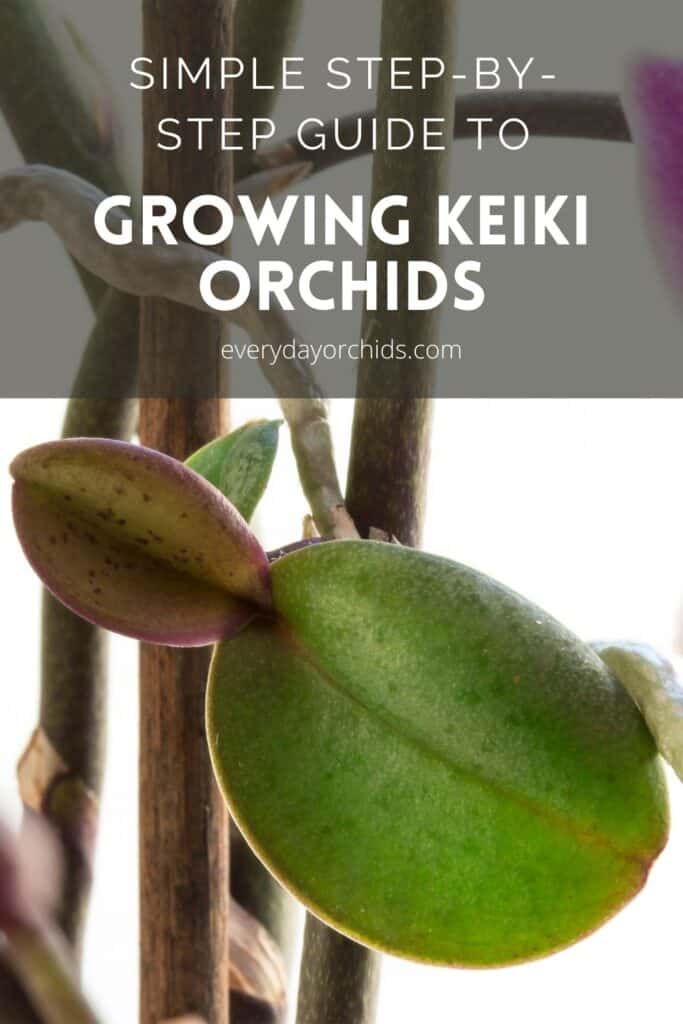
- Locate an orchid node along your orchid’s stem. An orchid node is a triangular-shaped bulge along an orchid’s stem, or flower spike. I’ve included a picture below from my own orchid. Usually an orchid stem will have multiple nodes along its length, spaced evenly apart.
- Carefully peel away the thin layer covering the node.
- Apply a pea-sized amount of orchid cloning paste to the exposed area.
- Then wait for a keiki to grow! Continue caring for the orchid as you normally would while you wait for a keiki to develop.
How Long It Takes to Grow an Orchid Keiki
It can take anywhere from 2 to 8 weeks for the orchid keiki to grow, depending on the health of the mother orchid. Needless to say, you only want to try propagating keikis from a healthy orchid.
To increase your chances of success, you can try applying the cloning paste to multiple (though not all) nodes, especially if your orchid has multiple stems available.
Once you see an orchid keiki start to develop along the stem, leave it attached to the mother plant for a while longer. The keiki’s roots must be at least 2 to 3 inches long. It must also have developed at least two leaves before you can safely separate it from the mother orchid.
This can be a long process. It can take anywhere from 6 to 12 months for an orchid keiki to grow roots that are at least 2 inches long. While you are waiting, be sure you mist the keiki’s roots on a regular basis. Using a cool-mist humidifier nearby will also keep the growing environment humid. This will keep them from drying out. Adequate humidity levels are key in supporting orchid growth.
How to Separate an Orchid Keiki from the Mother Orchid
When you are ready to separate the orchid keiki from the mother plant, do not pull it off the stem! I made this mistake years ago when I was new to orchid growing, and to this day, I regret it. That little keiki orchid that I unwittingly pulled off the stem has not grown much. I always wonder what would have happened if I had separated it the right way instead.
Here is the proper way to separate a keiki orchid from the mother orchid:
- Gather your materials. You will need a sterilized knife, scissors, or blade. You will also need a small orchid pot, new potting media, and (optional) sphagnum moss.
- Once the keiki’s roots are at least 2 or 3 inches long, and you see at least two leaves, you can separate it. Cut the mother orchid’s stem 1 inch above and 1 inch below the keiki plant.
- Yes, the keiki will still be attached to a section of the stem and you want to keep it this way.
- Treat the cut area of the mother orchid’s stem with an anti-fungal powder, such as ground cinnamon, to prevent infections.
- Ground cinnamon also has drying properties and will help seal the wound. You can read more about how to use ground cinnamon on orchids here.
- Plant the keiki along with the attached piece of stem in a new pot with fresh potting media. Make sure the roots are pointed down and spread out a little.
- Optional: you can add some damp sphagnum moss to the top of the potting media. This will help maintain humidification and moisture for your baby orchid.
- Continue caring for your new keiki orchid as you would with a full-grown orchid plant. Keep it indoors with proper humidification, light, and airflow until it is bigger.
- Do not move it outside too soon and keep it out of direct sunlight.
- You may also need to mist your keiki’s roots daily or several times a week to ensure they do not dry out.
Continue to maintain optimal growing conditions for your orchid keiki. This baby orchid will be a genetic clone of the mother orchid. It will take anywhere from 1 to 3 years for the new orchid plant to grow enough and develop blooms. When they do, those blooms will be identical to the blooms on the mother orchid.
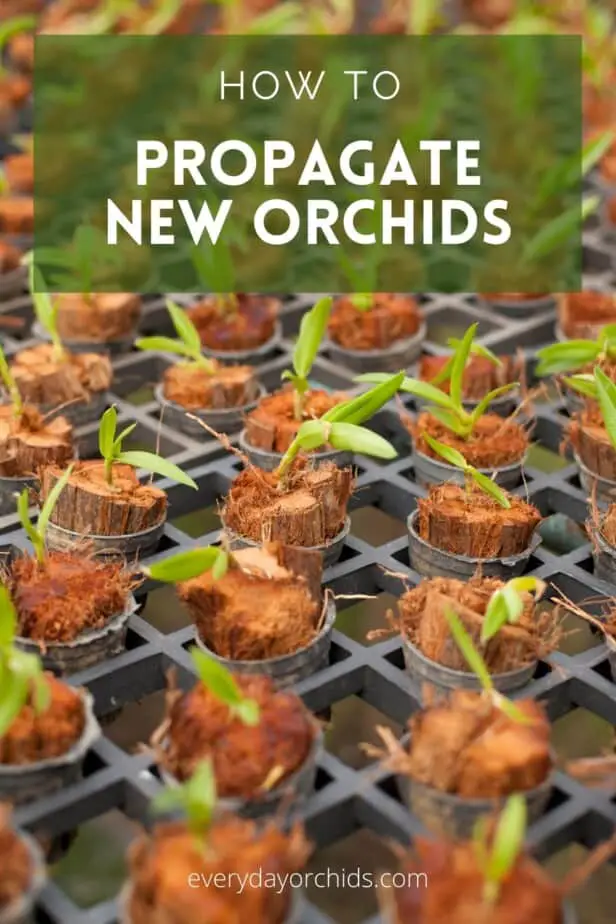
How to Divide Orchids with Pseudobulbs
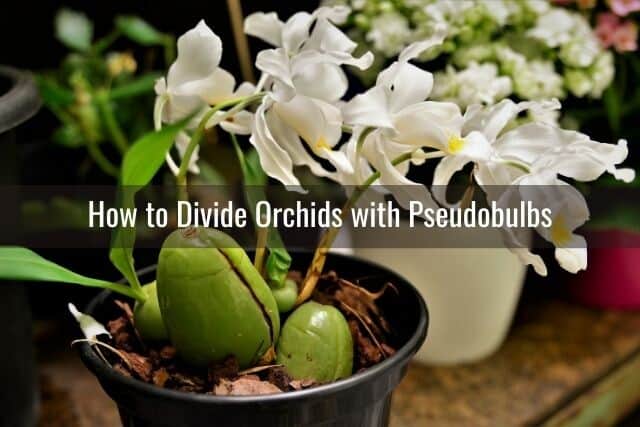
Orchids with pseudobulbs include Cattleya, Dendrobium, Epidendrum, Oncidium, and Laelia orchids. In many of these orchids, there is a horizontal stem that grows under the potting media. It is from this horizontal stem that pseudobulbs form and develop.
Pseudobulbs in Dendrobium and Epidendrum orchids take the form of a cane with leaves growing along its length.
Pseudobulbs in orchids store water and nutrients for the orchid. Each pseudobulb has the potential to develop into an entirely new orchid plant. If you are able to help your orchid grow more pseudobulbs, you will be able to propagate more orchid plants.
The best time to propagate orchids from pseudobulbs is in the early spring. This is before the pseudobulbs fully develop but after the orchid has finished flowering. You will want to use an orchid that is several years old and fully mature.
Step-By-Step Guide to Dividing Orchids with Pseudobulbs
To propagate orchids from pseudobulbs, follow these steps:
- Gather your materials. You will need a sterilized blade or knife, new potting media, and clean, sterilized orchid pots.
- Unpot the orchid and remove it from the potting media.
- Locate the main horizontal stem that was previously hidden under the potting media. You should see little pseudobulbs, or pods, distributed along the length of the stem.
- Using a sterilized knife or blade, cut the horizontal stem into several pieces. You want to make sure that each piece has at least two or three pseudobulbs, or pods, and that the first bulb in each section is starting to develop.
- For best success, you will need to ensure that the first bulb has growth from this year, so you want to use a pseudobulb that is just starting to develop. If you use an old bulb, the chances of success decrease.
- Plant each section into an orchid pot with new orchid potting media.
For more information, read this guide on how to divide and repot orchids with pseudobulbs.
How Long It Takes to Grow an Orchid via Pseduobulb Division
It will take about 1 to 2 months for the newly planted sections with the pseudobulbs to grow. Continue to care for and nurture the new orchid plants as you would with your other orchids. Make sure that you have adequate humidity, light, airflow and water for your new orchids. If all goes well, these new plants should grow enough to be able to flower the following year.
Even if your orchid already has active pseudobulbs with growth, meaning leaves, stems and roots, you can still divide your orchid. Most likely, your orchid has started to overgrow its current pot and needs to be repotted anyway. You can kill two birds with one stone by doing this. Not only will you end up with more orchids, but you will also be encouraging growth on the original orchid.
You can read more about how to repot an orchid here, as well as how to choose an orchid pot here.
How to Divide an Orchid with Active Pseudobulb Growth
To divide an orchid that already has active pseudobulb growth, just follow the steps outlined above for propagating orchids from pseudobulbs. Make sure each section you cut has at least one active shoot or pseudobulb, plus one or two more pseudobulbs and adequate roots to support it. You can read more about orchid propagation via pseudobulb division here.
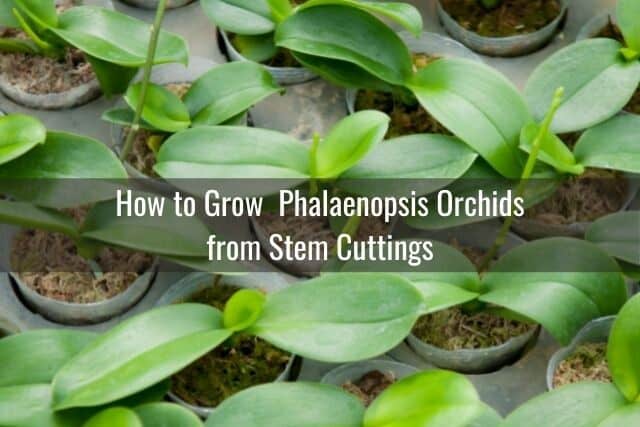
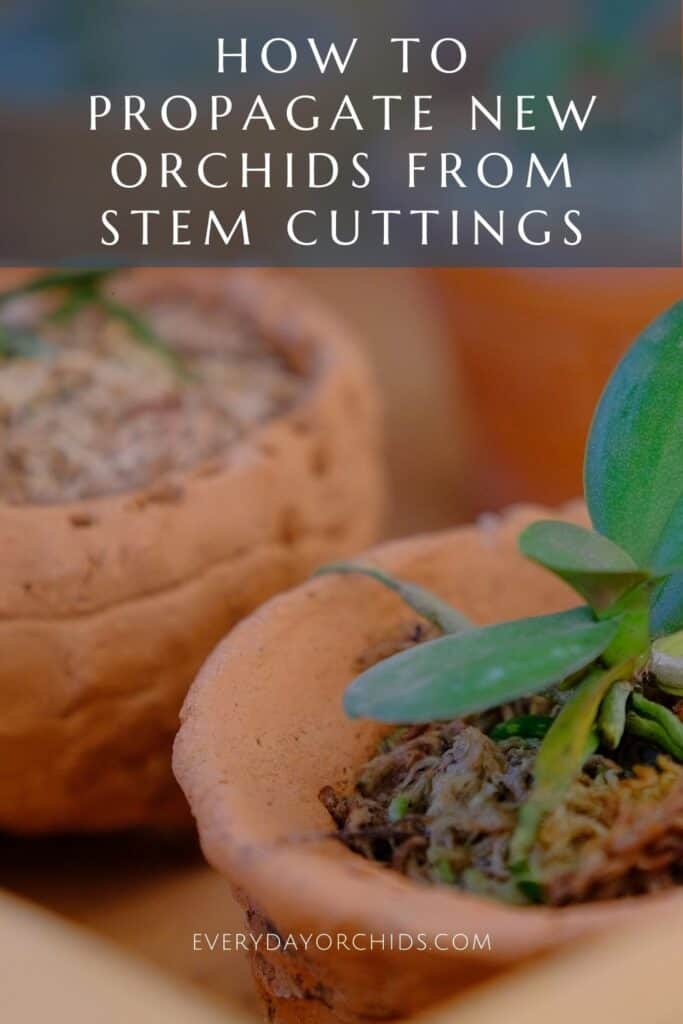
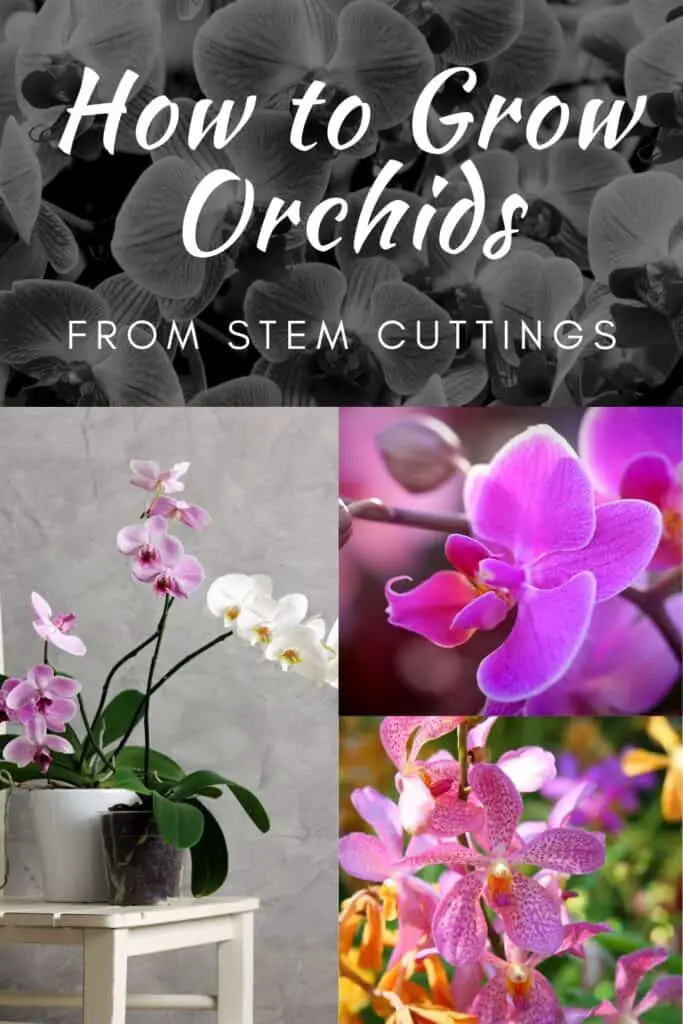
How to Grow Orchids from Stem Cuttings
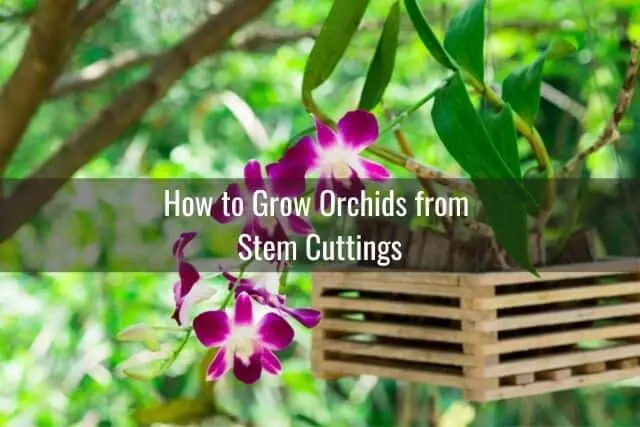
Growing orchids from stem cuttings can seem laborious, but is actually a quite common way of propagating new orchids. This process can yield many new orchid plants if done right.
To do this, you will want to start with a healthy orchid that has at least one thick healthy stem, or flower spike, with multiple nodes. Each stem will need to be at least 10 to 12 inches long. This way, each stem will yield several sections with at least 2 nodes per section.
This method works better with some orchid species than others. For example, Dendrobium, Epidendrum and Vanda orchids do well with this method of propagation. Ascocentrum and Ludisia jewel orchids, two less common varieties, can also be propagated via stem cuttings.
I will go over how to propagate these orchids from stem cuttings next, and how to propagate Phalaenopsis orchids from stem cuttings in the next section after that.
Step-by-Step Guide to Propagating Orchids from Stem Cuttings
To propagate orchids from stem cuttings, follow these steps:
- Gather your materials. You will need a pair of sterilized scissors or a sterilized blade. You will also need sphagnum moss, a humidity tray, a clear plastic bag, a spray bottle with a misting feature, and ground cinnamon.
- A humidity tray can be made using a shallow tray or basin, such as this one. Line it with rocks or gravel along the bottom. Slightly fill it with water. You want only a little bit of water so that the bottom half of the rocks are wet and the top half of the rocks stay dry. This way, the orchids will not be sitting in standing water. The water along the bottom of the tray will provide some humidification and moisture to the plants.
- Prepare the sphagnum moss by soaking it in some water for at least 5 minutes.
- Using your sterilized blade or scissors, cut your orchid stem above a node, near the base of a flower.
- An orchid node is a bulge along the orchid stem. This is where buds form, keikis can grow, or new spikes can form.
- Continue to cut the orchid stem into sections, making sure you have at least two nodes per section.
- Dip the ends of each cut section into ground cinnamon powder. This will seal off the ends and prevent infection.
- Cover the cut end of the orchid stem on the mother orchid in ground cinnamon powder as well.
- Take the sphagnum moss and squeeze out the excess water.
- Place the damp moss in your humidity tray, along the top of the rocks.
- Take your cut sections of the orchid stem and nestle them on top of the moss.
- Put your entire tray into the clear plastic bag, keeping it right side up.
- The clear plastic bag will help trap in some of the moisture. It will also maintain high humidity levels for the stem cuttings, while still allowing light to pass through.
- Place the tray (which is still in the clear plastic bag) in an area where it can get bright, indirect sunlight.
Alternatively, you can also use a clear plastic bin or tote, instead of a plastic bag. Follow the methods outlined in my Everyday Orchids post about how to grow orchid roots fast using a humidity box. Basically, you want to provide your new orchids with light and high humidity in the early stages. Make sure you also have good air circulation to prevent growth of mold and fungus.
Propagating Phalaenopsis Orchids From Stem Cuttings
It is possible to propagate Phalaenopsis orchids using stem cuttings. However, you will need to use a combination of the steps outlined for stem cutting propagation with the methods outlined above for growing a keiki orchid.
Basically, instead of applying orchid cloning paste to the orchid node while the flower spike is still attached to the orchid, you will cut the flower spike off first.
The benefit of propagating Phalaenopsis orchids this way is that there is less stress on the mother orchid. Orchid keikis, like human fetuses, tend to take nutrients and energy from the mother orchid as they grow. By propagating orchids via stem cuttings, the mother orchid is able to focus its energies on root and leaf growth, as well as growing a new orchid flower spike.
- Select your orchid flower spike, making sure you choose one that has multiple nodes along the spike. Using a sterilized blade, cut the flower spike close to the base, where it meets the orchid plant.
- Use ground cinnamon powder to cover the open cuts on the orchid plant and on the spike that you have just cut off. This will help prevent infection.
- Locate the orchid nodes along your orchid’s stem. An orchid node is a triangular-shaped bulge along an orchid’s stem, or flower spike. Usually an orchid stem will have multiple nodes along its length, spaced evenly apart.
- Using a sterilized blade, divide the flower spike into sections, with at least 1 or 2 nodes per section.
- Make sure you dip the end of each section in ground cinnamon powder to seal off the ends.
- Carefully peel away the thin layer covering the node.
- Apply a pea-sized amount of orchid cloning paste to the exposed area.
- Prepare a humidity tray with sphagnum moss, rocks and water, as outlined in the stem cuttings propagation guide directly above (see steps 1 and 2).
- Follow steps 7-11 in the stem cuttings propagation guide (above).
Caring for Your Stem Cuttings
When positioning your humidity tray, make sure that the stem cuttings will not end up “baking” in the sun. You should place them in an area where they will get bright indirect light.
Avoid placing them where they will be exposed to direct afternoon lighting. This is often the strongest, most intense light of the day. If you plan to place your humidity tray near a west facing or south facing window, you may need to cover the window with a thin curtain. Doing so will ensure that the right amount of light reaches your stem cuttings.
For the best chances for success, keep the stem cuttings from being exposed to heat and high temperatures. Make sure the humidity tray has some water and the sphagnum moss does not completely dry out. You want to maintain a high humidity environment for the stem cuttings as they try to grow new orchids.
How Long It Takes to Grow an Orchid via Stem Cuttings
It will take a few months for the stem cuttings to show some growth. It is a slow process so you will have to be patient. Once your stem cuttings have sprouted, keep an eye on them. When the roots are at least 2 or 3 inches long and there are at least two leaves, you can transplant them into small orchid pots. From there, you want to continue to maintain proper humidity, light, and airflow for your baby orchid plant.
Final Thoughts
From start to finish, it might take a year or more to grow a new orchid plant large enough to be potted on its own. Whether you decide to propagate a new orchid plant using keiki paste, stem cuttings, or pseudobulb division, patience is key. Although the process is takes time, nothing is more rewarding than seeing new orchid plants grow using just a few tools and your time.
Good luck and enjoy growing your orchid collection!
If you enjoyed this article, please pin it and share!
Recent Posts
Fusarium wilt in orchids is, unfortunately, a problem that you may encounter at one point or another. It is caused by the Fusarium pathogen and this kind of infection can be hard to identify at...
When it comes to choosing an orchid potting mix and knowing what kind of orchid soil is best, the decision can feel daunting. After all, there is a huge variety of options out there, from orchid bark...
