
If you curious about how to care for Oncidium orchids, you’ve come to the right place. I’ll go over exactly what you need to know in order to successfully care for your Oncidium orchid.
Basic Oncidium orchid care includes lots of bright, indirect light and humidity levels between 55 to 75%. Maintain good airflow to prevent disease. Water your orchid more frequently during growth periods and repot every other year using a fine or medium-grade orchid potting media.

Oncidium orchids are fairly easy to grow and can produce an abundance of flowers during blooming season. They are popular indoor orchids and a great addition to any orchid collection. I’ll go over the care guidelines for Oncidium orchids in more detail below. Keep reading to learn more.
Please note that these links are affiliate links and as an Amazon Associate, I earn from qualifying purchases. Purchases made through affiliate links in this post may generate commissions at no additional cost to you. Use this link for a discounted Amazon Prime trial. Thank you for your support!
Table of Contents
All About Oncidium Orchids
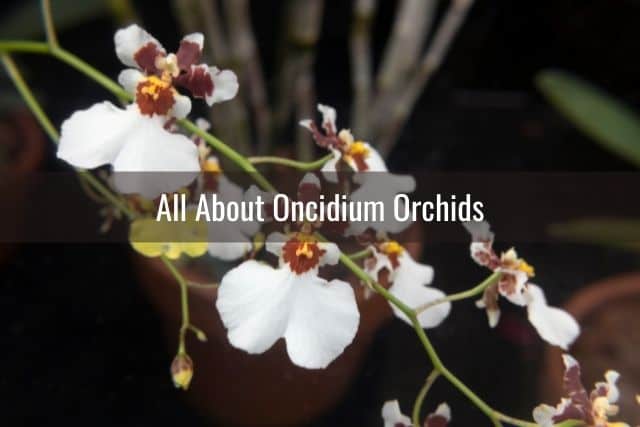
Oncidium orchids are part of a large family of orchids called Orchidaceae. Within the Oncidium orchid genus are a multitude of different species and hybrids.
Unlike Phalaenopsis orchids, which are monopodial, Oncidium orchids are sympodial. This means that Oncidium orchids grow from a rhizome, rather than a single stem.
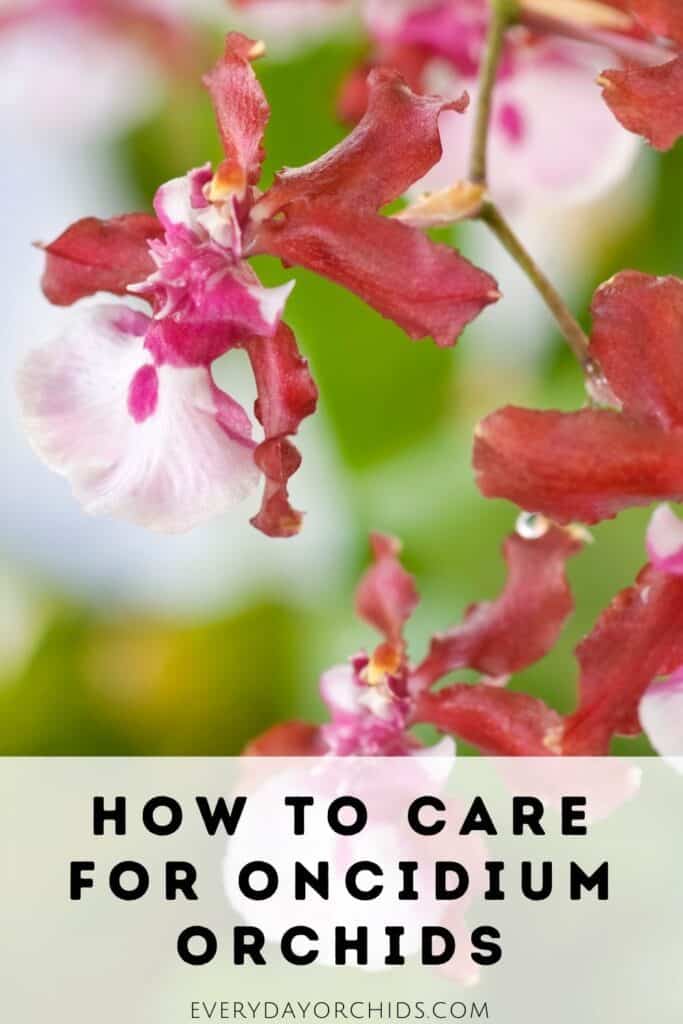
Oncidium orchids are also known as the “Dancing Lady” orchids. This is due in part to the ruffled flower petals, which look like a dancing lady’s dress.
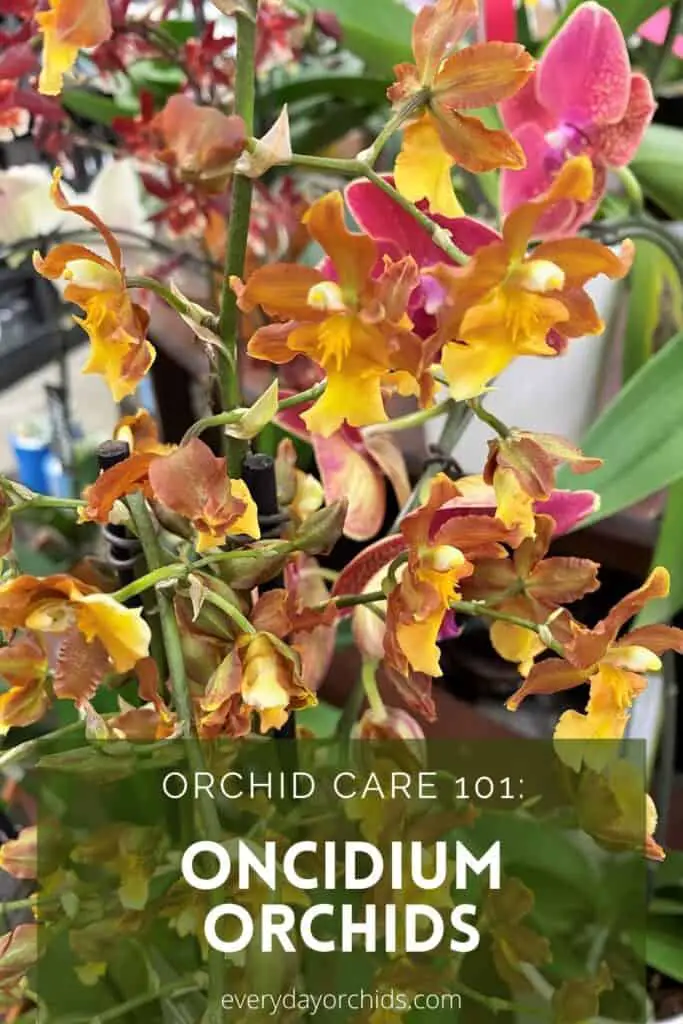
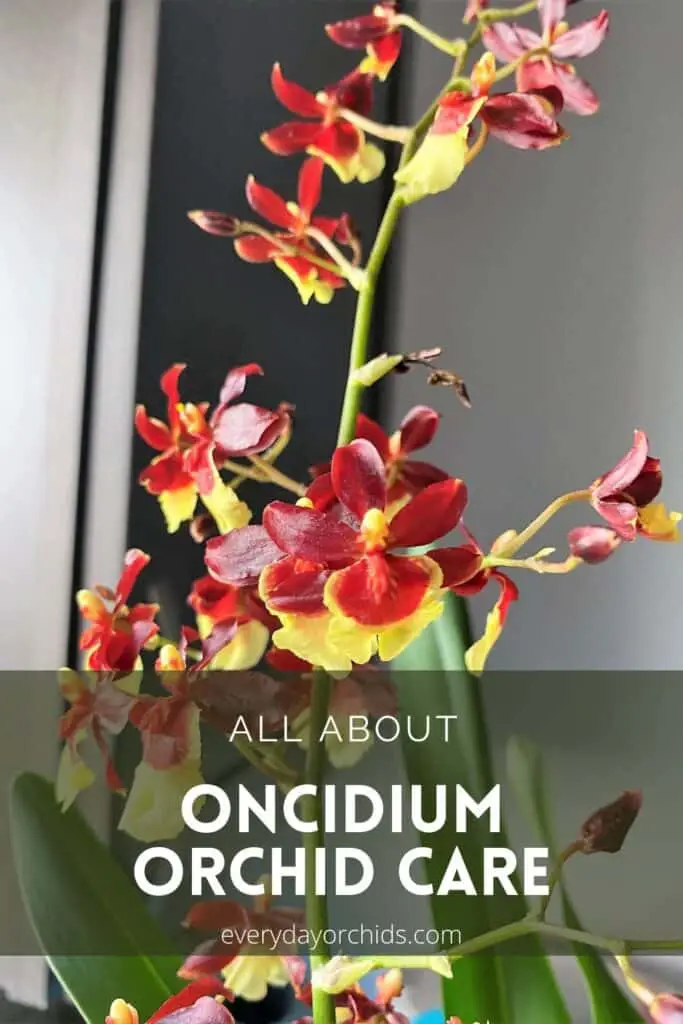
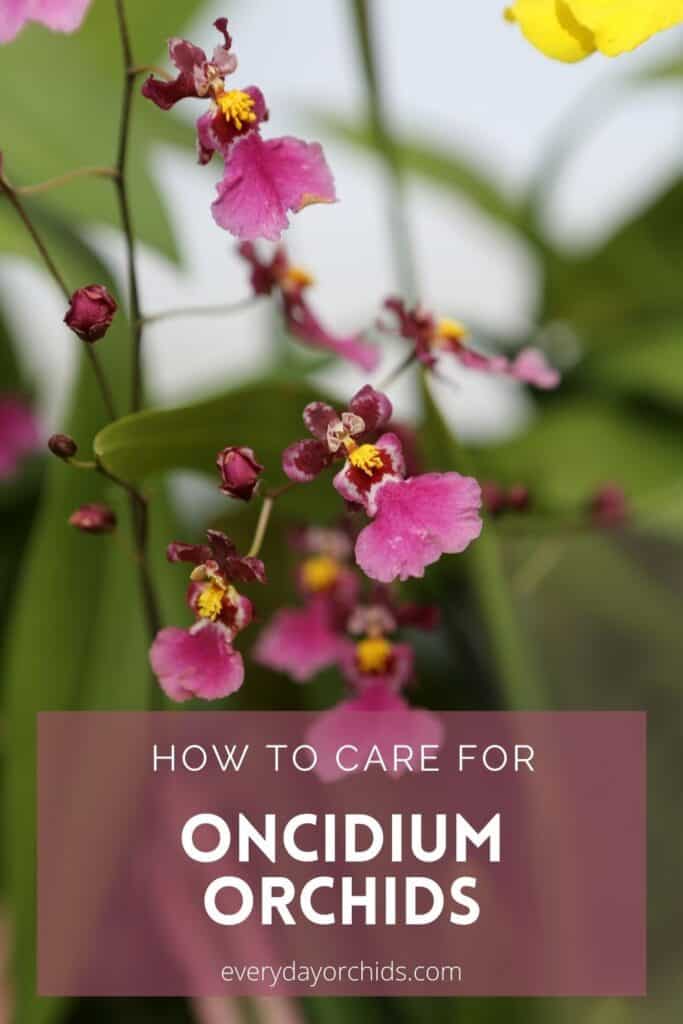
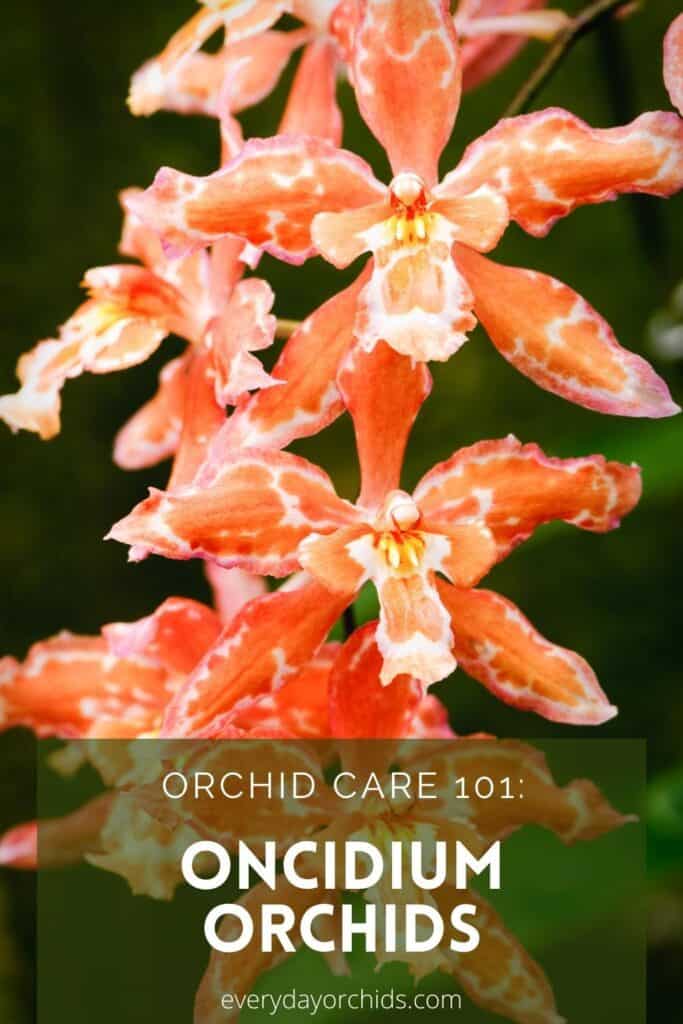
Sometimes Oncidium orchids are called “Butterfly Orchids” because the flowers resemble butterflies dancing in the breeze. Flower colors include yellow, brown, burgundy, white, and pink.
While these orchids are typically grown indoors, you can also keep them outdoors if you live in a mild climate. If you decide to do that, keep them potted, as most of these varieties are not terrestrial orchids. Place them in an area of the garden that will receive bright morning light, but will be protected from the intense afternoon sunlight.
Flowers
Oncidium orchid flowers are small, but beautiful, with ruffled edges. An Oncidium orchid can have multiple flower stems at a given time, and each flower stem will have dozens of flowers.
The blooming period is typically in the late summer and early fall. However, some species can bloom throughout the year or multiple times a year. The blooming period for Oncidium orchids can last anywhere from a few weeks to a few months, depending on the species.
Once flowers have fallen off the stem, resist the temptation to prune off the stem, unless it is clearly dead. Flowers can bloom from previously used stems, so leave them on if they still look healthy.
Blooming Problems
If your Oncidium orchid is not blooming, try exposing it to a temperature difference of about 15 to 20 degrees lower at night compared to day time highs. For example, if the daytime high was 80 degrees Fahrenheit, aim for a night time temperature of 60 to 65 degrees Fahrenheit. Placing your orchid near an open window at night can provide this temperature difference and trigger blooming.
You can also feed your orchid with a bloom booster orchid fertilizer to help it along. This type of orchid fertilizer contains extra phosphorus to encourage flowering. Use it once a month during the growing period to help initiate bloom production.
For more information, read this article about how to get orchids to rebloom.
Scented Flowers
Many Oncidium orchids have a scent, so be sure to smell your orchid flowers!
The Sharry Baby is one of the most popular Oncidium orchid varieties, known for its chocolate-scented flowers. In fact, the Sharry Baby is a great Oncidium orchid for beginners.
The Oncidium Twinkle has a vanilla scent. I personally have an Oncidium Volcano Hulu Halau orchid, and I think it smells like soap.
Leaves
In many Oncidium species, the leaves are thin, flat and a bright green color. Unlike Phalaenopsis leaves, which are thick and stiff, these Oncidium orchid leaves are reminiscent of iris leaves.
When watering, try to avoid getting water on the leaves, as this may cause black spots to appear. If water does get on the leaves, simply wipe it off as soon as you notice it.
Temperature Needs For Oncidium Orchids
Warm-growing Oncidium orchids will do well in most households.
Their ideal temperature range is between 75 to 85 degrees Fahrenheit during the day. At night, a drop to 60 or 65 degrees Fahrenheit is ideal.
As mentioned above, this temperature drop at night is what helps trigger blooming and the development of flower spikes.
Lighting Requirements For Oncidium Orchids

Give your Oncidium orchid lots of bright, indirect sunlight. Lighting requirements for this orchid are similar for Cattleya orchids. Oncidium orchids do well with anything between 1500 to 4000 foot-candles of light.
If you are growing your orchids indoors, place your Oncidium orchid near a east-facing window. West and south-facing windows are also fine, as long as you have a thin curtain covering the window during the afternoons. North-facing windows would not provide enough light, so avoid putting an Oncidium orchid there.
You will be able to tell if your orchid is getting enough light by the color of the leaves. Dark green leaves indicate inadequate light, while yellow or reddish green leaves indicate too much light. Ideally, the leaf color should be a nice, grassy green color.
For more information, check out these resources about how much light an orchid needs and reasons why your orchid leaves change color.
Once you find a good well-lit spot for your Oncidium orchid, try to leave it there. Orchids in general don’t like to be moved around once they have acclimated to a location.
If you don’t have great lighting in your home, don’t be discouraged. You can still grow Oncidium orchids. You may need to use artificial lighting to supplement. Learn how to set up artificial lighting for your orchids. Many orchid growers use artificial lighting, particularly as the days grow shorter.
Watering Your Oncidium Orchid

If you have just received a new Oncidium orchid, wait a week before watering it. Chances are, it has just been watered at the nursery or flower shop recently, and you don’t want to overwater it. The exception to this would be if the potting mix is dry, the pot is obviously light, and the pseudobulbs are withered.
Before watering your Oncidium orchid, check the potting media first. Use a finger, a chopstick, or a pencil to see how damp the potting media is and whether the orchid needs water. Check the potting media about halfway down the pot, at least 3 to 4 inches deep. That will give you a good sense of the orchid’s watering needs. If the potting media is still wet, don’t water your orchid just yet.
Rot is a very real threat for Oncidium orchids. Therefore, allow your Oncidium orchid to mostly dry out between waterings. Then, when it comes time to water, give it a good thorough soaking.
To water your Oncidium, allow the pot to sit in a bucket of luke-warm water for about 5 to 10 minutes, then lift the pot out and allow excess water to drain out. Do this early in the morning to give the potting media a chance to dry out before nightfall.
After watering your orchid, be sure to allow the potting media to drain excess water out. Empty out any trays or saucers under your orchid pots to get rid of standing water.
Here is a detailed guide on how to water orchids if you would like to learn more.
Watering Frequency
During growth periods in the spring, the Oncidium orchid is growing new shoots and roots. It will need more frequent watering at this time.
Once the shoot has grown and the pseudobulb is developed, you can decrease watering frequency. During periods of dormancy, such as in the summer, the orchid can also get by with less frequent watering.
If you notice that the pseudobulbs are starting to get wrinkled or shriveled, this is a sign that the Oncidium orchid is dry and needs more water.
Pseudobulbs are the orchid’s water-storage organ. A healthy, well-watered Oncidium will have plump, green pseudobulbs. It may take a few weeks of proper watering for a dry, wrinkled pseudobulb to return to normal.
Dealing With Pseudobulb Rot
At times, you may notice that one or more of the pseudobulbs is mushy, brown, or black. This is a sign of rot and most often caused by overwatering. If you see this, you will need to take immediate action to stop the rot from spreading further.
Use a sterilized blade, such as a razor blade or knife, and cut off the pseudobulb. Remove any rotted roots that are connected to it. When cutting off the rotted areas, you may need to cut a small portion of healthy tissue as well to make sure you’ve removed all the rot.
Place ground cinnamon powder on the cut ends. Throw away all the rotted plant matter and sterilize your tool again before putting it away. Moving forward, take care not to overwater your plant.
Fertilizing Your Oncidium Orchid
Fertilize your Oncidum orchid with a diluted orchid fertilizer once or twice a month during the active growth period.
Use an orchid-specific fertilizer with a 20-20-20 NPK ratio and prepare it per the product instructions.
The orchid roots are delicate and you will need to dilute the orchid fertilizer further. This is in order to avoid burning the orchid roots.
To learn more on how to prepare orchid fertilizers, read this article on how to fertilize orchids.
Stop fertilizing entirely when the orchid is in its dormant stage and not showing much growth.
Humidity Requirements Of Oncidium Orchids
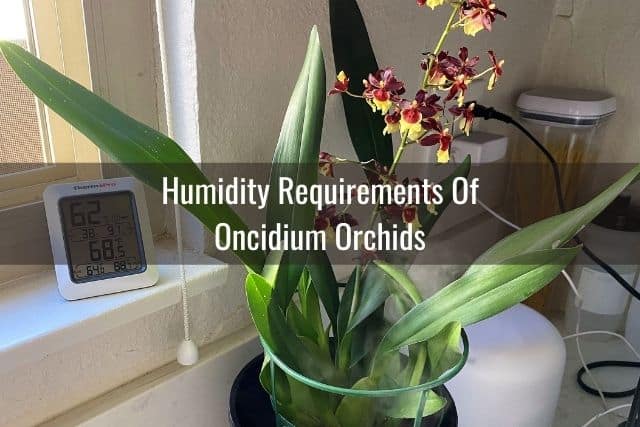
Oncidium orchids are native to the jungles of Central and South America. They can also be found in the rain forests of the Amazon. As you can imagine, these are high humidity locations.
In order to keep your Oncidium orchid happy and healthy, you will likewise need to provide a high level of humidity in this orchid’s growing area.
The ideal humidity level for Oncidium orchids ranges from 55 to 75%. You can measure humidity levels around your Oncidium orchid using a hygrometer.
Most homes don’t naturally have humidity levels this high, so you will most likely need to supplement with a cool-mist humidifier. When humidity levels drop below 55%, turn on the humidifier. You don’t have to keep the humidifier on 24/7 though. Once you reach ideal humidity levels, you can turn the humidifier off.
If you don’t have a humidifier handy, you can set your orchid up on a humidity tray. Just make sure the water in the tray doesn’t actually touch the orchid pot.
There are many ways to humidify the space around your orchids, so choose the option that works best for you.
Just a side note, when using a humidifier to raise humidity around your Oncidium orchid, be sure you also have good air circulation around the orchid.
Air movement around the roots and leaves is essential to preventing mold, bacterial, and fungal growth from occurring due to high humidity levels. Stagnant air and high humidity are a recipe for disease, so whatever you do, make sure you have an open window or fan nearby. In addition, avoid cold drafts, which can stress or shock the orchid plant.
Repotting And Dividing Your Oncidium Orchid
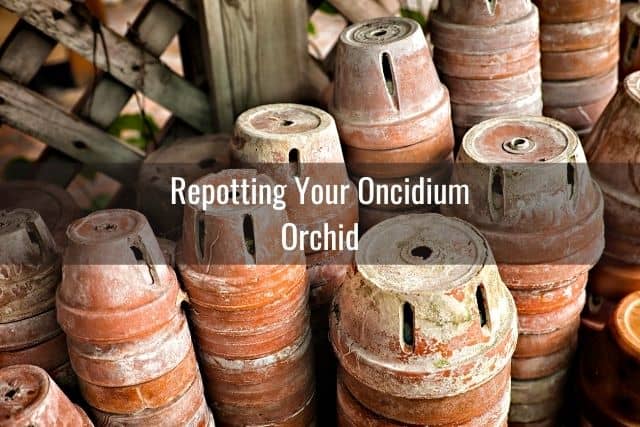
Oncidium orchids like to be pot-bound, but will likely need to be repotted about every two years. If you notice crowding in the pot due to a lot of pseudobulbs, you may have to repot sooner. Here is a guide on how to repot an orchid.
Once you see new shoots from a pseudobulb grow to be about 2 or 3 inches tall, you can divide and repot your Oncidium. When repotting, use fresh orchid potting media and dispose of the old potting media.
These thin orchid roots will be more delicate than what you may be used to, so be careful during repotting. It may help to place the orchid roots in a bucket of water to gently remove any old orchid potting media stuck to the roots.
Aim to repot your orchid after the end of the blooming season. Repotting while the orchid is still in bloom can cause the orchid flowers to fall off early.
Potting Media and Roots
Healthy Oncidium orchid roots will be thin, white and look like tendrils. You may see branching of the roots and this is perfectly normal.
Dead or unhealthy, rotted roots will be gray, mushy, or black. Remove these using sterilized gardening shears if you see them during repotting.
When choosing a potting media for your Oncidium orchid, buy a fine-grade orchid potting media. This type of potting media is well-suited for thin-rooted orchids. If you have trouble finding this, you can also use medium-grade orchid potting media.
Above all else, make sure the potting media and orchid pot is well-draining. Oncidium orchids are prone to rot.
When choosing a pot for your Oncidium orchid, be sure you buy an orchid pot. This sort of pot will have holes or slits on the side to provide air flow and air circulation around the orchid roots.
Oncidium orchids like to be snug and secure in their pots, so choose an orchid pot that just fits your orchid’s roots or is slightly bigger.
Pseudobulb Division
You can divide Oncidium orchids once there are at least six pseudobulbs present. Divide the Oncidium into clumps of at least three pseudobulbs each. Each clump can then be potted into its own pot.
Be sure to position the newest growth, or the youngest pseudobulb, farthest away from the edges of the pot. This way, it has room to grow and spread out. Avoid placing it near the sides of the pot, where it will soon run out of room.
The best time to divide pseudobulbs is in the spring, after the blooming period, and as new growth is starting.
When you plant your divided Oncidium into separate pots, cover the pseudobulbs with about 1/2 inch of potting media. Don’t plant them too deep into the potting media.
Keep the potting media just a little damp until you see new root growth from the newly planted pseudobulbs. At that point, you can start watering normally.
Pruning An Oncidium Orchid
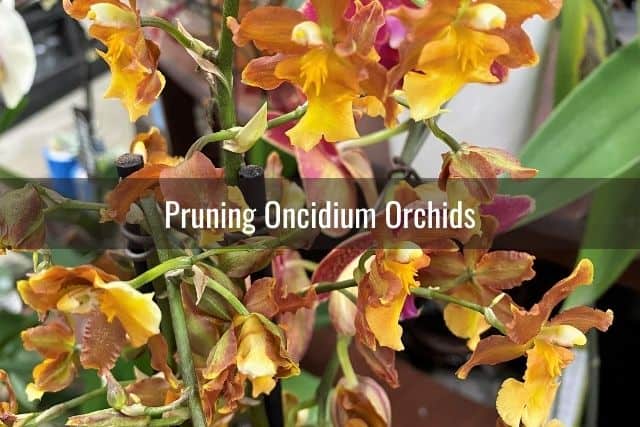
Pruning your orchid is an important part of routine orchid maintenance. This is true for any orchid, not just Oncidium orchids.
After the blooming season is done, take a pair of sterilized gardening shears and remove any dead, dried flower stems. Likewise, prune off any dead leaves or growth.
If you prefer, you can place a dab of ground cinnamon powder on the cut ends. This helps seal off the ends and prevent infection.
Propagating Oncidium Orchids
Pseudobulb division is the easiest way to propagate orchids such as the Oncidium orchid.
I talked about pseudobulb division briefly in the section above. If you’d like more in-depth information, check out this guide on how to propagate orchids. There, you’ll find a step-by-step guide on how to divide and propagate orchids with pseudobulbs.
Pests
Aphids and spider mites can be a big problem for Oncidium orchids, so watch out for these particular pests.
Springtime is the prime time for aphids to appear on your Oncidium orchid. They love to eat the new growth. Thoroughly inspect your orchid’s leaves, flower spikes, and pseudobulbs for aphids. If you see any, they can be sprayed off with soapy water.
To learn more, check out this resource about how to get rid of orchid pests, including aphids.
When it is hot and dry, spider mites can become a problem. If you spot webs anywhere on and around your Oncidium orchids, this is a sure sign of a spider mite infestation.
To deal with spider mites, remove the webs and any spider mites you may see by spraying or rinsing them off with water. Increase humidity levels to above 50% and provide air circulation around your orchid. You can measure humidity using a hygrometer. Doing these things will help prevent spider mites from coming back to your orchid.
Final Thoughts
If you aren’t familiar with growing Oncidium orchids, their care needs may take some getting used to. However, once you know what to expect and how to care for your Oncidium, growing these beautiful orchids can be easy and enjoyable.
The flowers of Oncidium orchids are unique, and their scented blooms are beautiful to look at. Oncidium orchids can make a wonderful addition to your orchid collection. Thank you for reading, and as always, happy orchid growing!
If you enjoyed this article, please pin it and share!
Recent Posts
Fusarium wilt in orchids is, unfortunately, a problem that you may encounter at one point or another. It is caused by the Fusarium pathogen and this kind of infection can be hard to identify at...
When it comes to choosing an orchid potting mix and knowing what kind of orchid soil is best, the decision can feel daunting. After all, there is a huge variety of options out there, from orchid bark...
