
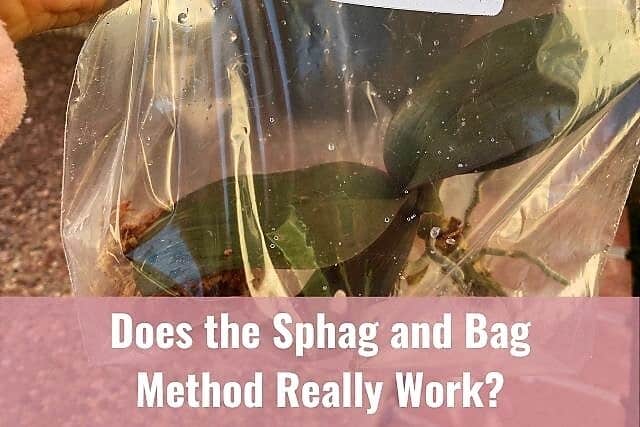
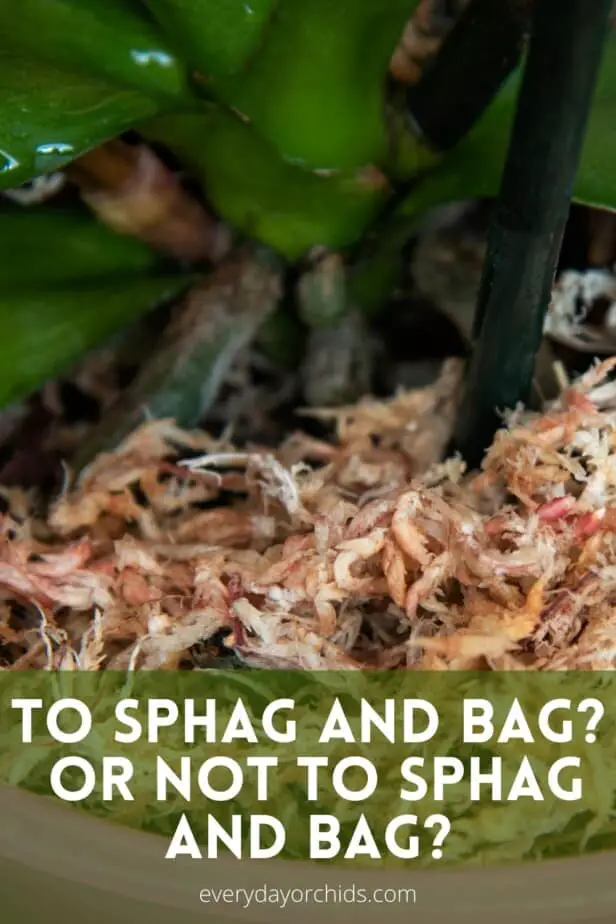
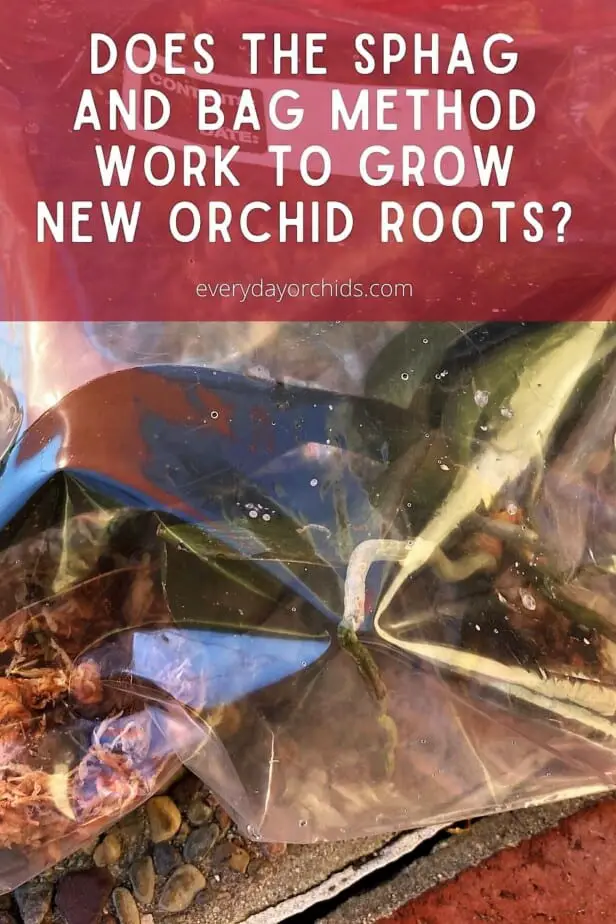
The “sphag and bag” method is a quick and easy way to try to save an orchid without roots. You may have heard of this method on orchid forums or discussion boards. The question is, does this really work and should you use this for your orchid?
To “sphag and bag” your orchid means to place your orchid plant in a plastic bag with damp moss. The damp moss increases the humidity in the enclosed space. As a result, the environment around your orchid is warm and humid. This combination of environmental factors is supposed to promote root growth in an orchid that has lost many, or all, of its roots.
If you are looking for ways to grow orchid roots and try to rescue your orchid, the sphag and bag method is one way to do it. Keep reading to learn more about how to sphag and bag your orchid, as well as the pros and cons to this method.
Please note that these links are affiliate links and as an Amazon Associate, I earn from qualifying purchases. Purchases made through affiliate links in this post may generate commissions at no additional cost to you. Use this link for a discounted Amazon Prime trial. Thank you for your support!
Table of Contents
What is Sphag and Bag?
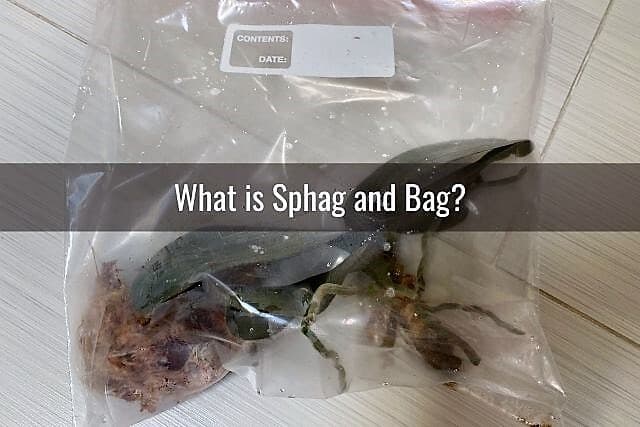
“Sphag and bag” refers to a technique using sphagnum moss and a plastic bag to encourage root growth in orchids. This technique is often used as a last-ditch effort to save an orchid that has lost many of its roots to root rot or dehydration. There are several ways you can help your orchid grow new roots, and the “sphag and bag” method is just one of them.
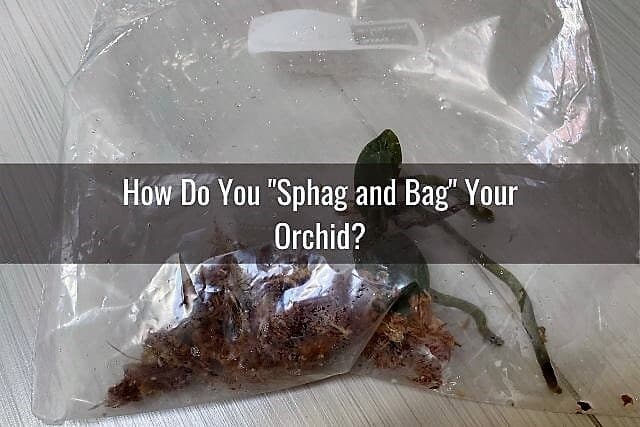
How Do You “Sphag and Bag” Your Orchid?
The “sphag and bag” technique is pretty simple and inexpensive. You will just need a few supplies:
- Gallon-sized ziploc bag (or bigger if your orchid is large)
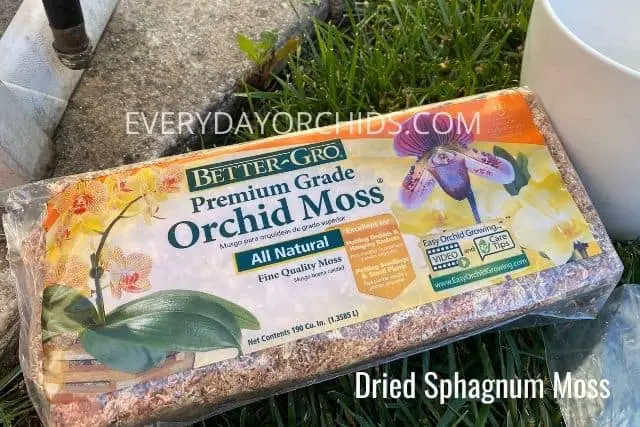
- Dried sphagnum moss
- Water
When buying the sphagnum moss, make sure you get dried sphagnum moss specifically. Dried sphagnum moss is incredibly lightweight. It has the ability to absorb lots of water. In fact sphagnum moss can absorb up to 20 times its weight in water. Sphagnum moss is often used to provide moisture and humidity to orchid plants.
You can find dried sphagnum moss for sale online or at your local hardware store or garden center. You do not need very much moss for the sphag and bag method. Just buy the smallest bag of sphagnum moss that you can. Remember, moss will expand when moistened with water, and a little bit of moss can go a long way.
Note: You may come across sphagnum peat moss at the garden center. Don’t buy this! There is a huge difference between the two, and you do not want to use sphagnum peat moss for this.
Sphagnum peat moss has a consistency more similar to potting soil. It is used by gardeners to increase the garden soil’s capacity to absorb and hold water and nutrients. Sphagnum peat moss, when blended with perlite or coconut coir, can be used for terrestrial orchids as a soilless potting media. Which is great for terrestrial orchids, but not great for stimulating root growth in rootless orchids.
Sphag And Bag Steps: How To Sphag And Bag An Orchid
Now that you have your materials, let’s go over the actual sphag and bag process.
- Trim off all the dead and rotted roots from your orchid plant. Clean off all the old potting media and debris from your orchid. I find its easiest to do this by holding the orchid roots in a bucket of water and gently rinsing and working the old potting media off the roots. Throw away all the old potting media and dead roots.
- Soak your orchid’s roots (the ones still attached to the orchid, not the roots you trimmed off) in a container of room-temperature water. Do this while you are preparing the moss and bag. Soak only the roots, not the whole orchid!
- Take a small amount of dried sphagnum moss and soak it in a cup of water for a minute or two. The moss will quickly absorb the water, like a sponge.
- Take the moss out of the water and squeeze out the excess water, like you would with a sponge. Now the sphagnum moss should be damp, but not excessively wet.
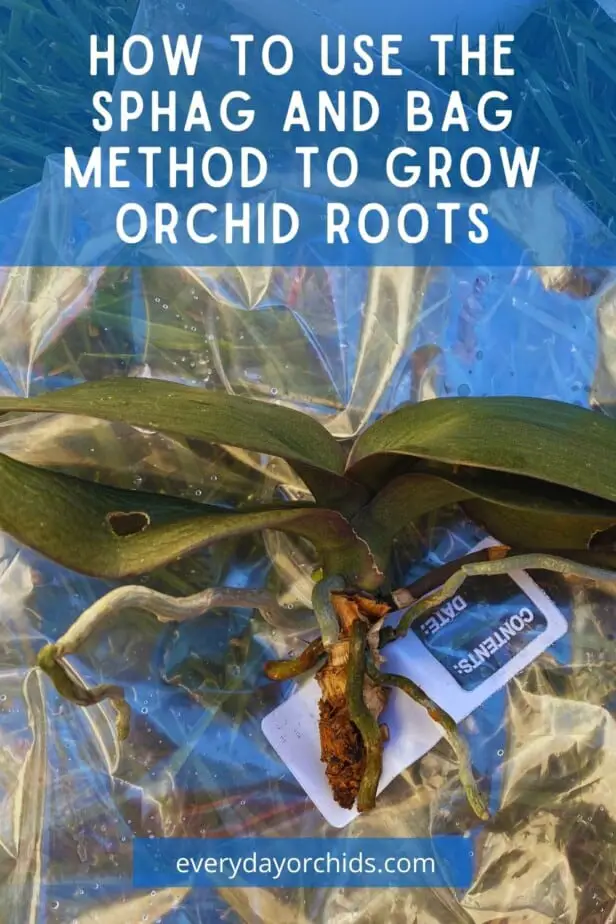
- Place the moss in one corner of the plastic ziploc bag.
- Place your orchid in the plastic bag, away from the moss. You do not need the orchid to be touching the sphagnum moss. Remember, the sphagnum moss is just there to add humidity and moisture to the bag.
- Partially close the bag. I closed the ziploc bag half-way initially, leaving the other half open for some air to come in.
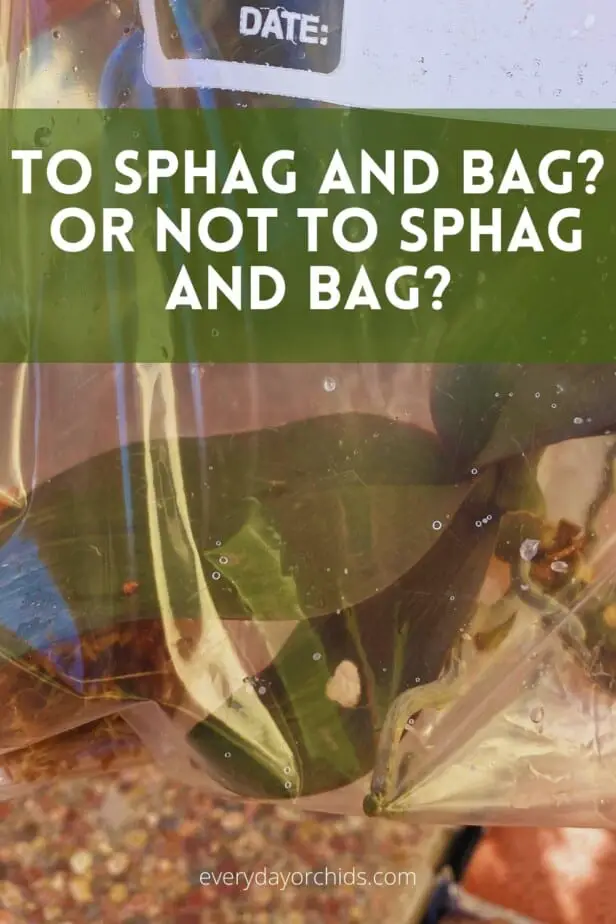
- Place the bag with the orchid and moss in an area that will receive bright, indirect sunlight. Indirect light is key. Do not put your bag under direct sunlight, as the light will heat up the temperatures inside the bag and “cook” your orchid.
- Occasionally open the bag to re-moisten the sphagnum moss (remember, you just want it damp, not soaking wet), or allow for air circulation. As long as you do not see mold growth, fungal infections or other problems, you can theoretically leave your orchid in this bag for weeks, or months, while the orchid grows new roots.
Does the Sphag and Bag Method Work?
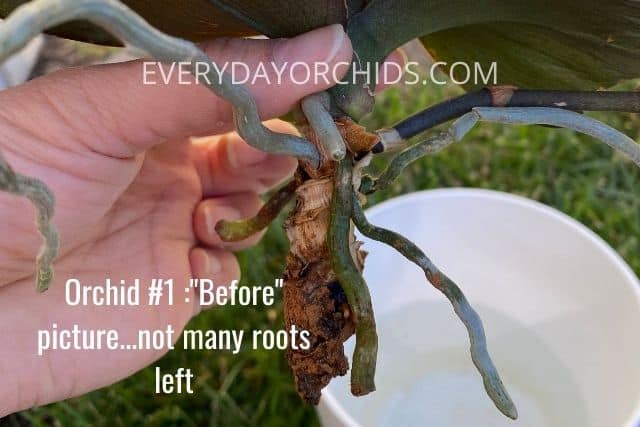
I recently had an orchid lose almost all its roots to rot. After trimming off the dead and damaged roots, there was not much left. I decided to try the sphag and bag method to grow new roots. It is very similar to another method I’ve used to save an orchid without roots, except it is simpler and uses less supplies.
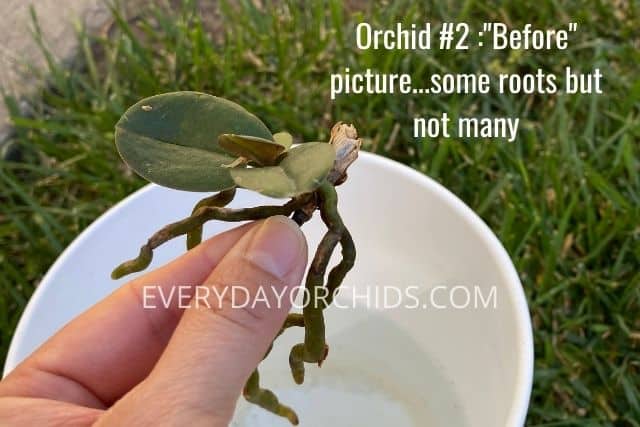
I actually tried the sphag and bag method using two orchids: one which had lost a lot of roots to rot (orchid #1), and another orchid who hadn’t shown much root growth over the last year (orchid #2).
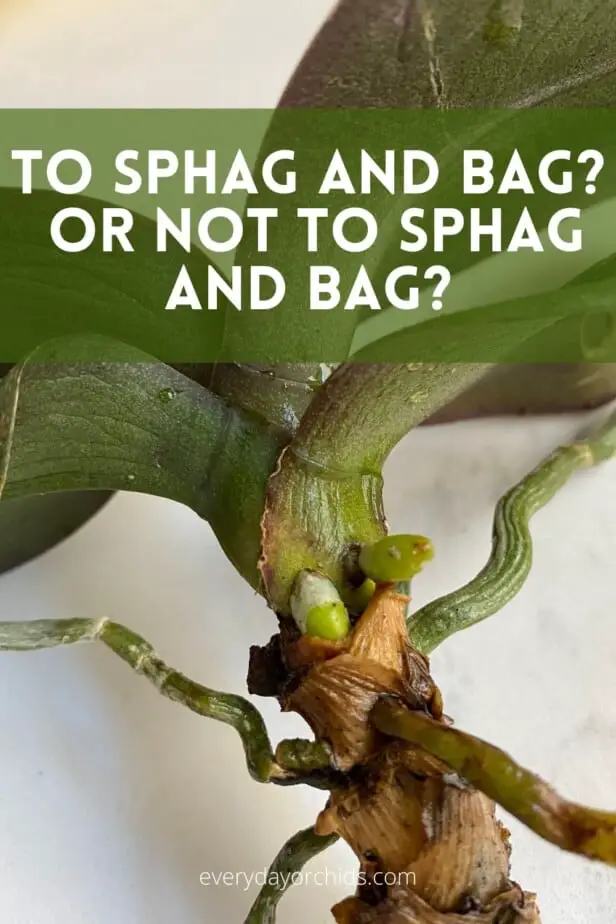
I tried this for a few days and found that in that short time span, orchid #1 managed to grow two or three new root buds. Orchid #2 did not look any different, which is why I didn’t take any “after” pictures.
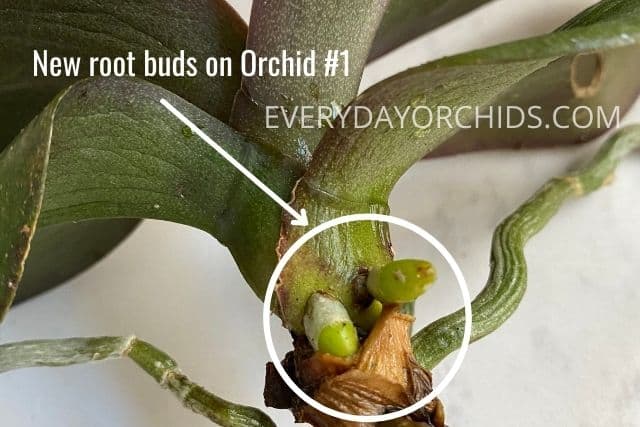
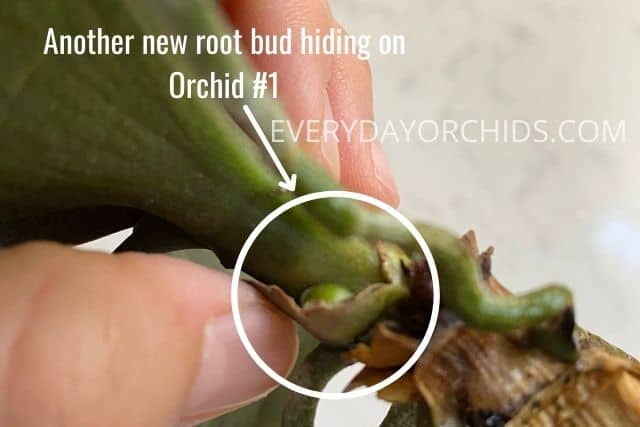
Still, the fact that orchid #1 was able to show root growth that quickly was more than what I had expected.
The verdict: The sphag and bag method does work. You may be wondering why if it does work, why I didn’t leave my orchids in the bag longer. The problem is that I ran across some problems with mold growth, which I’ll talk more about below.
In my opinion, the sphag and bag method has a lot of potential. It is so easy that anyone can do it. This method uses very few supplies (water, plastic bag and sphagnum moss) and is very straight forward. It is a quick, easy and inexpensive way to encourage your orchid to grow new roots.
Problems with the Sphag and Bag Method
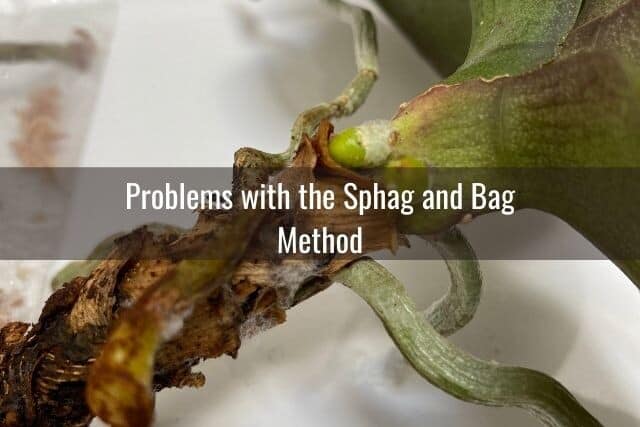
One major problem I came across with the sphag and bag method was ventilation and air circulation, or, more accurately, the lack of it.
Even though I left the bag half-open in the beginning, and then in the following days, left it wide open, there still wasn’t enough air circulation in the bag. This was likely because when the bag was on its side, the opening tended to stay mostly closed, even though it was technically “unzipped.”
When there is poor air circulation, high humidity, and warmth, what happens? Mold grows. Unfortunately, this is what happened to orchid #1.
Mold Growth
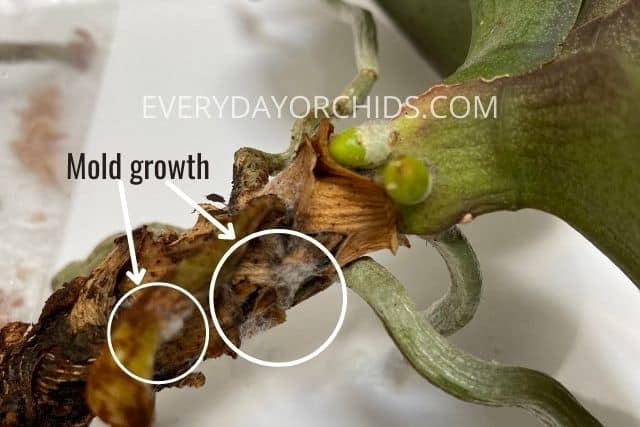
While it was great to see root buds quickly forming on my orchid using the sphag and bag method, I was dismayed to see how quickly mold also grew. This, unfortunately, was the main reason why I stopped using the sphag and bag method so early. Had there not been mold growth and only root growth, I would have definitely kept using this method longer.
If you look at the pictures below, you can see fuzzy white mold on the orchid stem in several places. This was the orchid which had lost most of its roots to rot (orchid #1). It’s possible that there were some mold spores leftover after removing the initial root rot. A warm, humid environment was the perfect place for mold growth to occur.
The other orchid (orchid #2) did not have any mold growth that I could see, but it didn’t have any root growth either.
I had been checking my orchids in the bags every day for the last week because I was afraid this would happen. Fortunately, I was able to catch the mold growth early.
Ending The Sphag And Bag Experiment
When it became clear that the sphag and bag method wasn’t going to work long-term for my orchids, I had to make some changes. I removed my orchid from the bag, cleaned off the mold, and potted my orchid in regular potting media in a ventilated orchid pot. I did the same for the other orchid as well.
In addition, I created a humidity box. I placed the pots in a clear plastic box (a large leftover one from salad mix) and left the lid slightly cracked open for air circulation. There’s some damp moss at the bottom of the box, along with a small cup of water. I am hoping that this will create enough humidity for the orchids for roots to continue to grow.
You can read more about my humidity box technique here, but it ended up being much more effective for growing orchid roots quickly. My orchids thrived in this environment. The orchid humidity box had the benefit of a larger space, allowing for better airflow.
In addition, the clear plastic box was able to accommodate potted orchids in a humid environment. This allowed the roots to grow directly down into the potting media, saving me the trouble of having to later pot them. All in all, the humidity box ended up working out much better than the sphag and bag method for my orchids.
Final Thoughts
Reflecting back on what I could have done differently, I am thinking of a number of things. In the future, if I were to try the sphag and bag method again, I would try to sterilize the sphagnum moss in boiling water first to kill off any micro-organisms or mold spores. Then once the moss came back down to room-temperature, I would place it in the plastic bag with the orchid.
I would also ensure that I spray my orchid thoroughly with an anti-fungal such as Physan20. I didn’t do that this time, thinking I had trimmed off all the root rot plus some healthy tissue. However, looking back, there were likely some mold spores lingering on the orchid. Once placed in that warm, humid environment with stagnant air, the mold spores were able to grow and spread.
In the end though, I’m not sure if any of these additional interventions could have prevented mold growth. I have heard that mold growth on orchids during the sphag and bag process is actually quite common.
While it does have its cons, the sphag and bag method does have a lot of benefits. It is a quick and easy way for many orchid growers to encourage root growth in their orchids. The plastic bag allows in light and traps in moisture. This creates the high humidity environment ideal for orchid growth. It does come with some risks however, so those using this method for their orchids must be on the lookout for issues such as mold growth.
If you enjoyed this article, please pin it and share!
Recent Posts
Fusarium wilt in orchids is, unfortunately, a problem that you may encounter at one point or another. It is caused by the Fusarium pathogen and this kind of infection can be hard to identify at...
When it comes to choosing an orchid potting mix and knowing what kind of orchid soil is best, the decision can feel daunting. After all, there is a huge variety of options out there, from orchid bark...
