
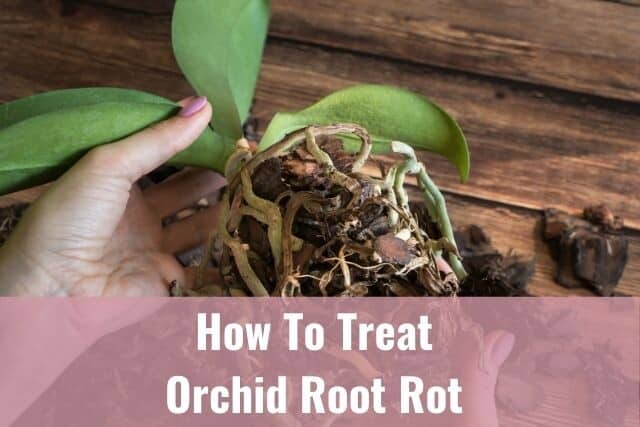
Similar to soil-bound plants, orchids are susceptible to root rot. This may be surprising because most orchids do not need regular soil to grow and thrive. However they still need their roots to absorb water and nutrients need from the potting media. As a matter of fact, root rot is a common problem in orchids, and nearly every orchid grower has had to deal with this problem at one time or another.
Orchid root rot is a common problem. Root rot is caused by lack of proper drainage and aeration, fungal infection, or overwatering. To address root rot, you will need to take your orchid out of its potting medium, remove the rotted roots, then repot it. If the cause for the rotting is fungal infection, you need to also treat your orchid with a fungicide.
In this article, you will learn more about orchid root rot. There are steps you can take to stop root rot from killing your orchid. I’ll also give you a few orchid care tips to help you grow healthy orchids. Keep reading to learn more.
Please note that these links are affiliate links and as an Amazon Associate, I earn from qualifying purchases. Purchases made through affiliate links in this post may generate commissions at no additional cost to you. Use this link for a discounted Amazon Prime trial. Thank you for your support!
Table of Contents
What Is Orchid Root Rot?
Root rot is a disease in which a plant’s roots rot and decay. You can check out this site to read more about root rot in plants.
Root rot is more commonly seen in indoor and potted plants, including orchids. Rotted roots usually turn black or brown instead of white. Roots experiencing root rot are also soft or mushy and can no longer absorb water.
Unless your orchids are in a clear plastic orchid pot, you will not be able to see root rot. Obviously, this is because your orchid roots are hidden below the surface of the potting medium. In many cases, root rot goes undetected until it is already in the advanced stages.
Signs of Root Rot in Orchids
The signs of orchid root rot include:
- Flower buds drop from the spike for no obvious reason.
- Leaves are floppy, soft, or limp instead of tough and firm.
- The plant no longer produces blooms.
- Exposed roots look withered and are brittle instead of white or green and firm.
- Roots are black or dark brown in color instead of white or green.
- Roots are soft to the touch and may turn to mush if you squeeze them between your fingers.
Root rot can be prevented or stopped and your orchid can be nursed back to health. It can also be fatal for your orchid if left untreated. Ignoring these signs and not doing anything to treat the root rot will eventually kill your plant.
Causes of Root Rot
In orchids, root rot usually occurs when water or moisture remains in the potting media for extended periods of time. This can happen if you do not use an orchid pot with proper drainage. It can also happen if you tend to overwater your orchid. If the potting media does not dry out between waterings, the roots can start to rot.
Root rot can also happen if the potting medium is packed too tightly around the orchid roots. A lack of space between the pieces of potting medium prevents air circulation and oxygen from getting to the roots. This, in turn, suffocates the root system.
Having the potting media packed tightly in the pot also leads to a decreased ability to drain water quickly. This leaves your roots exposed to moisture for prolonged periods of time.
Extended exposure to moisture and damp conditions destroys the orchid root’s delicate velamen covering. This makes the root unable to absorb water or nutrients. Over time, the root dies.
Aside from over watering, root rot can also be caused by different pathogens like mold, spores, and fungi. Keep in mind though, that these pathogens still need a moist, damp environment in order to multiply. Once they multiply and infect your orchid, you will start to see root rot.
In some cases, fungus will enter the orchid through damage in its stem. This happens in the case of crown rot or stem rot. The fungus will make its way down to the roots and cause eventual rot and death of the plant. There are also other instances when fungi enter the orchid through its roots.
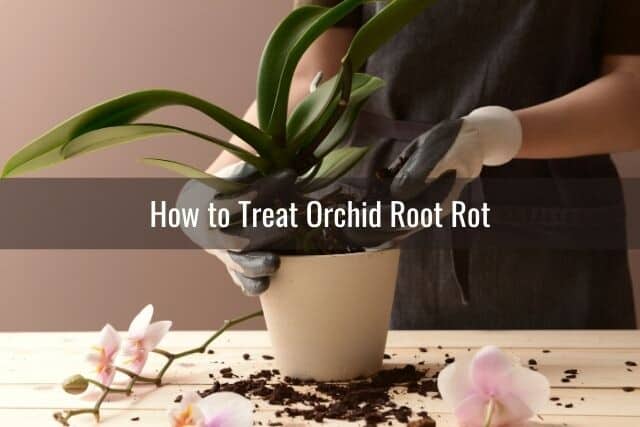
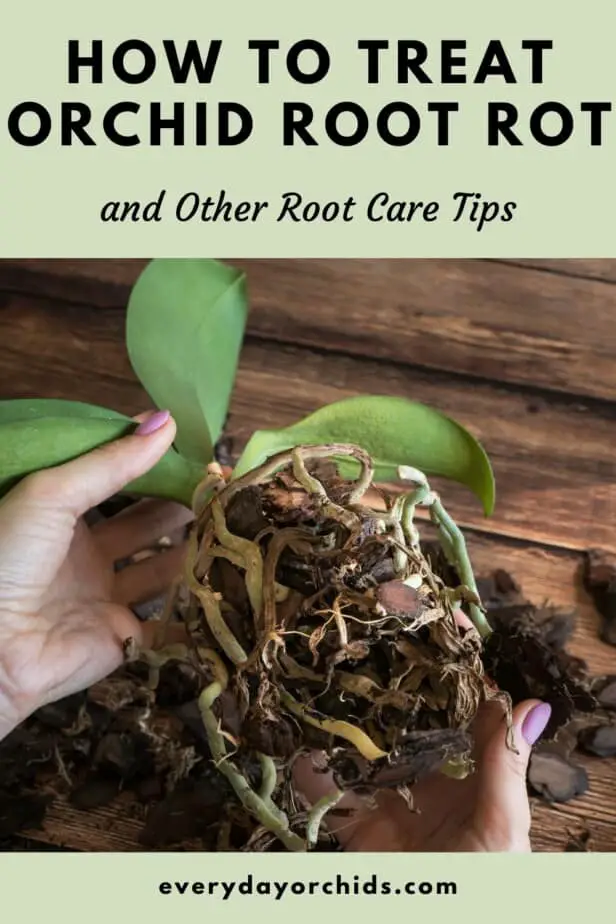
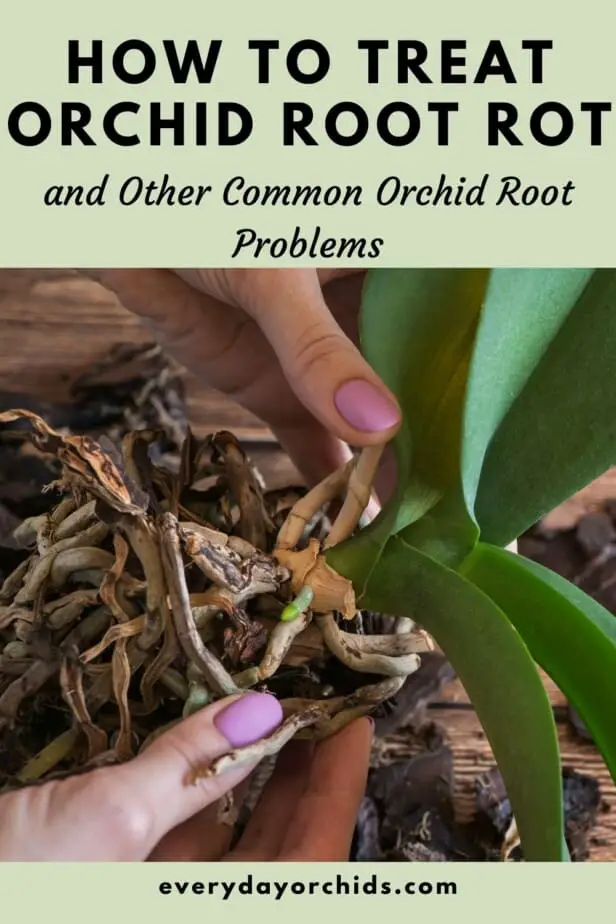
How to Treat Orchid Root Rot
To treat orchid root rot, you will need to take the plant out of its pot and check its roots. Pull the orchid very gently from out of its pot. Brush off any growing medium that is still clinging or stuck in between the roots.
You will then need to gently rinse and clean the roots of your orchid in lukewarm water. Look for any black or dark-brown roots and feel for mushy tissue. Cut off the dead roots one at a time using a pair of sterilized gardening shears or scissors.
If you want to be extra careful, sterilize the scissors after each cut to keep pathogens from spreading. This is especially important if you are dealing with a fungal or bacterial infection that led to root rot.
You can mix one part bleach to nine parts of water to make a 10% bleach sterilizing solution. Pour this sterilizing mixture into a spray bottle. Spray your cutting tool after every cut. Allow the tool to dry so as not to get bleach on your orchid plant. Alternatively, you can use a torch or a lighter flame to heat and sterilize the blades between each cut.
After removing the infected roots, you can now repot your orchid. Use a new and clean orchid pot and a fresh batch of potting medium. If you decide to reuse the same old pot for another orchid, wash it thoroughly. Let it soak in your sterilizing solution for at least an hour. Allow it to air dry before planting your orchid in it.
Treating Fungus
You should also apply a fungicide treatment such as Physan20 to your cut roots as a precautionary measure. This step helps make sure that any undetected fungus will not go on to spread to the healthy roots. I go into more detail in another article about how to treat fungal and mold infections in your orchid plant, so be sure to check that out for more information.
For your fungicide, you can try some homemade recipes. You can dab cinnamon powder, which is a natural fungicide, on the cut ends of the roots. This is the same ground cinnamon powder that is normally in the baking or spice aisle of your grocery store. Try not to get ground cinnamon powder on the rest of the orchid roots because this could hurt the velamen.
You can also just dust commercial orchid fungicide on the remaining roots. This can be purchased at your local garden center.
How To Prevent Root Rot in Orchids
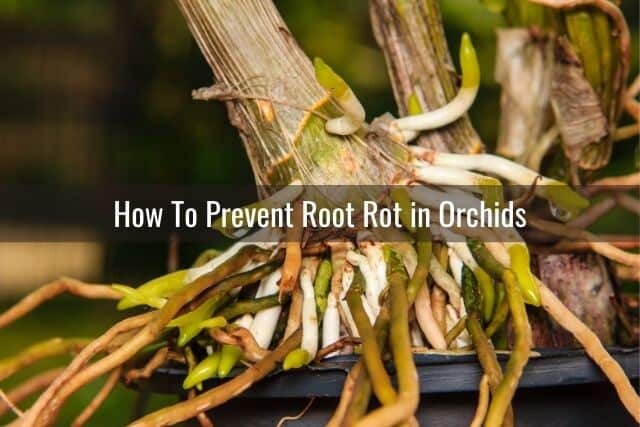
If you want to be proactive and prevent root rot, make sure that you use a free-draining pot for your orchid. Orchids use special pots with holes or slits cut in the sides. These holes allow for air flow and circulation and drainage. Remember to water your orchid only when the potting media is nearly dry. Make sure the pot never sits in water for prolonged periods of time.
Air movement around your orchid is also critical. It is best to keep your orchids in an open-air environment. You can provide this by opening a window or turning on a fan in the room to promote good circulation.
In warmer weather, you can also set your orchids outside. Just make sure that you have a protected area for your plants outside. Put them in a spot where they will not be exposed to direct sunlight or animals.
Another tip is to avoid mixing different-sized potting media components. The smaller components will fill the gaps made between the bigger particles. This reduces the size and amount of air spaces inside the pot and between roots. Make sure that when you repot your orchid, you loosely place the orchid potting media in the pot and around the roots. Leave ample space for drainage and circulation.
It is also an excellent preventive measure to repot your orchids regularly. For most orchid growers, this is once every 1 to 2 years. Terrestrial orchids can be repotted every 2 to 3 years.
Repotting allows you to inspect the roots that you otherwise would not see. You will also be able to change out the potting media.
Organic potting media components mature and eventually decompose over time. As this happens, the decomposing potting media creates a dense environment that becomes more akin to potting soil. Repotting will allow your plant to get a new and fresh batch of potting medium.
How To Save Orchids With No Roots
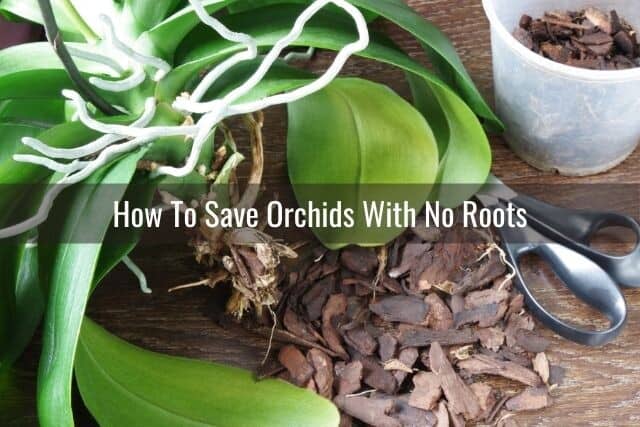
Orchids that have experienced severe root rot and have no more healthy roots left can still be saved. As long as there are still some leaves left, the plant still has a good chance of growing new roots.
If the orchid still has aerial roots left, even better. Be sure you do not cut off the aerial roots or damage them when repotting. These aerial roots will be important for the orchid’s survival while it attempts to grow new roots.
Elsewhere on Everyday Orchids, I go into great detail about how you can save your orchid with no roots. You can learn how to repot an orchid to promote root growth. I also go over how long it will take for your orchid to grow new roots, so be sure to check it out for more information.
But what if it is an orchid keiki that does not have roots? Keikis can still grow roots as long as you give them the right growing conditions.
There are even root-growing hormones you can use for orchid keikis. Ideally, though, you would want to leave your orchid keiki on the mother orchid for as long as possible. Keep the keiki on the mother orchid until the keiki has developed roots that are at least 2-inches long and has several leaves.
Should Orchid Roots Be Exposed?
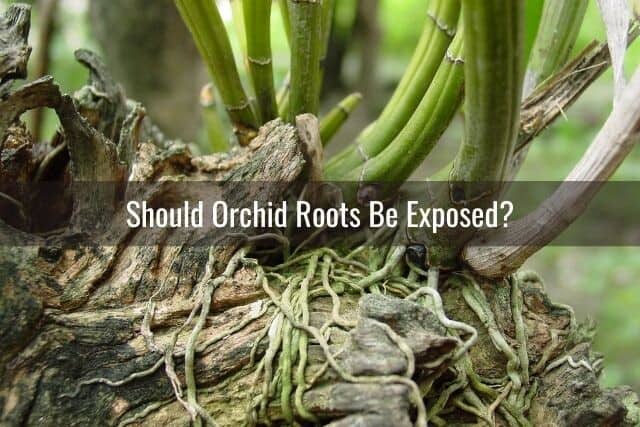
In their natural habitat, orchid roots are exposed as they grow. The roots anchor the plant to their host trees and they absorb water and nutrients from the air. As such, exposed roots are not a problem. In fact, there are types of orchids that grow better with as little potting medium as possible and with most, if not all, of their roots visible.
Additionally, most epiphyte orchids will also grow aerial roots in addition to the roots planted in the growing medium. These aerial roots grow exposed to better absorb moisture from the air.
Final Thoughts
Root rot in orchids is a common problem, but it does not always mean it is the end for your plant. You can simply cut off the dead roots to keep the disease from spreading to the healthy ones. Treat the remaining roots with fungicide as a preventive measure. Then, repot your orchid in a fresh potting medium in a new container.
Even if your orchid has lost all its roots to rotting, do not lose hope. There is a great chance your plant will grow new roots as long as it is in the right growing environment.
If you enjoyed this article, please pin it and share!
Recent Posts
Fusarium wilt in orchids is, unfortunately, a problem that you may encounter at one point or another. It is caused by the Fusarium pathogen and this kind of infection can be hard to identify at...
When it comes to choosing an orchid potting mix and knowing what kind of orchid soil is best, the decision can feel daunting. After all, there is a huge variety of options out there, from orchid bark...
