
What does it mean if the orchid roots, especially the aerial ones, are dry and shriveled? And more importantly, what do you do about them? Understanding how to take care of your orchid’s roots is fundamental to successfully growing orchids. Knowing what a healthy orchid root, a rotted root, and a dehydrated root looks like is key.
When orchid roots are dry and shriveled, this is a sign that the plant has not received sufficient moisture for some time. Water your orchid immediately to prevent further dehydration. If the roots are completely dried up and dead, you will need to trim these off. Doing so will stimulate new root growth for your orchid. Going forward, make sure you are consistent with your watering schedule.

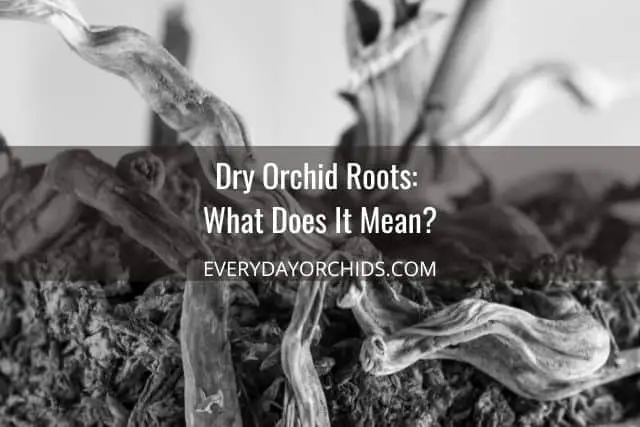
Root rot is fairly common and due to overwatering. It is manifested by black or dark brown, hollow, and mushy roots. On the opposite of the spectrum are dried, shriveled roots. Dry orchid roots are often a result of underwatering. Keep reading to learn more about what to do about dried, shriveled orchid roots.
In this article, I will discuss how to inspect your orchid’s root system and check for dry and shriveled orchid roots. You will learn about what to do when you see these orchid roots drying out. You will also learn how you can safely remove them and how to take care of your orchid going forward. Keep reading to learn more.
Please note that these links are affiliate links and as an Amazon Associate, I earn from qualifying purchases. Purchases made through affiliate links in this post may generate commissions at no additional cost to you. Use this link for a discounted Amazon Prime trial. Thank you for your support!
Table of Contents
Dry Orchid Roots: What Does It Mean?
Many orchid growers are mindful not to overwater their orchids in order avoid root rot. However, in doing so, they can accidentally make the mistake of not watering their plants enough. This will result in underwatered orchid roots and orchid roots drying out.
Maybe you are one of those “plant moms” or “plant dads” who struggle to be consistent with their orchid watering schedule. If you worry about not hydrating your orchids enough, first check your plant’s roots to find out if they are hydrated enough.
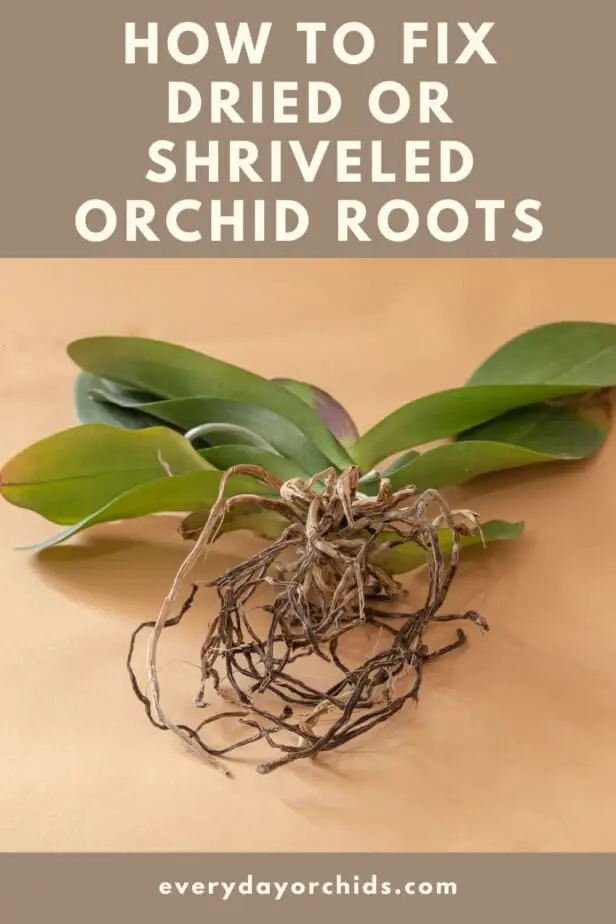
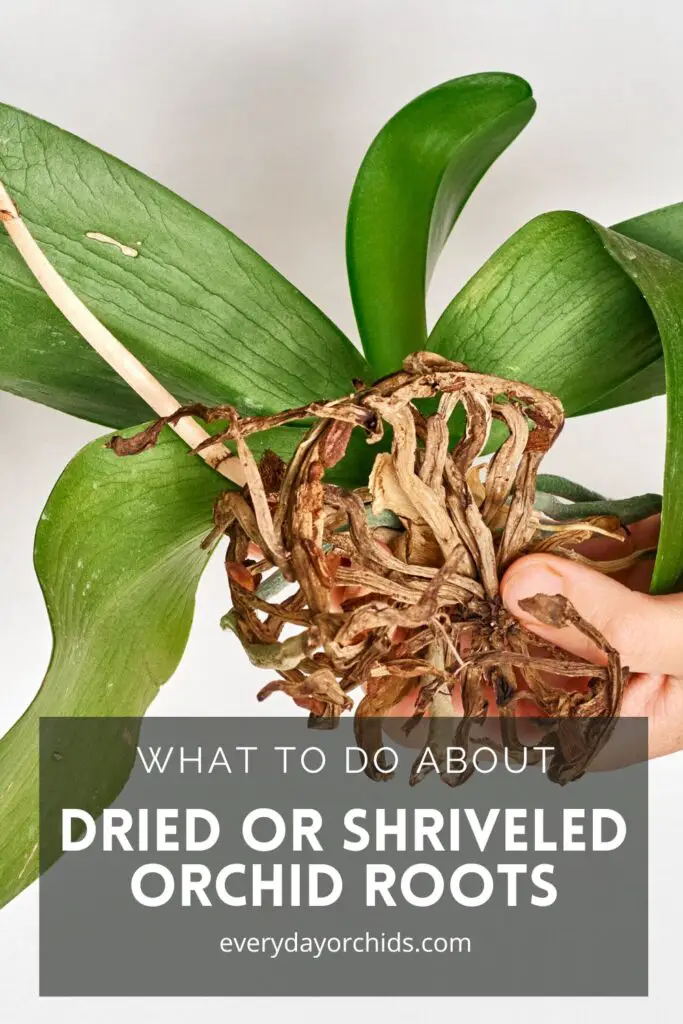
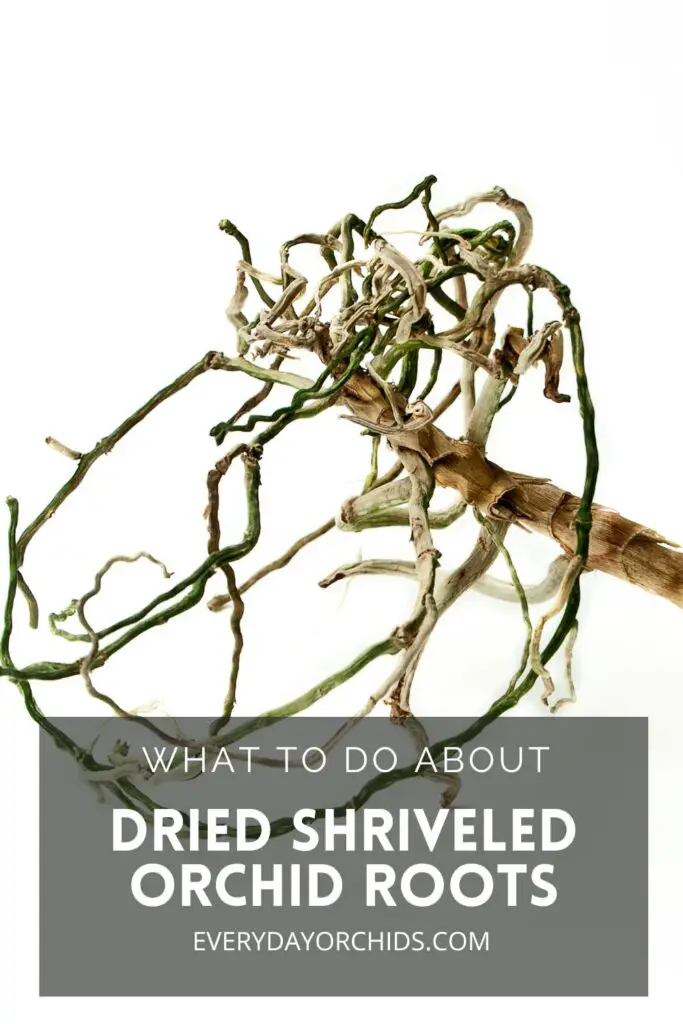
Roots that are healthy and adequately watered are firm and are bright green or white in color. Overwatered roots are soft, mushy, limp, and dark brown or black. Orchid roots that are not getting sufficient moisture or are underwatered look dry, thin, wrinkled, and greyish white or brown. There are many different types of orchid roots and you will need to care for each type differently.
Dry orchid roots and roots that are greyish-white mean that the plant needs water. If the roots are very dry and shriveled, this means that orchid is dehydrated and that a good watering is past due.
Other Environment Factors
If you are sure you are watering your orchids correctly and the roots still look dry and wrinkled, you may want to look into other environmental factors.
For example, you may have placed your orchid near a drafty area or a vent. As such, you will need to move your plant to a spot where the temperature is more consistent.
You may also need to increase the humidity in the room where your orchid is housed using a humidifier, humidity tray, or other means. I keep a humidifier by my orchids’ growing area and have found it to be very helpful in preventing dry, shriveled orchid roots.
It is hard to check if your roots are dry or shriveled when they are all hidden under the potting medium. In this case, you should check the potting medium. If the medium feels dry to the touch, then it is time to water your plant. If it still feels damp, then your orchid can wait another day or two before you water again.
What About Aerial Roots?
There are times when the aerial roots can look dry. However, this is not indicative of your plant needing water. Instead, aerial roots that look dried out means that the orchid needs more humidity.
To raise humidity levels, you can mist your orchid’s aerial roots using a spray bottle. You can also place a tray with rocks and water (also known as a humidity tray) under your orchid pot. A third option would be to place a cool-mist humidifier in the room.
If you opt to increase humidity levels in a home environment, just be careful not to exceed your orchid’s preferred humidity levels. A hygrometer can help you monitor this. If you’d like to learn more, you can read about ways to increase humidity for your orchids.
What To Do if Your Orchid’s Roots Are Dry or Shriveled
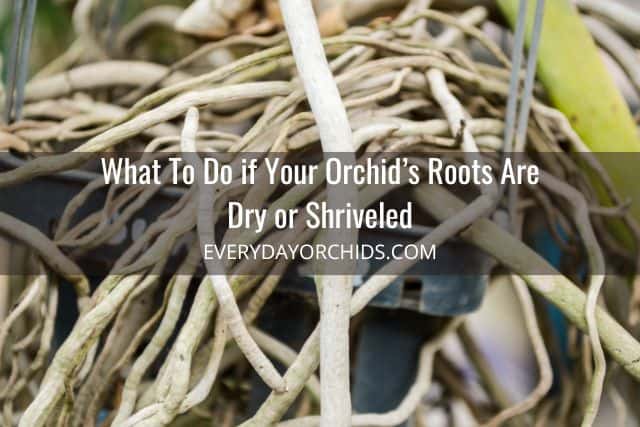
If you see that your orchid’s roots are starting to look dry or shriveled, you should water your orchid immediately. Underwatered orchid roots can end up looking dry and shriveled in no time. You do not have to take any drastic or extreme measures to rehydrate your plant, though.
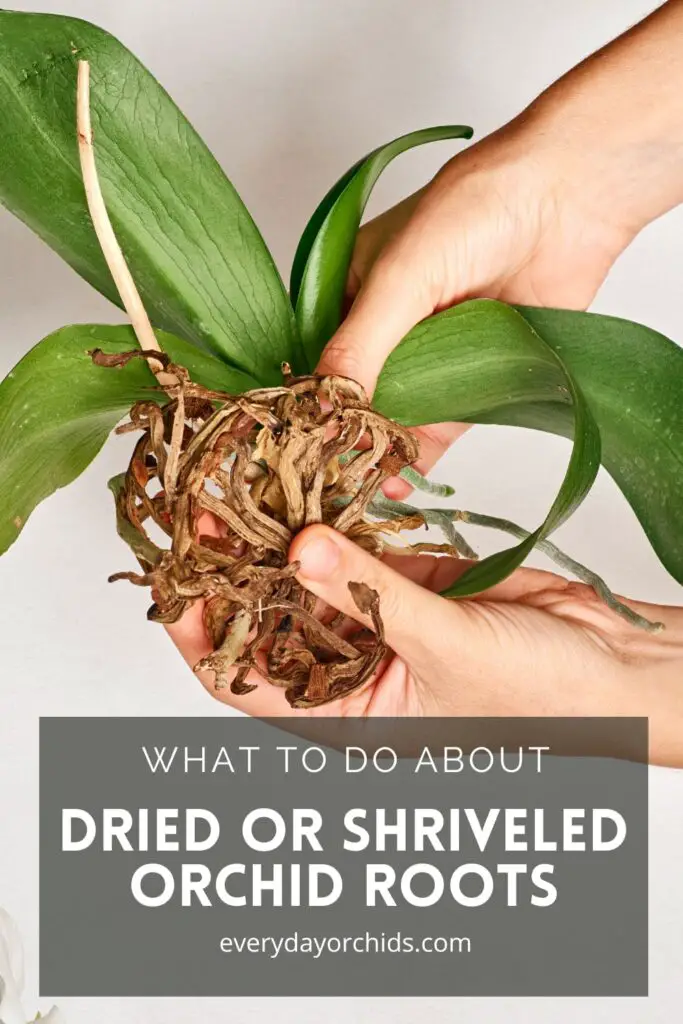
Instead, learn how to water your orchid. Pay close attention to the orchid leaves as well. Pleated orchid leaves or wilted, limp, or wrinkled orchid leaves are another sign of watering problems. They can be an indicator of dried orchid roots or, on the flip side, rotted roots.
Some growers recommend the ice cube watering method to ensure that your orchids are getting adequate amounts of water. This method usually involves placing three ice cubes on top of your potting medium once a week. You can use one or two ice cubes for smaller orchids. I personally do not use this method and would not recommend it.
Another alternative method you can try to rehydrate your orchid roots is to soak them in an Epsom salt solution.
To determine if your orchid is extremely dehydrated or not, check its roots one to two days after watering. If the roots have already turned white or silver again, this means that the plant was very dehydrated. It has already absorbed the water you have given it. Most orchids need to be watered only once a week, but in this case, your orchid may need to be watered again sooner than that.
For more information, check out this detailed resource on how to water your orchid.
Soaking Your Orchid Roots
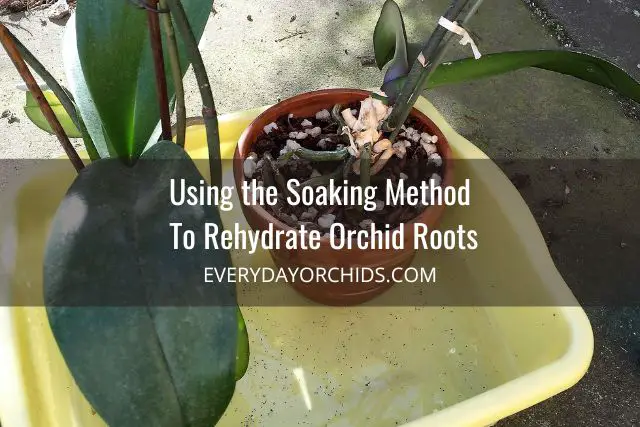
You can also use the soaking method to water your orchids. Use this to rehydrate your orchid roots, especially if you still see signs of dehydration. Personally, this is the method I use when I water my orchids.
To use the soaking method, first, fill a small basin or bucket with water. Place your orchid pot inside so that the water reaches up the rim of the pot. Leave the orchid pot in the bucket of water for about five to ten minutes. This gives the dried orchid roots and potting media time to absorb the water.
If you have a Phalaenopsis orchid, don’t let the water cover the leaves or get into the crown or main stem of the orchid. This is to prevent crown rot and stem rot from occurring.
If you do not have a small basin or bucket, you can also use your kitchen sink or whatever container you have. I use clean 24oz and 48 oz yogurt containers as my “buckets.”
Once you have finished soaking your orchids, make sure you allow the pot to thoroughly drain out any excess water before you put the orchid back in its usual spot. Also, in order to ensure that the potting media dries out before nightfall, it is best to water your orchids early in the morning.
Should You Remove Dry and Shriveled Orchid Roots?

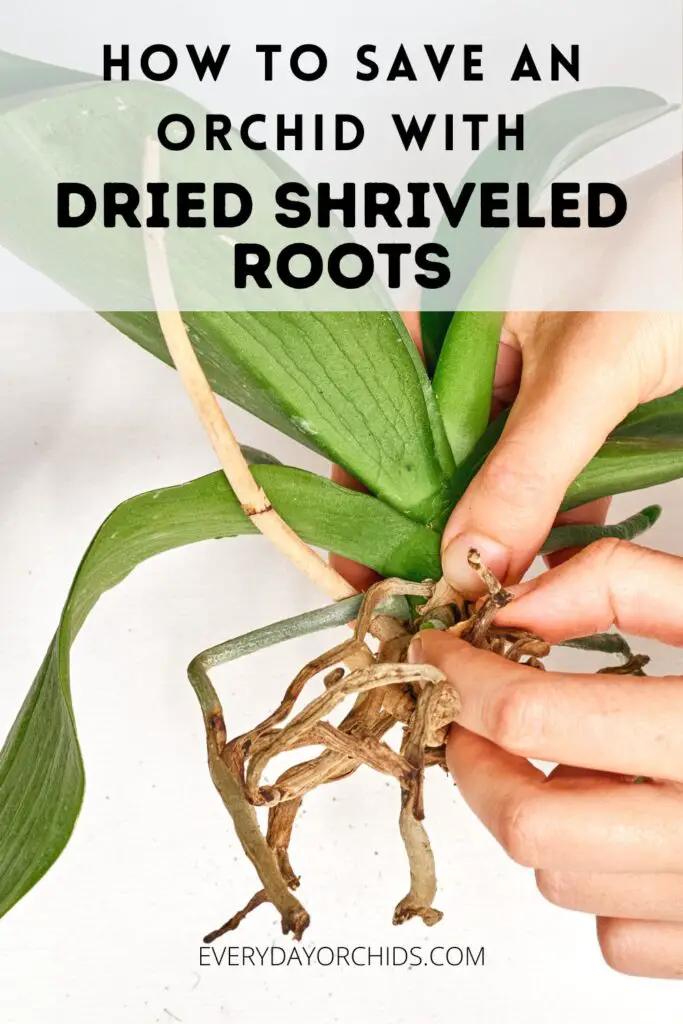
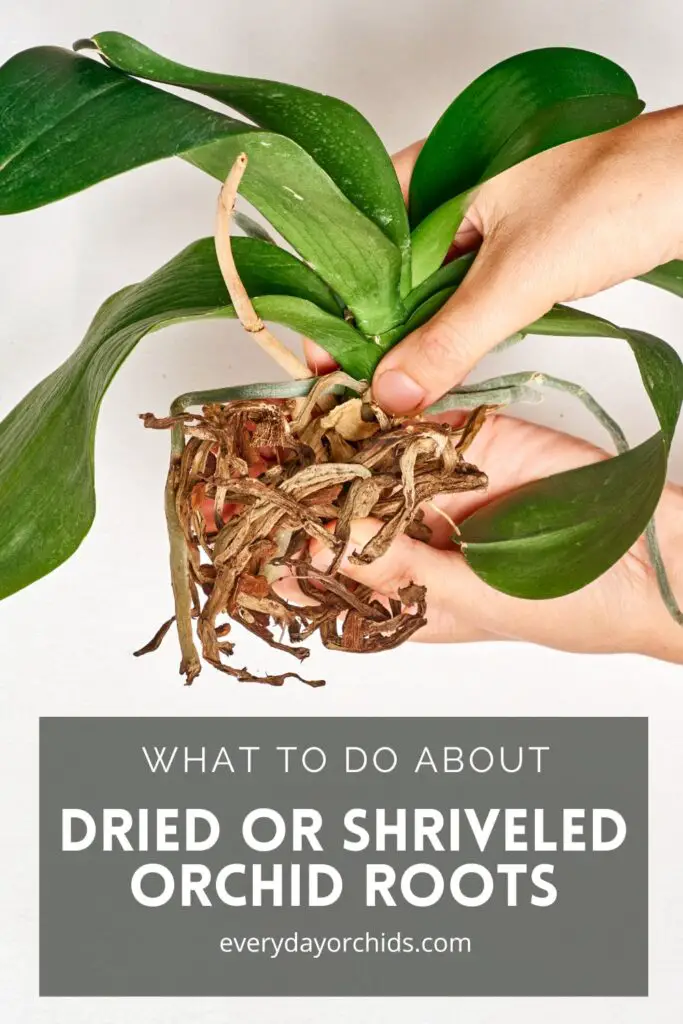
Yes, you will need to remove the dried up and shriveled orchid roots. Dried out orchid roots are dead roots.
To address this, you can cut them off with a pair of pruning scissors. Just make sure to sterilize your cutting tool beforehand.
If your orchid has root rot, you’ll disinfect the remaining orchid roots before repotting. Trim off the rotted roots, then treat the remaining roots with a fungicide such as Physan 20. To prepare Physan 20 for use on orchids, dilute 2 teaspoons of Physan per gallon of water per their website instructions.
What if Your Orchid Is Left With Very Few Roots?
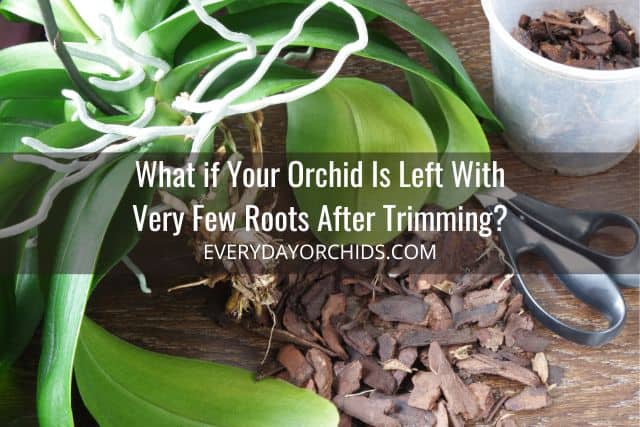
If removing all the dried out roots would leave your orchid with very few healthy roots, your next priority should be to stimulate the growth of new roots. You can do this by cleaning the root system and repotting the orchid in a fresh orchid potting mix.
Before repotting, cut off any existing or developing flower spike. This helps your plant redirect whatever energy it has into growing healthy new roots.
Repotting
I provide a detailed step-by-step guide to repotting orchids on Everyday Orchids, so please check that out if you would like to learn more. In general, you will need to repot your orchid after cutting off the dead roots. You will need to remove the orchid from its old potting medium, then soak or rinse the roots. It is also important to remove the dead or dehydrated roots and disinfect the remaining roots.
Once you have done all this, plant the orchid with fresh potting medium in a clean orchid pot or container. Use a similar sized pot, or even a slightly smaller one, if a lot of roots were trimmed or removed. Orchids prefer not having too much extra space in the pot.
A fresh potting medium itself can jump start the growth of new orchid roots. If your orchid has lost all of its roots or a majority of roots due to root rot or dehydration, here is a helpful article on how to save your orchid if it has lost all its roots. It includes a step-by-step guide on how you can help your orchid regrow its roots.
Hydroponics
You can also opt to use semi-hydroponics, or water culture, to promote root growth. Semi-hydroponics involves putting your orchid in a container with just water and a wicking growing medium such as clay pebbles, perlite, or gravel. The water should be at a level just high enough for the bottom of the roots and wick to touch it. Capillary action will wick the water up to the roots.
Hydroponics is a more involved and complex method for orchid growing. It is generally not recommended for new orchid growers.
Increase Humidity
Since a humid environment helps the orchid, you can provide your orchid with extra humidity. You can do this by putting a clear plastic bag over the orchid and the container.
You can also use a transparent plastic box to keep the immediate area around your orchid more humid. I go over this in more detail in my article about how to use a humidity box to quickly grow orchid roots. With this method, you would put the plant and its water container inside, and put the box’s lid on. In both cases, you want to be sure the orchid still has some air circulation.
For some other ideas, here are five easy ways to increase humidity for your orchid.
Final Thoughts
Dry and shriveled orchid roots indicate your plant is dehydrated and in dire need of moisture. As soon as you see these dry and shriveled roots, you need to water your plant immediately.
Moving forward, check the potting media before watering and water as the orchid needs, rather on a set schedule. In warm weather, orchids will need more frequent watering than in cooler weather.
If you do have dried, shriveled orchid roots, your orchid can still be saved. Remove dried out and dead roots to clean the root system. Moving the dead roots out will make way for fresh new roots to grow.
If you enjoyed this article, please pin it and share!
Recent Posts
Fusarium wilt in orchids is, unfortunately, a problem that you may encounter at one point or another. It is caused by the Fusarium pathogen and this kind of infection can be hard to identify at...
When it comes to choosing an orchid potting mix and knowing what kind of orchid soil is best, the decision can feel daunting. After all, there is a huge variety of options out there, from orchid bark...
