
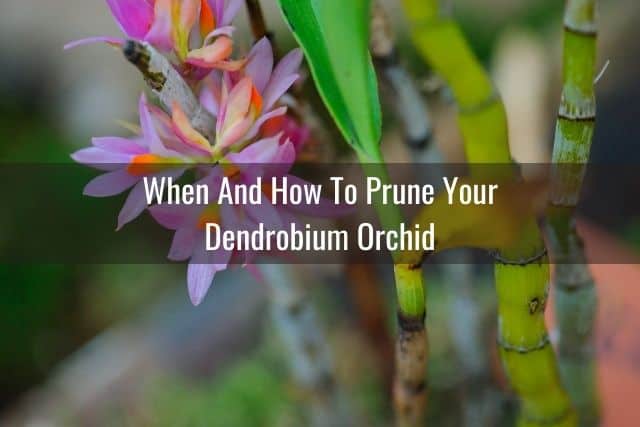
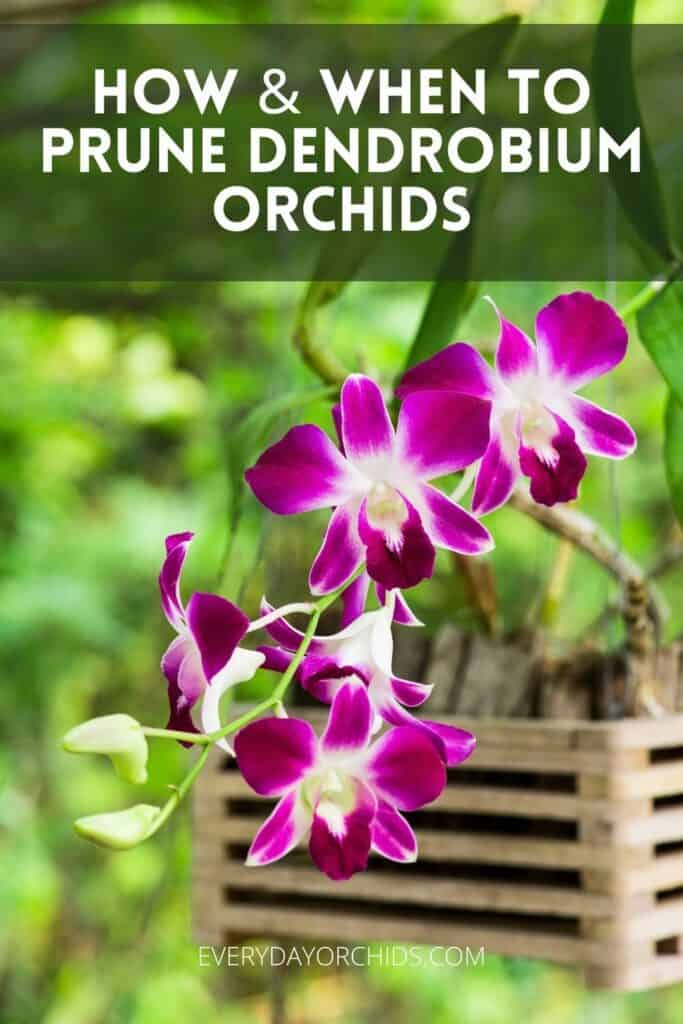
All orchids need to be pruned at some point, but if you have a Dendrobium orchid, you might be wondering how to prune it. Cane orchids, such as Dendrobiums, require slightly different pruning techniques than Phalaenopsis orchids.
In general, the canes of these orchids shouldn’t be removed. The canes function as pseudobulbs to store water and nutrients for the orchid. Think of it like a camel’s hump, which stores water for the camel. Cutting or removing these canes will harm the orchid. So, how do you prune a Dendrobium orchid?
Cane orchids, such as Dendrobium orchids, need to be pruned in three scenarios: after flowering, before repotting, and when there is any sign of disease or rot on the orchid. Use clean, sterilized gardening scissors or a razor blade to remove any dead or rotted tissue from the orchid. Be careful not to cut off canes that may still be viable, since the orchid can bloom from old canes the following year.

Keep reading to learn more about how and when to prune your Dendrobium orchid!
Please note that these links are affiliate links and as an Amazon Associate, I earn from qualifying purchases. Purchases made through affiliate links in this post may generate commissions at no additional cost to you. Use this link for a discounted Amazon Prime trial. Thank you for your support!
Table of Contents
When And How To Prune Your Dendrobium Orchid
Cane orchids are orchids which flower along stems which resemble bamboo stalks, or canes. As mentioned before, these canes are pseudobulbs and are important for storing water and nutrients for the orchid. These cane orchids include Dendrobiums and are divided into hard-caned and soft-caned varieties.
The hard-caned varieties include orchids such as the Dendrobium Phalaenopsis variety. Soft-caned Dendrobiums include the Dendrobium Nobile variety of orchids. Due to the differences in flowering, there will be slight variations in pruning hard versus soft-caned orchids. I’ll go over those differences below.
There are a few situations in which it is necessary to prune your Dendrobium orchid. These scenarios include pruning after flowering, when you find disease or rotted areas, or before repotting. I’ll go over each scenario in more detail below and talk about how to prune your cane orchid according to each scenario.
Prune Your Dendrobium Orchid After Flowering
After your orchid is done flowering, be sure to remove any old, wilted, and spent flowers from your orchid.
Be aware that after the blooming season is done, Dendrobium orchid canes may shrivel up slightly and become a little wrinkled. This is perfectly normal and not an indication that the orchid cane is dead or dying. As long as the cane is not brown, yellow, dried out or bending easily, it is still alive. Therefore, leave it on the orchid.
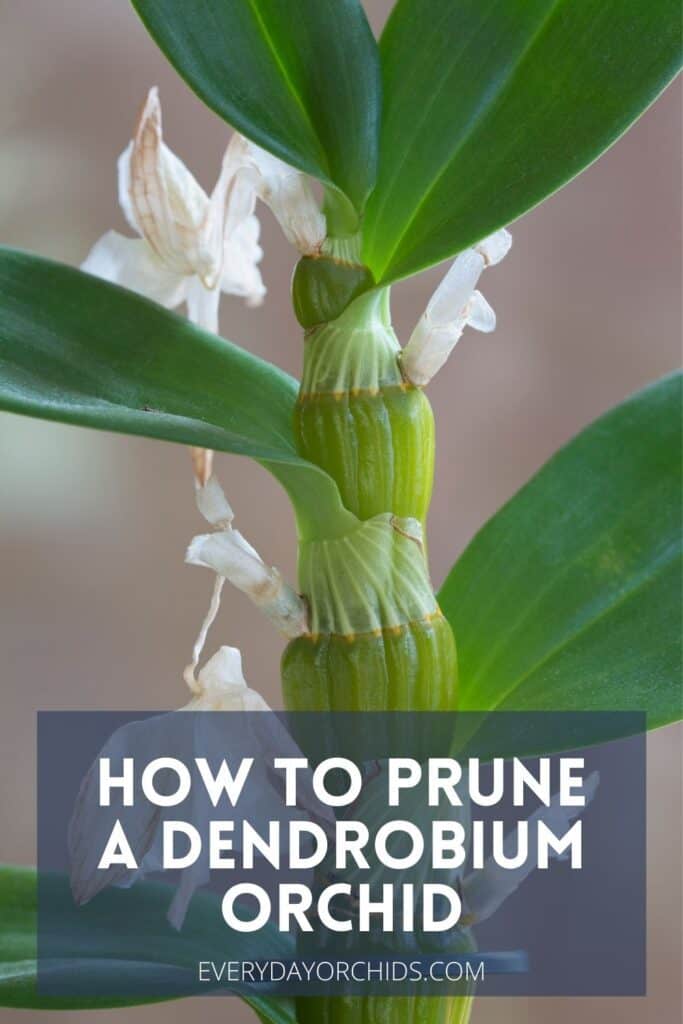
Hard-Caned Dendrobium Phalaenopsis Care
After the orchid is done blooming, use sterilized gardening shears to remove any dead flower stalks.
Flower stalks appear between the top-most pair of leaves on a Dendrobium Phalaenopsis cane. Flower stalks do not have any leaves on them. You will be able to tell that it is dead because it is yellow or brown and dried up.
If, however, the flower stalk is still green but no longer has flowers, leave it on your orchid. It is still alive and being used by your orchid. Wait until it is fully brown and dried out before you attempt to cut it off.
When it is time to prune your Dendrobium orchid, cut these dead flower stalks off as close to the base as possible. The base will be where the flower stalk first comes out of the cane, near the top-most pair of orchid leaves. Do not cut the cane itself. Only cut the thin, spent flower stalk.
To do this, use a sterilized razor blade or gardening shears to make a clean cut. You can dab a small amount of ground cinnamon powder on the open area remaining on the orchid if needed. Doing so will help seal it up. This is optional, but I always do this when pruning my orchids, unless the cut area is clearly dead.
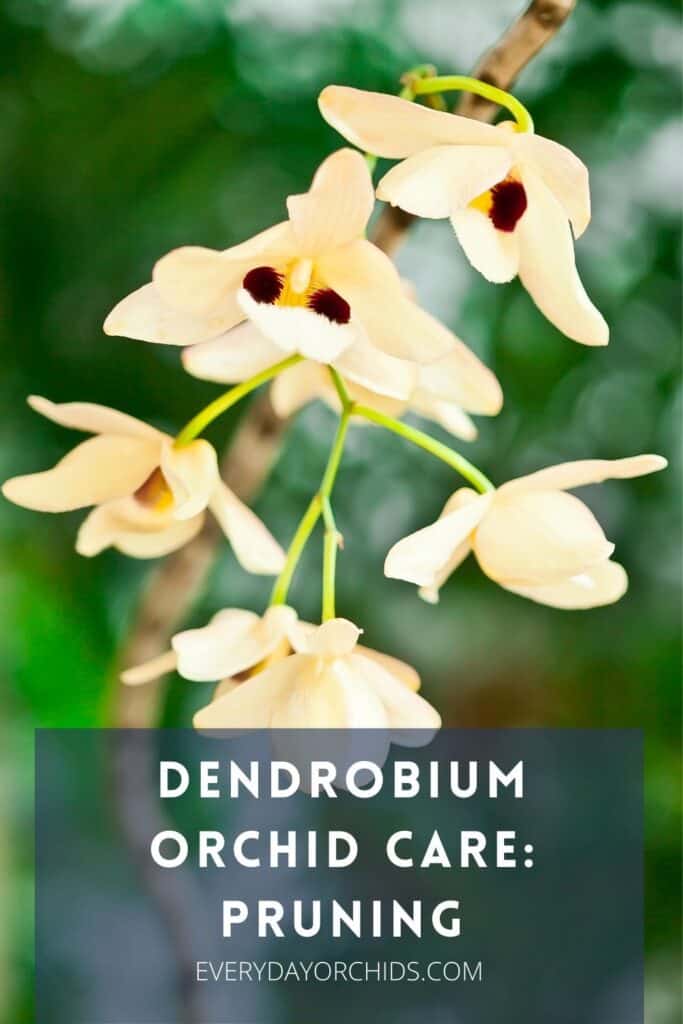
Soft-Caned Dendrobium Nobile Orchid Care
Dendrobium Nobile orchids do not produce a flower stalk like Dendrobium Phalaenopsis orchids do. Instead, this orchid variety produces flowers along the sides of the cane.
Once the flowers fall off the Dendrobium Nobile, the short flower spikes along the sides of the cane will be more visible. Over time, these will also eventually dry up and turn brown.
To prune a Dendrobium Nobile after flowering, use a razor blade or gardening scissors to remove the brown flower spikes along the sides of the orchid cane. You will know that they can safely be removed because they will be dry and brown in color. Snip these off as close to the cane as possible, but be careful not to cut the cane itself.
Prune Your Orchid To Remove Diseased Or Dead Plant Material
Pruning off any diseased, rotted or dead plant material is essential to keep your orchid healthy. Dead plant material on the orchid provides a home for pests and can lead to fungal and bacterial growth.
For example, orchid borers like to lay their eggs in old orchid canes. When the eggs hatch, they will quickly eat their way through the cane (or what is left of it) and move on to the rest of the orchid.
Likewise, dead plant tissue left on the orchid can become moldy, leading to bigger problems. Untreated disease or rot can also spread and eventually kill your orchid. What’s more, if no action is taken, the pathogens can spread to neighboring plants.
Note: Rotted, diseased or dead orchid canes are the only type of canes you should be removing from your Dendrobium orchid. When you do go to prune your orchid, make sure you leave the live, healthy canes alone, even if they are bare or leafless.
How To Remove Diseased, Dead Or Rotted Areas From Your Dendrobium Orchid
Oftentimes, diseased or rotted canes will be soft and mushy. They may also be brown or black, and exude fluids when squeezed. Dead canes will be papery-dry, yellow or brown, and flexible. These are the canes you want to get rid of.
Dead Canes
Removing dead, dried-out canes is relatively straight-forward.
Use a pair of sterilized gardening shears or scissors and cut off the cane at the dead area closest to the base. You may have to feel along the cane to identify where this is and cut just above it. If you cut and see green tissue, you have gone too far!
Diseased Or Rotted Canes
Once you identify the diseased or rotted canes on your orchid, first isolate your orchid from the rest of your plants.
Use sterilized gardening shears or a sterilized blade and cut off the diseased or rotted area, along with a small, neighboring portion of healthy tissue. Cutting a little extra off will ensure that you remove all of the infected orchid parts.
If the bottom part of the cane is diseased or rotted, cut as far down to the base as you can. In this situation, you may need to remove your orchid from the pot.
Doing so will allow you to remove the entire portion that is rotted or diseased, along with any rotted roots. If the base of the cane is rotted, chances are the roots attached to it will be too. You will want to remove all of this to keep the rot from spreading.
Dab some ground cinnamon powder on the cut area. This will help seal and dry up the wound. In addition, depending on what the problem is, you may want to follow-up with a fungicide treatment such as Physan20 for your orchid.
Prune Your Orchid Before Repotting
Repotting is another common time to prune and inspect your orchid. Pruning is actually an important part of the repotting process. It allows you to remove any dead or rotted roots that may have been hiding under the potting media. It also allows you to prune away any yellowing or dead leaves and stems.
Routine pruning and repotting has the overall effect of keeping your orchid healthy. The best time to repot your orchid is after the blooming season is done, usually late spring or early summer.
How To Prune Your Dendrobium Orchid During Repotting
Pruning your cane orchid during the repotting process will be similar to pruning a Phalaneopsis orchid, or any other orchid for that matter.
Remove your orchid from the pot and discard the old orchid potting media. Place your orchid roots in a bucket of luke-warm water. Gently rinse away and remove any old potting media that may be stuck to the roots.
Once your orchid roots are clean and ready, grab a pair of sterilized gardening shears. You want to focus on removing any old, rotted, or dead roots.
If you have a lot of rotted roots, read this article on how to deal with root rot in orchids. That will give you more information on how to treat the root rot and prevent it from happening again in the future.
Next, disinfect and clean your gardening shears, then move on to the upper part of the orchid. Remove any old, brown, dried-out canes, cutting away the dead portions, but leave any green, living canes intact. Along the same lines, remove any yellowed leaves and old flower stalks.
When you are done repotting, place your orchid in a clean, sterilized orchid pot with new orchid potting media. For more detailed, step-by-step instructions, check out these guides on how to repot an orchid and how to choose an orchid pot.
Key Points To Remember When Pruning A Dendrobium Orchid
The number one thing to remember when pruning a cane orchid is that those canes are pseudobulbs. You do not want to cut those off.
Instead, trim off dead or dying flowers from along the cane as needed. Remove yellowing or spent leaves. Leave the cane, or stem, intact.
Even if the cane has no leaves, leave it on the orchid. Some Dendrobium orchid varieties, such as the Dendrobium Nobile, drop their leaves when they go into their resting or dormant period. These canes are still functioning to store energy and hold water and nutrients for the orchid, so leave them alone.
Dendrobium orchids can produce flowers from old canes, even leafless canes. Some orchids bloom repeatedly from the same cane year after year.
Keiki orchids can also potentially sprout along the sides of the cane. Keiki orchids are baby orchids, and these are one of the easiest ways to propagate more orchids.
Final Thoughts
Pruning a Dendrobium orchid doesn’t have to be difficult or nerve-wracking. In many ways, it is quite similar to pruning a Phalaneopsis orchid. The main thing to keep in mind is that those Dendrobium canes are pseudobulbs, so you don’t want to cut them off unless it is absolutely necessary.
Prune your orchid after the blooming season is done, before you repot, and whenever you spot disease or rot. Use sterilized gardening shears to make clean cuts. Pruning your orchid may take a few minutes of your time, but it will go a long way in keeping your Dendrobium orchid healthy and happy.
As always, happy orchid growing.
If you enjoyed this article, please pin it and share!
Recent Posts
Fusarium wilt in orchids is, unfortunately, a problem that you may encounter at one point or another. It is caused by the Fusarium pathogen and this kind of infection can be hard to identify at...
When it comes to choosing an orchid potting mix and knowing what kind of orchid soil is best, the decision can feel daunting. After all, there is a huge variety of options out there, from orchid bark...
