
Want to repot your orchid? It’s important to do your research beforehand. While orchids are relatively easy plants to look after and care for, they have very specific repotting needs. If you are wondering how to go about repotting your beloved orchid, and what kind of potting mix to use, I’ll go over those answers and more here.
To repot an orchid, begin by ensuring that you have all the necessary materials on hand. Some items you might need include a new, larger orchid pot, orchid potting mix, a large bucket, and gardening scissors or shears. As for the potting mix, you will need to use orchid specific potting mix or media. This usually contains bark, perlite, charcoal, or plant fibers.
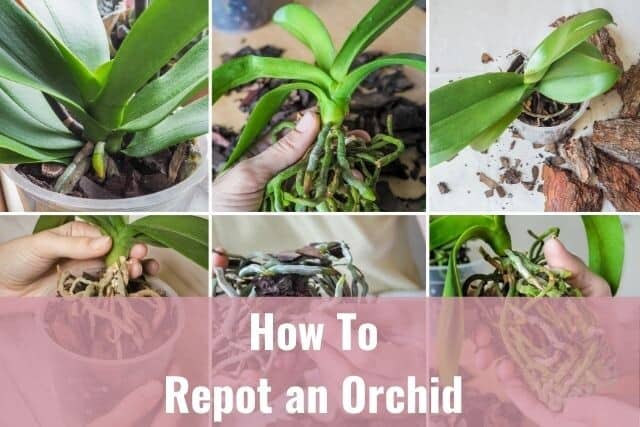
In this article, I will give you a step-by-step guide on how to repot your orchid. I will also answer some top questions about repotting orchids. Follow this guide to help keep your favorite house plant healthy and vibrant all year round.
Please note that these links are affiliate links and as an Amazon Associate, I earn from qualifying purchases. Purchases made through affiliate links in this post may generate commissions at no additional cost to you. Use this link for a discounted Amazon Prime trial. Thank you for your support!
Table of Contents
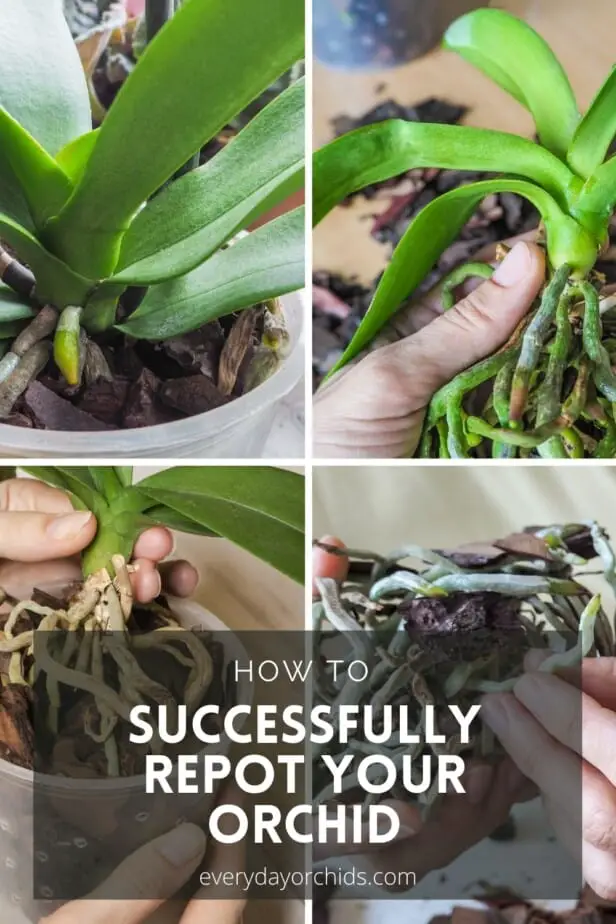
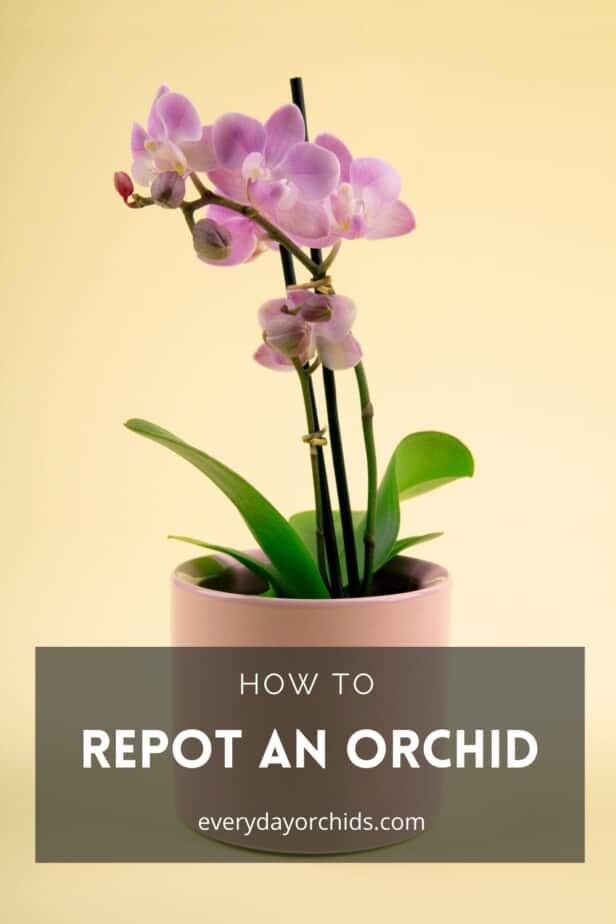
How To Repot an Orchid Successfully (Step by Step)
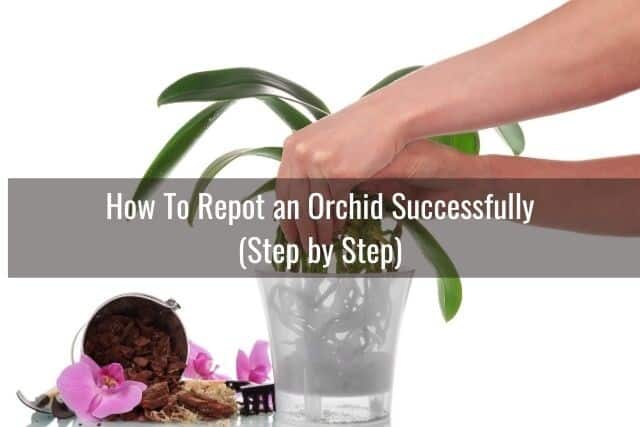
Repotting orchids is not as simple or straight forward as repotting, say, plants from your garden. Still, with the correct materials and a little bit of patience, you can easily repot your orchid so that it can continue to thrive.
Below, I will walk you through how you can successfully do this. By the end of this article, you will know what to do and will be able to repot your orchid with confidence.
Gather Your Materials
First, have all your materials on hand before you begin. That will make this process much easier. As I mentioned earlier, at minimum, you will need:
- An orchid pot that has been sterilized (I’ll go over how to do this next)
- Your preferred orchid potting mix
- A large 5-gallon bucket with water
- A pair of gloves, if desired
- Bleach and water to make a 10% bleach solution (if you choose to sterilize your pots this way)
- Another bucket for soaking the pots
- Sterilized gardening scissors
- An anti-fungal treatment for your orchids, such as ground cinnamon powder or Physan20
- Optional: a dull, flat tool such as a butter knife
Sterilize Your Orchid Pots and Tools
At least one day before you plan to repot your orchids, you will want to obtain your new orchid pot. If you are uncertain how to choose an orchid pot, I go over in depth about types of orchid pots here.
Ideally, if you are upsizing your pot, it should be 1-inch larger than the orchid pot you are currently using. This will allow the orchid roots room to grow, while not being too big for your orchid.
Alternatively, if you are repotting for other reasons, you can use the same size pot as you are currently using. If you are anticipating cutting off rotted orchid roots, for example, you should use the same size pot or even go down one size smaller if the root rot is extensive.
In either case, you will still need to obtain a different pot, either from your local garden center, or use one you have in storage. The need to sterilize the pot makes it impossible to reuse the pot your orchid is currently in. The sterilization process takes time and would leave your orchid unpotted for an extended period. You can definitely save that pot for future plants though.
Whether or not you buy a new pot or reuse an old one, you will need to ensure that the pot is clean and sterilized before repotting your orchid in it. This is key!
Please check out this article about how to save an orchid without roots. There, I go over how to sterilize your orchid pot. You can use a bleach solution or your oven. I also explain when you would want to use a certain method over another one, so please check it out.
You can use a 10% bleach solution to soak and sterilize your pots. Allow the pots to fully air dry before using them. This might take several hours or a full day, depending on the weather. This is why you want to do this step at least a day before you plan to repot your orchids.
Alternatively, you can also use the oven-sterilization method if you have terracotta pots.
While you are sterilizing your orchid pot(s), you should also take this opportunity to sterilize your gardening scissors and any other tools you may be using. You can do this with a 10% bleach solution and allow the tools to air dry.
Soak Your Potting Mix
On the day of repotting, gather all your materials together. Take your orchid potting mix and place it in a bucket of water. The potting mix will soak while you are preparing your orchid. Some people use boiling water to soak their potting mix. This kills any bacteria, pests, or fungi lurking in the potting mix.
However, if you open the bag and can see mold or smell a foul odor, don’t bother boiling it. Return your mix or throw it away. Buy a new bag. This foul smelling mix likely contains bacteria and mold that can spread to your plant.
As for what kind of potting mix you should use, there are plenty of options available. You will need an orchid specific potting mix such as this Miracle-Gro Orchid Potting Mix or this all-natural orchid potting mix by Perfect Plants. Both of these mixes have the necessary components to allow for drainage and air circulation around your orchid roots.
If you are looking to get more creative and DIY your own potting mix, there are plenty of ways you can create your own bark mix that your plant will be sure to love and thrive in.
If you are choosing to sterilize your potting mix with boiling water, give it time to come back to room temperature. Once your potting mix and water have cooled down completely, drain your potting mix.
Remove the Orchid from the Pot
A lot of times, it helps to soak the orchid pot in water beforehand, up to the rim of the pot. You can do this while you are preparing the potting media and other material. Soaking the orchid will help soften up the roots and help them “unstick” from the pot and potting media.
Be careful to only soak the pot up to the rim. Don’t let any water get in the orchid’s crown or between the leaves and main stem. Otherwise, you run the risk of your orchid ending up with crown rot or stem rot.
Once you have completed the preparation steps, it is time to carefully remove your orchid from its original pot. Slowly loosen each root while removing your orchid from the pot.
If there are any roots stuck to the sides, run a flat, dull tool such as the back of a butter knife along the inner sides of the pot. This will help dislodge the roots from the sides of the pot. Be careful not to break any roots when removing your orchid. Doing so would further stress your plant as it tries to recover from the repotting process.
This is a great time to inspect your orchid. Make sure there are no pests or insects lurking under the leaves. Check for any signs of disease or illness as well.
Untangle the Orchid Roots and Cut Off Any Dead or Rotted Roots
Once you have completely removed your plant from its current home, you can begin removing any dead or rotting roots. Using your sterilized gardening scissors, cut off any dried, dead roots. Cut off as any rotted, brown mushy roots as well.
You can take some time to untangle your orchid roots. Dislodge any old potting mix from in between the roots. You can do this in a bucket of clean, room-temperature water. Rinse off any old potting media at the same time you are untangling your orchid roots.
Once you have removed all the dead or rotted roots, you can apply an anti-fungal powder for plants, such as ground cinnamon, to any cut root ends. This will help protect the open ends from infection. Once you have cleaned up the bottom of your orchid, it is time to move on to the potting step.
Place the Orchid in a New Pot and Add Potting Mix
After you have removed any unwanted roots from your plant, you can place your orchid into its new sterilized orchid pot. Add a decent amount of orchid potting mix to the bottom of the pot. This will ensure your plants’ new growth will be even with the rim of the pot.
Once you have added a bottom layer of potting mix to your pot, place your orchid in the center of the pot. Point the roots down and try to keep the stem base level with the rim of the pot.
Continue adding potting mix around the orchid roots until you reach the top of your new pot. As you do this, try to allow the orchid roots to be spaced apart, rather than clumped together. This will encourage air circulation around the roots. Try to evenly distribute the potting mixture and move the potting mix around with your fingers to get it to settle between the roots.
Continue Caring for Your Orchid
Now that you have completed the steps outlined above, congratulations! You have successfully repotted your orchid. This will allow it to continue thriving in a wider and better environment.
As a finishing touch, you can take a soft damp cloth to wipe down your orchid leaves. To ensure that your orchid adapts well to their new home, continue caring for it as you were before.
Optionally, you can stake your plant to keep it upright and support any future flower spikes that form. If you aren’t familiar with this, check out this guide to training and staking your orchid. When positioning the stake in the pot, be careful not to accidentally hit the orchid roots.
Now you know how to successfully repot your orchid. Next, let’s go over when is the best time to repot your plant and top reasons to repot your orchid. I’ll also go over what else you should know to keep your orchid as healthy as possible.
Why Would You Need To Repot Your Orchid?
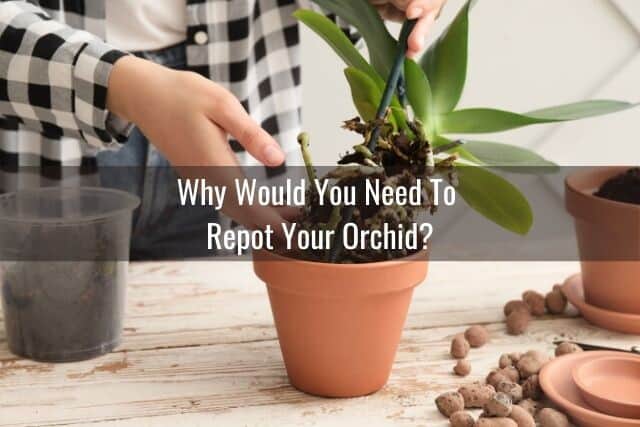
When caring for your orchids, you will likely be doing routine inspections and checking over your orchid plant. While doing this, there are some things you can look out for. These will help you know when your orchid is ready for repotting.
Here are some of the top reasons for repotting:
Overgrown Orchid Roots
One of the most common telltale signs that your plant has begun to outgrow its current pot are overgrown roots. The roots are not only tightly packed into the pot, but they have also begun to grow out of the pot. They may be growing out the sides or out the top of the pot.
Many of these roots are called air roots or aerial roots. If you see this, your orchid likely needs to be repotted into a larger pot. Check out this other Everyday Orchids’ guide filled with information on how to deal repot an orchid with aerial roots.
Orchid Roots Have Begun To Rot
If your orchid roots have become brown, soft and mushy, they are likely rotted. The best thing you can do for your orchid is to remove the rotted roots and change the potting media. After doing this, place the orchid in a new pot. The sooner you do this, the better. You will have a much higher chance of saving your plant and keeping it healthy.
There is a Foul Odor Coming From Your Plant
If you have smell a foul odor coming from your orchid plant, it is could due to the presence of bacteria. Your potting mix has likely begun to decay. This might happen due to overwatering or using the wrong pot, and as a result, the orchid media does not properly drain or dry out between waterings.
The foul odor can also be due to mold, fungal or bacterial growth in the potting media. In this case, you will need to treat your orchid for the infection. Then, repot it into a new, sterilized pot with new potting media.
Your Roots Are Tangled
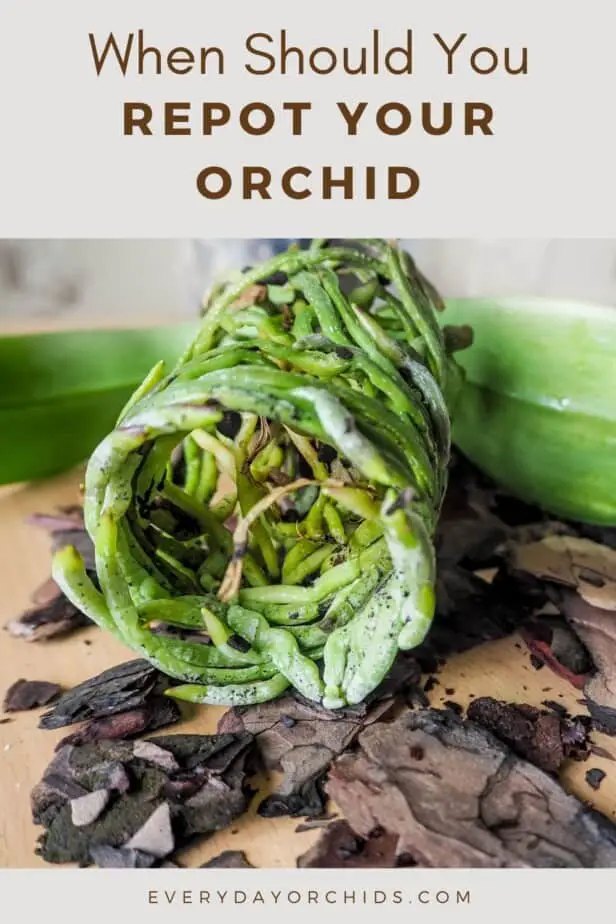
If your orchid roots have become very tangled, this is another telltale sign that your orchid needs a new home. Orchid roots become tangled when the pot is too small. In this scenario, the roots do not have enough room to stretch out and grow fully.
Your Orchid Needs To Be Divided
If you have an orchid with pseudobulbs, such as a Dendrobium or Cattleya, it may have grown to the point of needing to be divided and repotted into multiple pots. You can also take this opportunity to propagate new orchid plants using the pseudobulbs.
When you do this, you will need to first remove your orchid from its pot. Remove the potting media from the root area, as outlined in the steps above. Then, using a sterilized knife, separate the orchid into sections, cutting between growths. Leave three to four growths per section. You will then repot each section as you normally would repot any orchid, using new potting media.
If you’d like a more detailed step-by-step guide, I go over how to divide and repot orchids with pseudobulbs here. Please check it out, since the repotting process is not as straightforward.
Once again, pay attention to all the signs and the way your orchid tries to communicate with you. This will ensure that you repot your orchids when they need it. Your plant will stay happy and healthy in the long run.
How Often Should You Repot An Orchid?
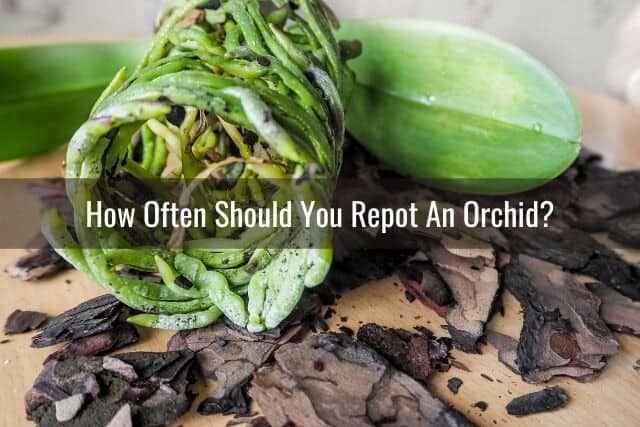
It is recommended that you repot your epiphyte orchid every 1 to 2 years for the best results. Terrestrial orchids can go 2 to 3 years between repotting.
Springtime is the best time to inspect your plants. At that time, check to see if a repotting may be necessary. This is the season when most plants undergo rapid growth.
The best time to repot your orchid will be after it has finished blooming and the orchid is in its growth phase. In fact, this is one of the main things you will do after your orchid has finished blooming.
While it is best to follow these guidelines, if your orchid begins to exhibit certain signs such as root rot, disease or infection, you may need to repot earlier or out of season. In those situations, do not delay repotting your orchid.
Do You Need To Put Your Orchid in a Bigger Pot?
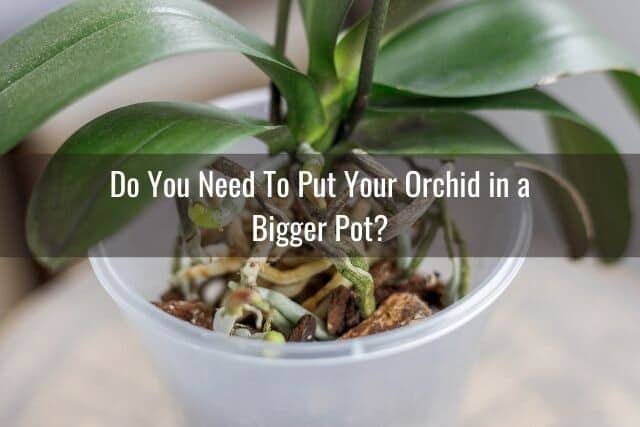
While some orchid owners may recommend that you should avoid putting your plant in larger pots, there are plenty of benefits to doing so. Larger pots can give your orchid ample space within its new environment. The orchid will also have a rich amount of potting mix and water to grow. All of this combined will ensure that your plant thrives in its new conditions.
Most orchids generally need to be repotted once every 1 to 2 years. I talk in depth about the different types of orchid pots, types of material, and how to determine the size of a pot elsewhere on this site. Read about orchid pots first before you go out and buy a new one.
A good rule of thumb to use when deciding how big of a pot to use for your orchid is to go up 1-inch in diameter from the current pot size.
So, for example, if your orchid is being housed in a 4-inch pot and you need to upgrade to something larger, you will most likely want to use a 5-inch pot when you repot your orchid.
The exception to this rule of thumb would be when your orchid has lost a lot of roots. In that case, you’d either use the same size orchid pot or go one size smaller.
Can You Repot Orchids While in Bloom?
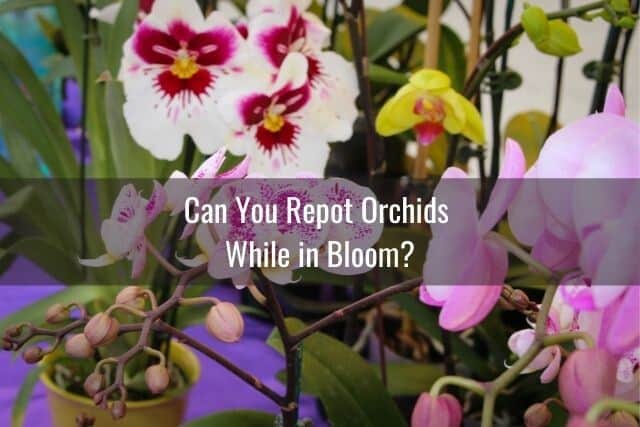
While there is nothing stopping you from repotting your orchid while it is in bloom, it is not recommended to do so. It is best to wait until your orchid has finished blooming to repot it.
Many issues come with repotting while your plant is in bloom. Orchids can experience bud blast or early bloom dropping if repotted while in bloom. Bud blast will occur because your orchid will switch its focus to root growth and adjusting to the new environment.
For this reason, avoid repotting your orchid while it is in bloom, forming buds, or getting ready to bloom. The best time to repot your orchid is after the blooming season has passed but before new root growth has begun.
The stress of repotting will force the orchid plant to cut off any unnecessary energy into anything that is not essential for its survival. In this case, repotting while the orchid is in bloom will cause your already bloomed buds to fall off prematurely. Any unopened buds will simply wither and fall off the spike.
Therefore, it is best to avoid repotting during the blooming season if you can help it. Repotting can be a stressful time for your orchid plant. You will want to wait until it has completed blooming to repot. This way, it can focus its energy on root growth, leaf growth and adjusting to the new environment.
How To Repot An Orchid With Aerial Roots
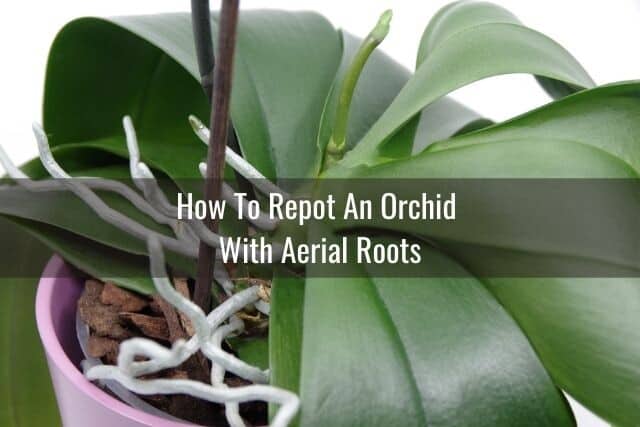
Air roots, also known as aerial roots, are roots that grow upwards into the air. This is completely normal behavior for epiphytes such as your orchid. You do not need to cut them off or try to force them down into the potting media.
When repotting an orchid with aerial roots, you should repot your orchid as you normally would. Leave the aerial roots alone.
The aerial roots that thrived in the air beforehand will likely thrive in their new location as well. Just be careful when handling your orchid so you do not accidentally break or damage the aerial roots when you are moving your orchid around.
Keep in mind that aerial roots serve a fundamental purpose for your orchid and its health. If all the potted roots were to die, your orchid would rely on the strength and health of the air roots to survive.
How To Repot An Orchid Without Roots
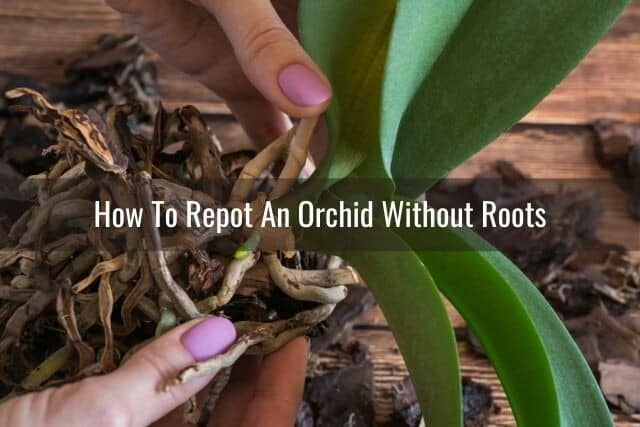
There are plenty of reasons as to why your orchid may have lost its roots. However, it is still possible to save your orchid and bring it back to health with the proper tools and steps. Depending on the condition of your orchid, there are several ways you can handle this situation.
I go in depth in another post on how to save your orchid if it has lost all of its roots. Here is a brief overview.
To repot an orchid that has lost its roots, you will need the same materials used for repotting your orchid. You will also need sphagnum moss, a humidity tray, and a plastic bag.
Start by removing your orchid from its current potting medium. The old potting mix will need to be thrown out and replaced.
Next, you can either begin by cutting the stem or removing all the dried, dead roots remaining on your plant. It is best to use sterilized gardening scissors for this step.
If your orchid has lost its roots due to disease, it is also recommended that you spray a fungicide such as Physan 20 onto your orchid. Per their website instructions, you should dilute 2 teaspoons of Physan per 1 gallon of water for use on orchids. This will help keep any unwanted bacteria from further harming your orchid. Again, I go into detail about this process in this post about how to save an orchid without roots.
Once you have applied the fungicide to your orchid and applied ground cinnamon to the cut ends of your orchid roots, you can follow the basic repotting steps outlined above. Use sphagnum moss instead of orchid potting media.
You will need to ensure a high level of humidity to help the orchid grow new roots. You can do this by preparing a humidity tray or a humidity box. Enclose your orchid pot in a plastic bag with the humidity tray. Be sure to cut holes in the bag for air circulation. You can also use a cool-mist humidifier if you prefer. There are a number of ways you can increase humidity around your orchids, so try different methods and find the one that suits you best.
Should You Water an Orchid Before or After Repotting?
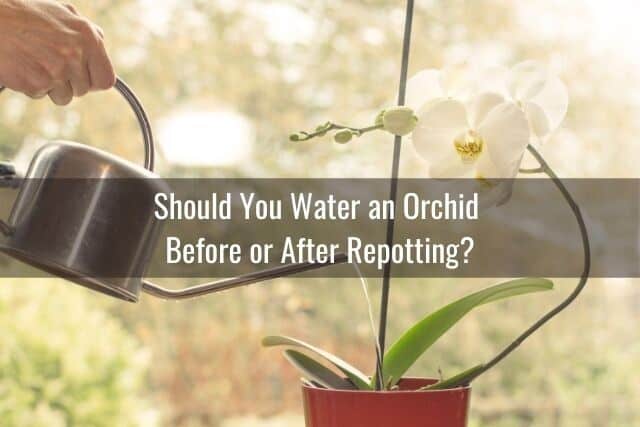
For the first two weeks after repotting, you can simply lightly mist your orchid instead of fully watering it. If you have followed the above steps for repotting your orchid, you will have already soaked the orchid potting mix prior to placing it in the pot with the orchid. Soaking the mix will provide the orchid with some initial moisture and humidity while it is adjusting to its new environment.
After a week has passed, you can check the potting media. Assess whether it is appropriate to start watering. If the potting media is dry or if the pot feels light when you pick it up, it is ready for some water. You can start watering and fertilizing your orchid as you normally would.
Fertilizing your orchid after repotting is especially important. This will ensure your plant gets the nutrients and minerals it needs to continue root and leaf growth.
Final Thoughts
In this article, I have discussed not just how to successfully repot your orchid, but why and when to repot your orchid. With the correct materials, patience, and time, you will find that repotting your orchid plant is not as daunting as you may have thought. It is a fairly straight-forward process. You’ll get the hang of it once you’ve done it a time or two. Plus, by repotting your orchid the right way, you will provide your orchid with the home it needs to grow and flourish. Best of luck!
If you enjoyed this article, please pin it and share!
Recent Posts
Fusarium wilt in orchids is, unfortunately, a problem that you may encounter at one point or another. It is caused by the Fusarium pathogen and this kind of infection can be hard to identify at...
When it comes to choosing an orchid potting mix and knowing what kind of orchid soil is best, the decision can feel daunting. After all, there is a huge variety of options out there, from orchid bark...
