If your orchid has lost all of its leaves, don’t despair, because you can still save your orchid. Orchids can lose their leaves for a number of reasons. If this happens to your orchid, don’t throw it away just yet! Saving an orchid that has lost all of its leaves will take some time and effort, but if this is an orchid you really like, the effort will be well worth it. Stay tuned to learn more.
To save or revive an orchid with no leaves, you will need to clean your plant’s root system, remove the dead roots, and repot the orchid in new potting media. Make sure the orchid gets enough sunlight, and fertilize it. It is not yet a lost cause. As long as it still has healthy roots and a healthy stem, you still have a chance to save your orchid even if it has no leaves.
If you are wondering why or how your orchid has lost all its leaves, don’t worry. I’ll go over some reasons why orchids lose all their leaves. I’ll also how you can revive your orchid and nurse it back to health. If you have an orchid that has lost all its leaves, don’t worry because all is not lost. Keep reading to find out step-by-step what you can do to save your orchid.
Please note that these links are affiliate links and as an Amazon Associate, I earn from qualifying purchases. Purchases made through affiliate links in this post may generate commissions at no additional cost to you. Use this link for a discounted Amazon Prime trial. Thank you for your support!
Table of Contents
Orchid Losing Its Leaves: Is it Dead or Dormant?
Unfortunately, if your orchid is losing its leaves, it is possible that it is beginning to die. If you fail to take action, the orchid could be beyond saving. Leaves dying or falling off one by one is merely a symptom of a bigger problem. Reasons why orchid leaves fall off include stem rot, root rot, crown rot, pest infestation, or other issues with your orchid.
Dormancy is another reason why an orchid may lose its leaves. Dormancy is the phase an orchid plant enters after it has finished blooming. It is a rest period for the plant after it has spent a lot of its energy on producing flowers. During dormancy, the orchid will focus on growing and storing new energy for yet another flowering period.
During this phase, the orchid stem may turn brown or grey and shrivel. Orchid leaves may turn dull and flatten out around the base. Some orchids may lose a few of its leaves, but not all of them.
Why Has My Orchid Lost Its Leaves?
Here are some of the possible reasons why your orchid’s leaves are falling off:
Improper Watering
If your orchid is not receiving enough water, the leaves will slowly turn limp and yellow. If nothing is done to stop this, the leaves will continue to wilt and will eventually fall off. This happens gradually, one leaf at a time.
If you notice that one or more of your orchid’s leaves are starting to wilt or turn yellow, check the potting media. If it is dry and the pot is light when you lift it up, this is a sure sign that your orchid needs to be watered. There’s a good chance that the orchid roots are also dry and shriveled.
Water your orchid immediately and then establish a watering routine. As long as you start to take action to fix the problem, you can still save your orchid.
Since the required frequency for watering will depend on the orchid species, you will need to know what kind of orchid you have. Each orchid species has specific needs for moisture, tolerance for drought and temperature ranges. As a general rule of thumb, most orchids may be watered once a week or if the potting media is dry to the touch.
Fungal or Bacterial Infection
Another reason why your orchid may be losing its leaves may be because of a bacterial or fungal infection. These infections typically appear as yellow, brown, or black spots on the leaves. As time goes on, this will progress to rot and leaf loss.
If this infection goes untreated, you could not only end up losing your orchid, but the infection can spread to your other plants as well. This would put your whole orchid collection in jeopardy.
One way to prevent a bacterial or fungal infection from occurring in your orchid is to frequently check your orchids for any unusual spots on the leaves. You can do this each week before you water them.
If you notice any unusual spots on your orchid’s leaves, you must immediately separate your affected orchid from your other plants. You will then need to cut off the infected sections with a sterilized knife, repot the orchid and treat it with a fungicide.
Sometimes these infections may already be present on the plant when you buy it or receive it as a gift. Diseases and pest infestations are two things that can spread easily in a garden center or a flower shop. This is due to the close proximity of the plants and the air currents that can carry spores or pathogens from plant to plant.
Before you purchase a new orchid, always carefully inspect the orchid’s roots and leaves and potting media. Tug on the leaves gently to make sure that they do not come off or tear easily off the plant. If this happens, the orchid could have a fungal or bacterial infection or rot.
Once you purchase a new orchid, you can even keep it separate from your other plants for the first week or two (minimum!) after bringing it home. This is just to ensure that the new orchid does not have any microscopic bacterial or fungal infection that may spread to your other plants.
Over-Fertilization
Giving your orchid too much fertilizer can cause its leaves to fall off. Applying weak or diluted orchid fertilizer once a week should be enough. Giving a non-diluted fertilizer at the same frequency would be too much.
Orchids do not need too much fertilizer. This why I recommend fertilizing “weekly, weakly.” Applying a regular-strength undiluted fertilizer would cause salt residue to build up. Excessive fertilization will also burn the orchid roots and affect the flow of nutrients to the leaves.
It is not recommended to use a fertilizer that is not specifically formulated for orchids. To keep your orchids healthy, make sure you are using a credible orchid feed product such as rePotme’s orchid food and dilute it accordingly. If you are doing this and still notice your orchid is losing its leaves, you might need to adjust your fertilizer strength, dilute it even further or fertilize less frequently.
Keep in mind that you want to regularly fertilize your orchid plant during its growing season, which is typically spring, summer and autumn. Weekly fertilization during this growth period would be fine. Orchids do not need to be fertilized as frequently during its dormant period. For most orchids, this is usually in the winter. Once a month fertilization would suffice during the dormancy period.
Pest Infestation
Insects and other pests can also be detrimental to your orchids. If you do not completely eradicate these pests, over time the infestation will weaken the plant. The orchid leaves will turn yellow or brown, wrinkle, or even fall off.
Before attempting to treat pest infestation, be sure you know what the exact kind of pest is on your orchid. Learn the proper treatment method and products to use for that pest, so you do not end up doing your orchid more harm.
Check out these guides on how to identify and eradicate common orchid pests and how to fix top problems when growing orchids.
Unfavorable Temperatures
If your orchids are exposed to very cold temperatures, you may see cold damage or frost damage on your plants. This may be manifested as blossom or bud blast. The orchid leaves may develop soft spots or become squishy. You may also see limp and lifeless leaves, and they may turn brown or black before falling off.
Cold or frost damage may happen if you leave your orchids outdoors and leave them exposed to nighttime temperatures below their temperature tolerance levels. This might also happen to a lesser extent if you place your orchid next to a cold window or leave it in a drafty area.
Dry, hot air can also damage orchid leaves and cause them to fall off. You will want to avoid placing your orchids near heating vents or portable heaters.
Can an Orchid Survive With No Leaves and Just Roots?
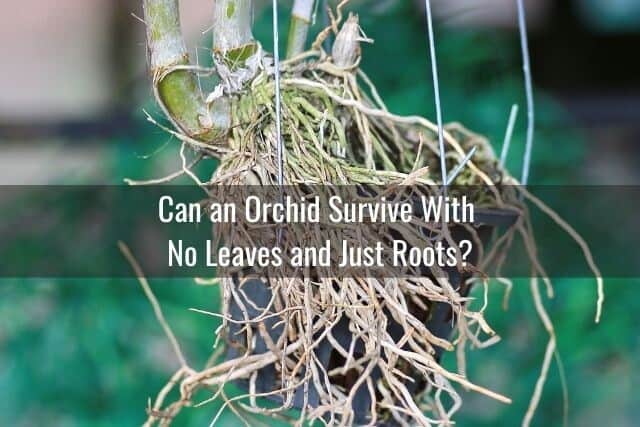
Even if you were not able to stop your orchid’s leaves from falling off before it was too late, do not throw away the plant just yet. There is still a chance to save your orchid and encourage new leaves to grow. Remember, your orchid can survive without leaves as long as it still has healthy roots and a living stem.
How To Care for an Orchid With No Leaves
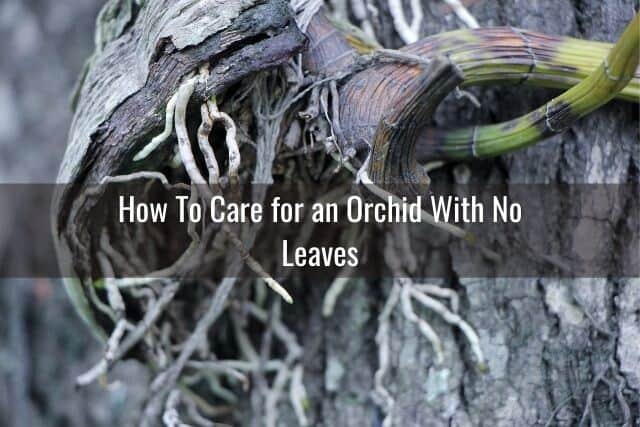
Here are some steps to take if your orchid has lost all its leaves:
Inspect the Roots and Stems
Take your orchid out of its pot and check its roots and stem. This is how you will be able to tell if your orchid still has a chance at survival. Are the roots and stem still healthy?
If the main stem is still firm and green, then that means your orchid still has a place from where new leaves can grow. Roots will still be able to send energy and nutrients towards the stem to stimulate growth.
If the orchid stem is yellow and brittle or mushy, this might indicate rot or disease in the stem itself. It might be quite difficult, and maybe even impossible, for new leaves to grow from an unhealthy orchid stem.
When inspecting your orchid, look to see if your orchid still has some firm and healthy roots left. This is especially important if the leaves fell off due to crown rot or root rot.
Healthy orchid roots will be necessary to absorb whatever nutrients are needed to promote new leaf growth. Without any healthy roots left, your plant will have no means to rejuvenate itself.
If there are aerial roots, these will also help your orchid make a comeback. Leave the aerial roots in place and do not try to remove or prune them.
Rinse and Clean the Roots
Now if you have inspected your orchid and decided that there is still a chance to save it, you will need to clean your plant and repot it. For detailed instructions, I have written an article on how to repot your orchid.
Gently remove all parts of the plant that are brown and lifeless. Cut off the flower spike if your orchid still has one. Doing so will encourage the orchid to focus its energy on regrowing roots and leaves rather than on producing blooms.
Using sterilized garden scissors or clippers, cut off damaged or dead roots. Leave only the roots that are firm and green, pale green, white, or light brown. Leave aerial roots intact.
After trimming away all of the dead and nonviable parts on your orchid, give your plant a gentle rinse with lukewarm water. You can use a basin of water or just wash it under running water in the sink.
Repot Your Orchid in Fresh Potting Media
Soak some fresh orchid mulch, sphagnum moss, or orchid potting media in water. You can do the soaking while you are cleaning your orchid’s roots.
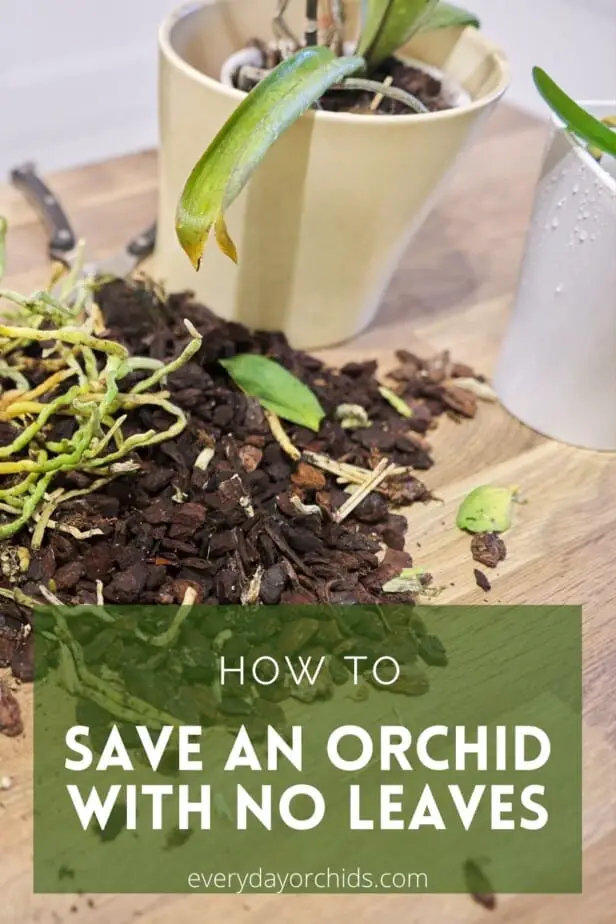
Do not reuse or recycle the old potting media, especially if your orchids leaves fell off because of crown rot or root rot. Throw the old potting media away. There might be trace amounts of fungus, mold or bacteria present in the old potting media. You don’t want to transfer this to your newly potted orchid. Instead, use new potting media to create a new and healthy environment for your plant.
When your orchid is ready, place it in a clean pot with some of the newly hydrated potting media. Some growers recommend using a clear plastic pot for this because it would allow the roots better access to sunlight. Since there are no leaves left to take care of photosynthesis, the job is left to the roots.
Try to place the potting media loosely around the roots. Do not pack the media too tightly in the pot. Instead, leave some space to allow air to circulate and sunlight to reach some of the roots.
Fertilize
Nitrogen promotes the growth of foliage, so you may want to feed your plant with an orchid formula that is rich in nitrogen. However, don’t go crazy with the nitrogen. The ideal orchid fertilizer already has a high nitrogen to potassium ratio. Follow the preparation instructions on the orchid-specific fertilizer that you purchased, and dilute it with water before using it to feed your orchid.
Wait for New Leaves To Grow
After you are done repotting, give your leafless orchid the same routine care as you normally would with any other orchid. Place your newly repotted orchid near a window where it can get a decent amount of bright, indirect sunlight. Water it properly and give it the level of humidity it requires. Then, just wait and watch for new leaves to grow.
Final Thoughts
You can learn a lot about the condition of your orchid just by examining the leaves. Dark-green leaves, for instance, generally mean your orchids need more light, whereas medium-green leaves indicate that your orchids are receiving just the right amount of light. Vertical splits on your orchid leaves can indicate irregular watering patterns and wilted leaves reflect inadequate watering.
If your orchid starts to lose its leaves, you will need to act fast to diagnose and treat the problem before the rest of the leaves fall off. Even if your orchid still ends up losing all its leaves despite all your care and interventions, do not throw away your plant. You can try to regrow orchid leaves. As long as your orchid still has healthy roots and a healthy stem, you have a good chance at saving your orchid and regrowing the leaves. Good luck!
If you enjoyed this article, please pin it and share!
