Crown rot is a common orchid problem which many beginner orchid growers may encounter. This was definitely something I had to deal with when I first started caring for orchids. Seeing your orchid start to turn black and die from rot can be very distressing. Many new orchid growers might wonder what is happening and more importantly, is there any way to save their orchid?
Crown rot in orchids very common. It is usually caused by poor watering techniques and is typically identified when rot forms in the orchid crown. As the rot progresses, the orchid stem turns black, the leaves begin to fall off and the orchid eventually dies. However, if crown rot is identified early enough, you can treat it and save your orchid.
In this article, I will take an in-depth look at orchid crown rot. I’ll go over what is crown rot and how to prevent crown rot disease in your orchid. You’ll learn how to spot the signs of orchid crown rot and identify the early stages of it. Lastly, you’ll learn about orchid crown rot treatment options and what you can do to save your orchid.
Please note that these links are affiliate links and as an Amazon Associate, I earn from qualifying purchases. Purchases made through affiliate links in this post may generate commissions at no additional cost to you. Use this link for a discounted Amazon Prime trial. Thank you for your support!
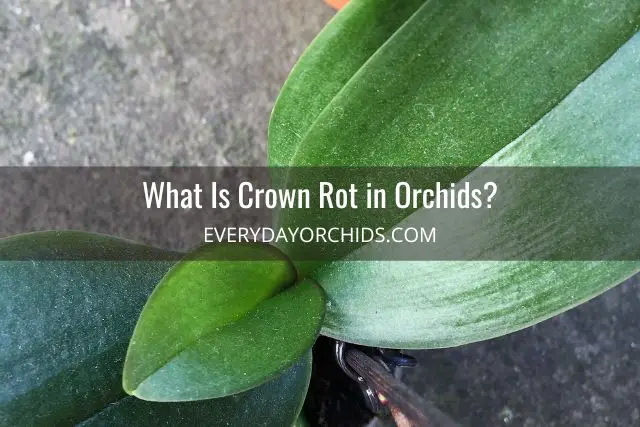
Table of Contents
What Is Orchid Crown Rot?
Orchid crown rot is a type of fungal infection. It is caused by a soil-borne fungus that thrives in the moisture left in the orchid crown. It can quickly spread and kill the plant if left untreated.
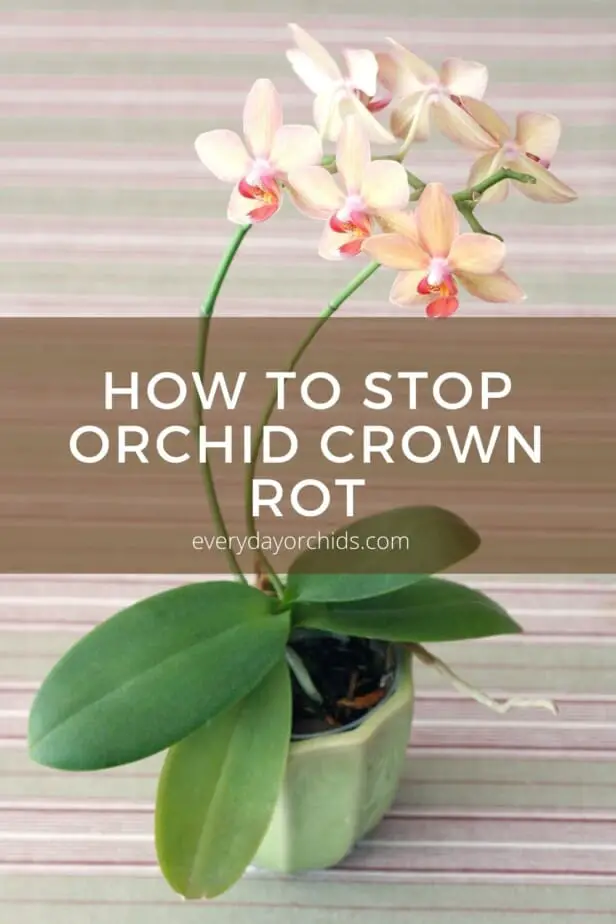
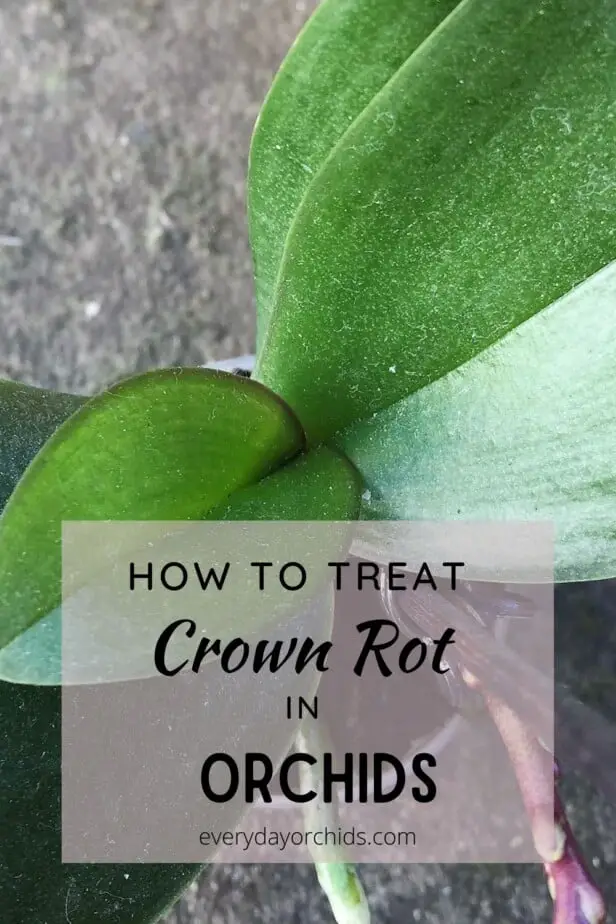
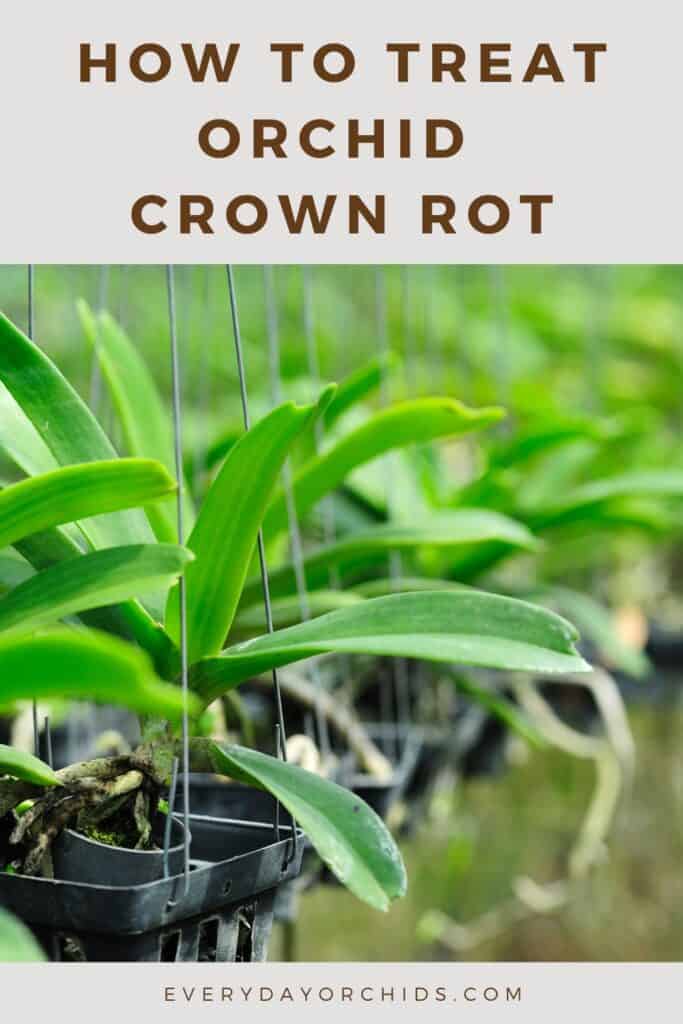
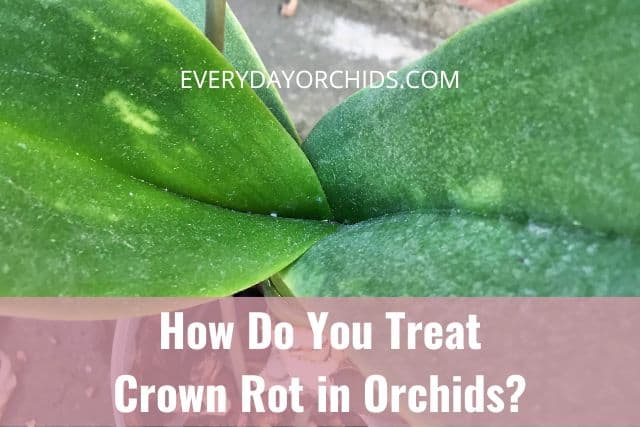
As mentioned above, crown rot is a very common problem in orchids, especially in orchids with a crown, such as Phalaenopsis and Vanda orchids. The orchid crown is the area where the leaves meet the stem. Water can settle in this area, leading to orchid crown rot.
Note: Orchid crown rot is different than orchid stem rot or orchid black rot. These are different types of infections and will thus, need different treatment methods.
To learn more, check out my article about orchid stem rot and how to treat it here.
You can also read about orchid black rot here.
Which Orchids Are At Highest Risk For Crown Rot?
Unfortunately, Phalaenopsis orchids are the most susceptible to crown rot because of the inherent shape and structure of the plant. These orchids are monopodial plants. The structure and angle of the orchid leaves allows for water to run down and collect in the orchid crown, leading to rot.
Phalaenopsis orchids are most commonly kept as indoor plants, but some are grown outdoors in warmer climates. If you keep your orchids outdoors year-round, be sure you check on them after a rainfall. Make sure there isn’t any standing water left in the orchid crown. Phalaenopsis crown rot is a real risk otherwise.
Vanda orchids, a type of terrestrial orchid, are also susceptible to crown rot. Similar to Phalaenopsis orchids, Vanda orchids are monopodial orchids with a crown.
Vanda crown rot can occur if standing water remains in the orchid crown for an extended period. If you have Vanda orchids in your garden, you will want to monitor for signs of crown rot on a regular basis.
What Are Some Signs of Crown Rot?
So, what does orchid crown rot look like? In the early stages of orchid crown rot, your orchid’s leaves will start to droop and become soft and mushy. You might also notice that the top leaves are starting to turn yellow.
Orchid leaves can change color for a variety of reasons, so people don’t always immediately think of crown rot when this happens. In this case, the yellow discoloration starts at the point where the leaf meets the stem.
The yellowing will then spread outwards to the tip of the leaf. You may notice these changes beginning on one side of the plant initially. As crown rot progresses, the rot will spread to the other side and affect both sides of the orchid.
If left untreated, the top orchid leaves will turn brown, die and fall off. The lower orchid leaves will also start to turn yellow. They will become mushy and then die off as well. The orchid stem will start to turn yellow, then black as the rot spreads.
In the late stages of crown rot, the entire orchid stem turns black. The orchid stem then begins to shrivel up and die, leading to the death of the orchid plant. Crown rot is unfortunately most commonly identified when it is already in the late stages of rot.
What Causes Orchid Crown Rot?
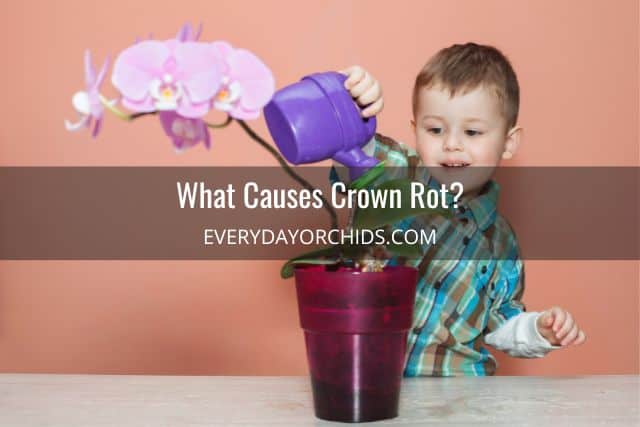
Oftentimes, crown rot happens because of water left sitting in the orchid crown. This is area where the orchid leaves meet the stem.
Due to the way orchid leaves are angled, watering the plant from above can cause water to flow down the middle of the leaves. This water will then settle in the orchid crown. Soil-borne fungi that thrive in moisture and wet areas rapidly grow in the standing water here, infecting the orchid leaves and stem.
How Can You Prevent Crown Rot?
Crown rot in orchids is preventable. It can be easily avoided by giving close attention to certain orchid care practices.
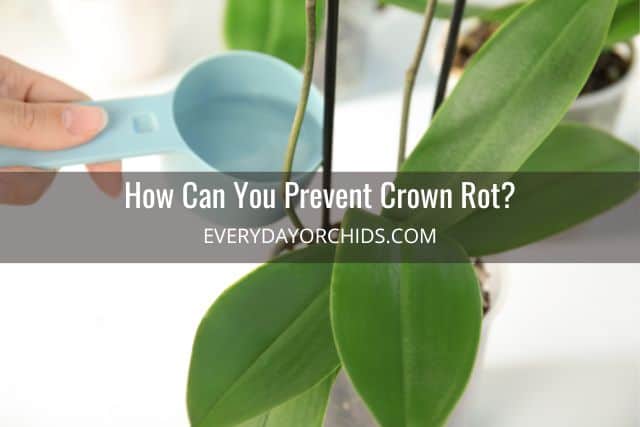
The best way to stop crown rot from happening is to water your orchids correctly. Water the roots and potting media only. Avoid getting any water on the leaves or in the orchid crown. If you inadvertently spill water in the crown, immediately tilt the orchid to its side. Pour the excess water out of the crown.
Check out this guide on how to water orchids for more information.
You should also use a paper towel or napkin to absorb any remaining water from the orchid crown. I usually place a folded corner of a paper towel or napkin in the crown to soak up any missed drops of water. I repeat this until I have removed as much water as possible from the crown.
Water Your Orchids Early In The Day
Make it a point to water your orchids early in the morning. That way, if you accidentally get water into the crown and forget to dry it off immediately, it will hopefully dry off on its own before the end of the day.
Watering your orchids in the morning also gives the potting media a chance to dry out before nightfall. This will help prevent root rot.
How Should You Water Your Orchids?
In addition to watering your orchids in the morning, you can water your orchids in a specific way so as to prevent water from ever getting into your orchid’s crown. Namely, avoid watering your orchids from overhead.
Watering from above increases the chances for splashing. There is a higher chance that water will settle into the base of the leaves, or the crown. Unlike with your garden, you do not want to take a watering can and just water your orchids from above.
Instead, carefully water just your orchid roots and potting media whenever you water your orchids. You can do this in one of two ways. You can bring your orchid pots to your kitchen sink. Pour cups of lukewarm water into the pot directly, only wetting the roots and potting media. Allow the excess water to run out of the pot into the sink.
You can also prepare a shallow basin or container of lukewarm water for your orchid. This is the method I use most often. Place the orchid pot in the bucket or basin of water for several minutes. This allows the potting media and roots to soak and absorb the water.
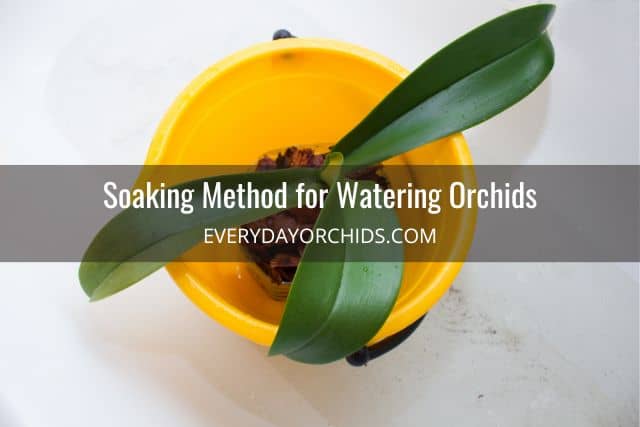
While the pot is still in water, I also take a cup and pour some water over the top of the roots and potting media. I am very careful not to get any water on the leaves or in the orchid crown. Then, after a few minutes of soaking, I remove the orchid pot from the water and set it outside if the weather is warm. Outside, the orchids can continue to drain away excess water while enjoying the morning sunlight and airflow. In colder weather, I just set the orchid pots in my kitchen sink to drain.
There are different ways to water your orchid, and you might have a different method that works better for you. That is absolutely fine. The main point is to avoid getting water in the orchid crown. If any water does settle there, dry it off immediately to avoid crown rot.
Air Circulation
Another thing you can do to prevent crown rot in your orchids is ensure they have good air circulation. Proper air circulation is essential to prevent both crown rot and root rot in orchids.
In warmer weather, you can set your orchids outdoors. Let the breezes provide natural air circulation around your orchid plants.
For indoor orchids, you can use a table fan or ceiling fan set to the lowest setting to increase air circulation in the room. If you are using a table fan, avoid pointing it directly at your orchids. Instead, set it to oscillate.
Air circulating around your orchids will help dry up any water that might be left in the orchid crown. It will also help dry up excess moisture in the potting media and roots, leading to a healthier orchid overall.
Empty Saucers Or Trays Under The Orchid Pot
As mentioned earlier, the best time to water your plants is early in the morning. Doing so will give the potting media a chance to dry out before nightfall. Avoid pouring water over your orchid and getting water into the orchid crown–this is key to prevent crown rot.
You also want to avoid leaving your orchid pots standing in a pool of water. Standing water can lead to the growth of bacteria and fungi. At the same time, standing water will keep the potting media wet and roots damp. This creates a moist environment for fungi, mold and bacteria to grow, and this is something we don’t want!
After watering your orchids, allow the pots to drain thoroughly. If your orchid pots sit in trays or saucers, be sure you remove excess water from these as well.

Crown Rot Treatment
If you were able to identify orchid crown rot early, I have good news for you. There is still a high chance that your orchid can be saved. Just follow the crown rot treatment steps below.
Isolate Your Orchid
If you notice crown rot in your orchids, the first thing you should do is isolate the affected orchid from your other healthy orchids and plants.
Once the plant has been separated from the others, you can start treatment immediately. Try to stop the rot before it spreads further. If you manage to identify crown rot in its early stages, there is a good chance you can intervene and save your orchid.
Hydrogen Peroxide
Next, buy a bottle of 3% hydrogen peroxide from your local drug store or grocery store. This is commonly sold in a brown square-shaped bottle next to the first-aid supplies. It is relatively inexpensive. You will only need one bottle as a little will go a long way.
Pour a small amount of hydrogen peroxide into the base of the orchid crown. You will likely see some bubbling and fizzing. This is normal. It means the hydrogen peroxide is working to disinfect the plant and treat the infection. When it stops bubbling and fizzing, you can pour out the excess hydrogen peroxide from the crown. Allow any remaining drops to air dry.
Repeat this process every 2 or 3 days. Continue until you no longer see any bubbling or fizzing when you apply hydrogen peroxide to the crown. When this happens, you can stop treating with hydrogen peroxide and switch to ground cinnamon powder.
Ground Cinnamon
Ground cinnamon powder, the same kind you see in the baking section of your grocery store, is a natural fungicide. It is often used in orchid plants to treat fungal infections. It also has drying properties. You can read more about the many uses of ground cinnamon in orchids.
To continue treating the crown rot infection, sprinkle some ground cinnamon powder into the crown of your orchid plant. Ground cinnamon acts as an anti-fungal in this situation. It will also keep the area dry.
Even if the orchid crown rot infection has left your orchid with no leaves, don’t throw away your orchid just yet. There is a way to save an orchid with no leaves, and I go over that process in another article here.
In addition, sprinkle cinnamon powder on what remains of the orchid’s main stem. Make sure your orchid has good air circulation and light exposure.
It is safe to resume your regular watering schedule during this time. Water your orchid’s roots and potting media as you normally would have. Depending on the season, this may end up being once a week or more.
But when you water your plant make sure you do not let any water touch the orchid crown or orchid base. I keep saying this, but only because it is so important to keep this area as dry as possible.
High humidity levels, along with good airflow, will help your orchid grow more quickly as well. I’ve found using a humidity box helps accelerate orchid growth in certain situations.
If you were able to treat the crown rot successfully and save your orchid, over the next few weeks, you will see new leaves start to grow on your orchid. Leave the dry, rotted orchid crown alone and it will eventually fall off on its own. The orchid will slowly grow new leaves and eventually, form new flower spikes as it recovers.
Final Thoughts
Crown rot in orchids is 100% preventable. A little knowledge can go a long way in preventing this infection from attacking your beloved orchid. Phalaenopsis orchid crown rot and Vanda orchid crown rot are most common if you do encounter crown rot.
Careful watering of the roots and potting media only, along with good air circulation, are essential in preventing crown rot. Avoid getting any water in the crown when you water your orchid. If any water accidentally settles there, use a paper towel to dry it immediately.
If left alone and untreated, crown rot can kill your orchid. However, if crown rot is caught early enough and treated properly following the steps outlined above, there is a chance for you to save your orchid. Hope this helps!
If you enjoyed this article, please pin it and share!
