
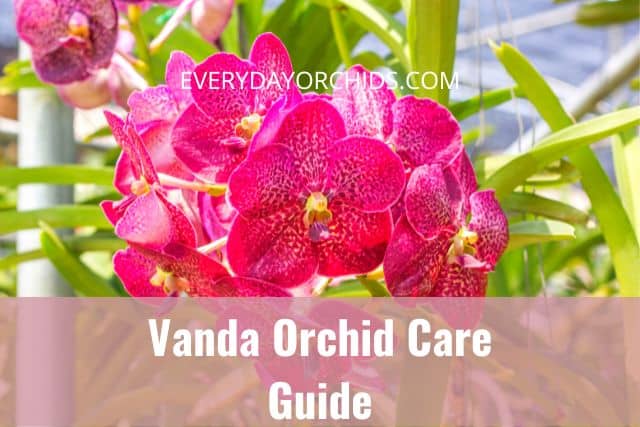
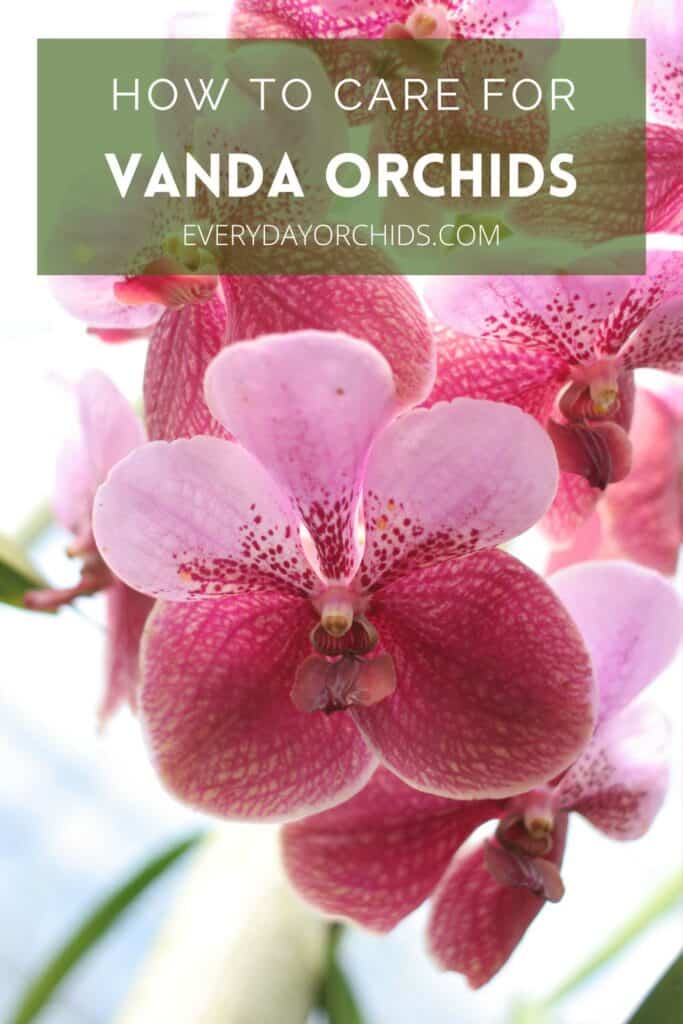
Caring for Vanda orchids is much more involved and nuanced than caring for a beginner orchid such as a Phalaenopsis orchid. For that reason, Vanda orchids are better suited for experienced orchid growers. These orchids have higher humidity, watering and overall care needs than most other orchids.
For this reason, it is best to become familiar with a Vanda orchid’s care requirements before buying it. This way, you’ll be able to determine ahead of time whether or not this orchid is right for you.
Caring for Vanda orchids involves frequent watering, high humidity levels of up to 80%, and lots of bright, natural light. Their long trailing roots make this type of orchid best suited for hanging baskets, rather than pots. These orchids do best grown outdoors in a warm, tropical climate, but can be adapted to grow in greenhouses or even indoors.
In this article, I will be going over how to take care of Vanda orchids. You’ll learn how to fertilize, water, and repot your Vanda orchid. I’ll also talk about the lighting, temperature and humidity needs of this orchid.
You’ll also learn when you can expect these beautiful orchids to bloom and whether or not you should trim Vanda orchid roots. Lastly, I’ll touch upon common pests and diseases to watch out for in Vanda orchids. Keep reading to learn more.
Please note that these links are affiliate links and as an Amazon Associate, I earn from qualifying purchases. Purchases made through affiliate links in this post may generate commissions at no additional cost to you. Use this link for a discounted Amazon Prime trial. Thank you for your support!
Table of Contents
Facts About Vanda Orchids
Vanda orchids originate from Southeast Asia, where the weather is warm year-round. The tropical, humid environment suits this orchid’s needs perfectly. In the wild, you may see these orchids growing on the sides of trees near rivers or streams.
These orchids grow anywhere from 1-3 feet tall, not including the orchid roots. Once you include the long trailing roots, some Vanda orchids can end up longer than 5 feet. Vanda orchids are best known for their incredibly long roots and tall main stems. Some of these main stems can grow to be several feet long.
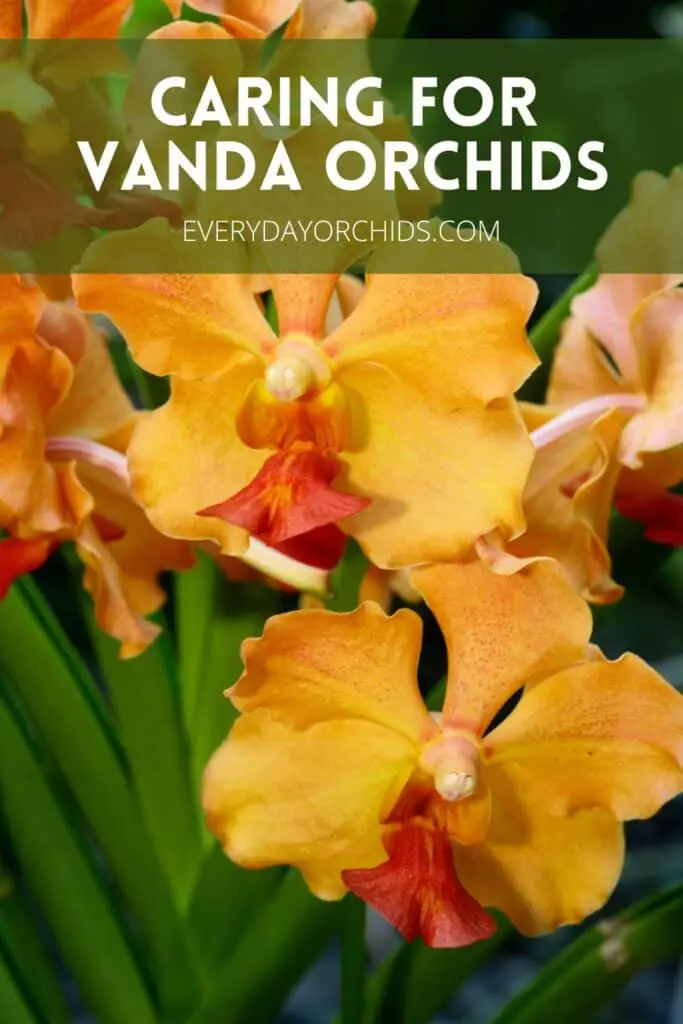
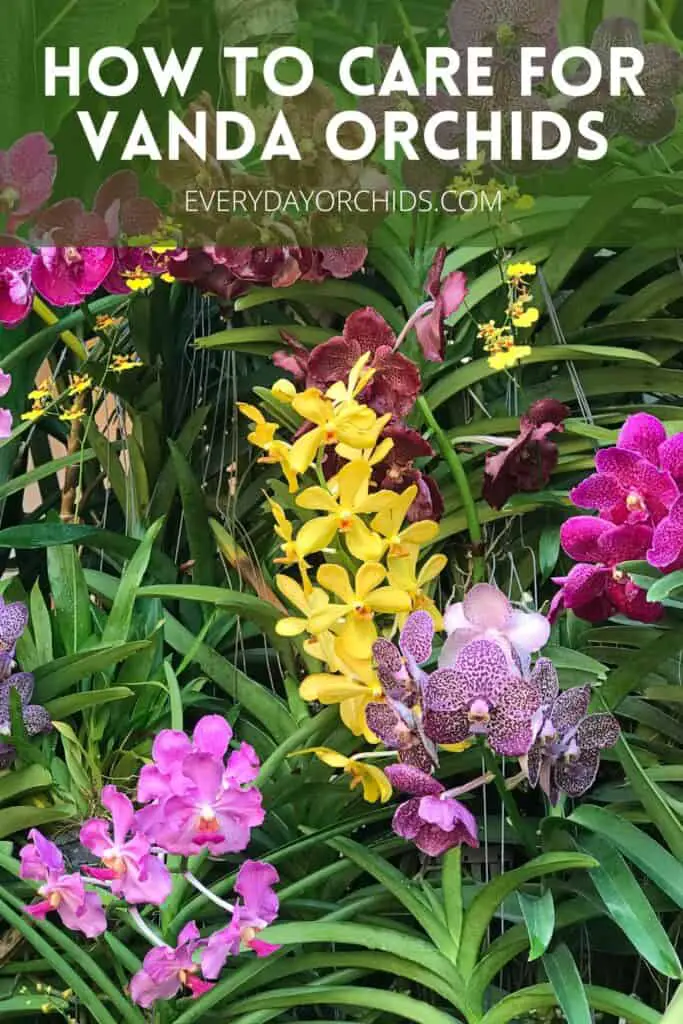
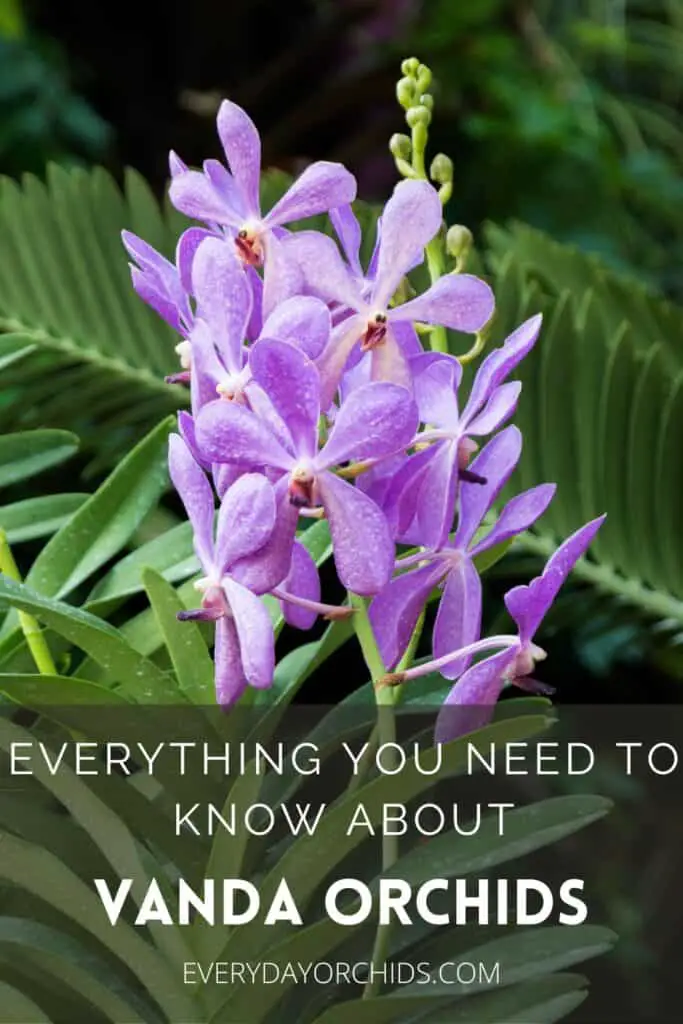
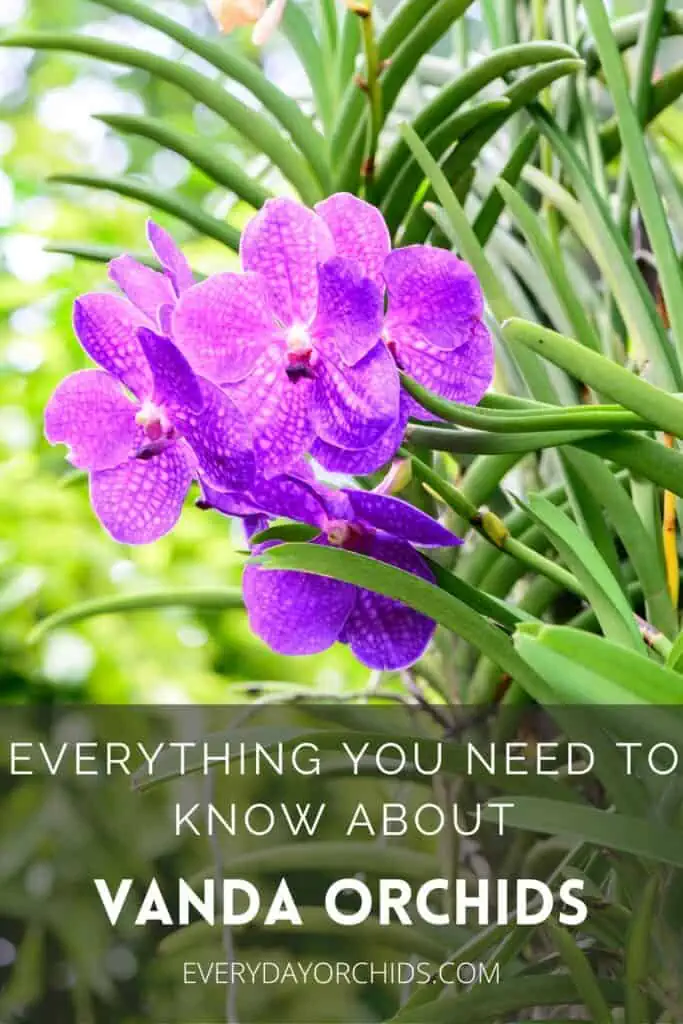
Vanda flowers bloom during the spring, summer and fall. Their fragrance can attract butterflies to the garden. Vanda blooms are large and can last anywhere from 1-3 months. Colors can include pale yellow, bright pink, red, white, orange, purple, dark red, and blue.
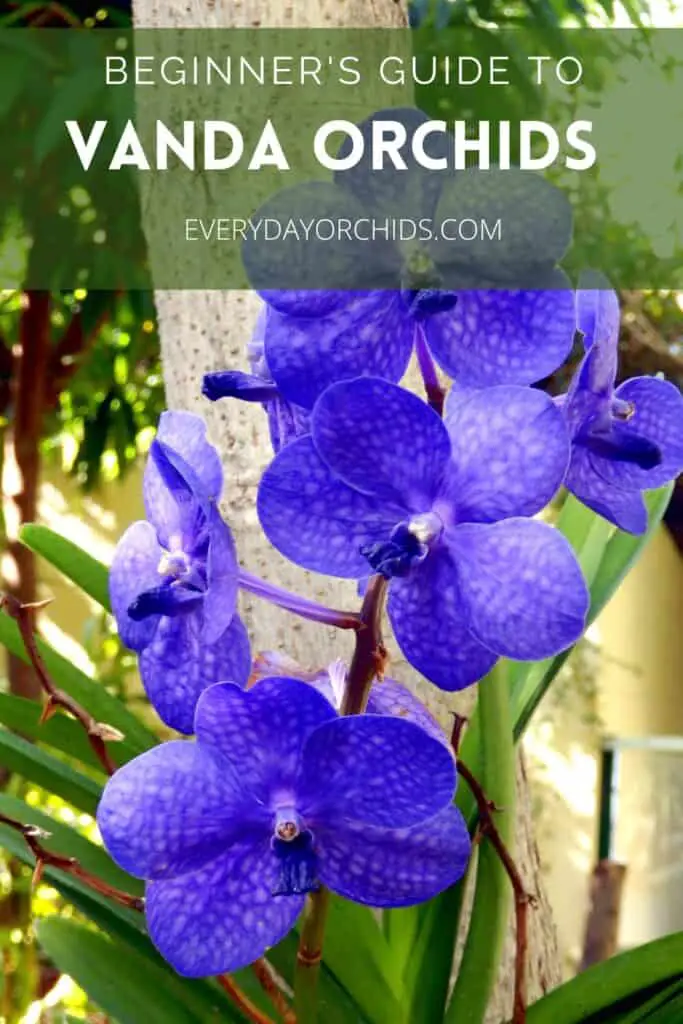
Blue Vanda Orchid Flowers
Vanda orchids are special because they include a few types of varieties that produce blue orchid flowers. Or, should I say, nearly blue.
Truly blue flowers that occur in nature are incredibly rare. However, some Vanda orchid blooms come in shades of purple that look nearly blue. These varieties include Vanda coerulea supra and the Vanda coerulescens orchids.
You can read more about blue orchids, real and fake, and how they are made, here.
Black Vanda Orchid Flowers
I also want to mention that some purple and burgundy-colored Vanda orchid flowers are so deeply hued that they can appear black. These flowers are popular for their unique coloring and used for a “wow” factor in decorations.
While naturally occurring black flowers are rare, there are some Vanda orchid blooms that fall into the “black orchid flower” category. The Vanda Robert’s Delight ‘Black’ is one type of black Vanda orchid.
You can read more about black orchids here.
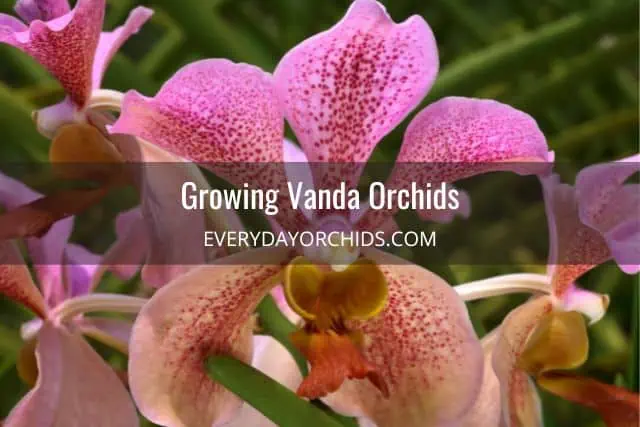
Growing Vanda Orchids
Vanda orchids are a fantastic option for experienced orchid growers looking to branch out from the traditional Phalaenopisis orchids. These are also great orchids to grow if you are up for a challenge.
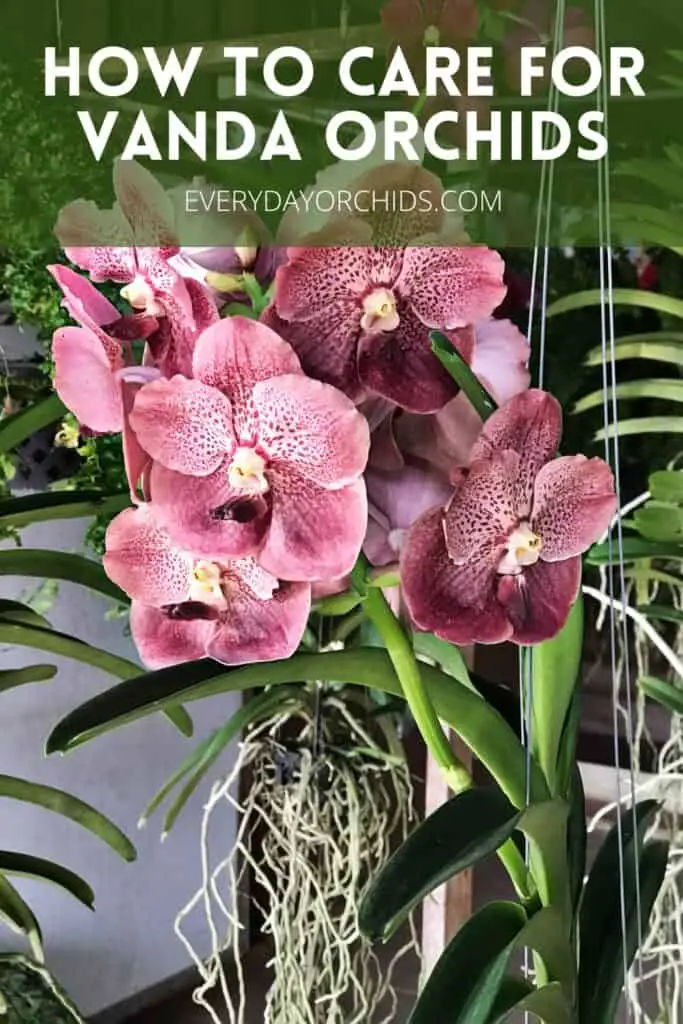
The roots of Vanda orchids are similar in shape and look to Phalaenopsis orchid roots, but are vastly different in terms of length. Vanda orchids are known for their long, trailing roots. They will often be potted as hanging Vanda orchids.
The care needs of Vanda orchids are also much more nuanced than a Phalaenopsis orchid. Thus, caring for Vanda orchids will need a different approach compared to most any other kind of orchid. Depending on where you live and your surrounding climate, growing Vanda orchids can prove to be either easy or quite labor-intensive.
Next, let’s take an in-depth look at caring for Vanda orchids, starting with the lighting needs of these orchids.
Lighting Requirements Of Vanda Orchids
Like all plants, Vanda orchids need bright, indirect lighting in order to grow and bloom.
There are actually three different types of Vanda orchids: terere, strap-leaved, and hybrid Vandas, each with their own lighting requirements.
Terere Vanda orchids have thin, pencil-shaped leaves. Since these leaves are thinner, the orchid will need more light to make up for the smaller surface area.
Terere Vandas can tolerate full sun and high levels of light. Avoid placing them in shaded or partially-shaded areas as they won’t get enough light here.
Vanda orchids with broader, flat leaves are called strap-leaved Vanda orchids. There are also hybrids which have leaves that are cross between the terere and strap-leaved Vanda orchids.
Hybrids and strap-leaved Vanda orchids prefer partial shade with lots of bright, indirect light.
The leaves of strap-leaved and hybrid Vanda orchids are wider and bigger. Therefore, not as much sunlight is needed or tolerated. Thus, the preference for partially shaded growing conditions. While these two types of Vanda orchids are also suited for outdoor growing, they can also be grown indoors.
If you grow your Vanda orchids indoors, you can do a few things to ensure that they receive enough light. Place them by a large south-facing window. You can also keep your orchids in a screened-in patio or lanai if you have one. In the spring and summer, this should be enough light for your Vanda. In the fall and winter, you may want to invest in artificial lighting for your orchids.
Many orchid growers use artificial lighting to supplement natural light for their plants. For more information, check out this guide to how to choose and set up artificial lighting for your orchid.
How Do You Know If Your Vanda Orchid Is Getting Enough Light?
The easiest way to tell if an orchid is getting enough light is to look at the color of the leaves. This is true for all orchids, not just Vanda orchids.
If your Vanda orchid is getting enough light, then the leaves will be a medium, grassy green. Dark green leaves indicate inadequate lighting, while light yellow-green leaves are indicative of too much light.
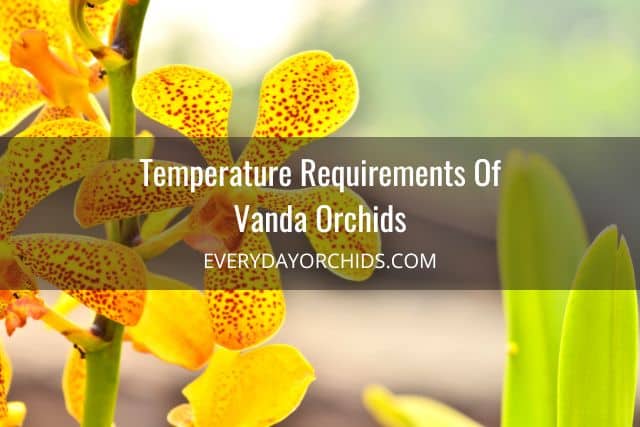
Temperature Requirements Of Vanda Orchids
Vanda orchids are best grown in warm weather. They can be grown outdoors year-round if temperatures do not drop below 50 degrees Fahrenheit at night.
Generally, Vanda orchids do best when temperatures are between 60-75 degrees Fahrenheit. They can also tolerate temperatures as low as 50 degrees Fahrenheit at night and as high as 95 degrees Fahrenheit during the day.
Humidity levels will also need to be considered, which we will talk about more in the next section. Hot temperatures combined with low humidity will result in dry, shriveled orchid roots.
To prevent this, make sure your Vanda orchid has lots of humidity and air circulation on hot days. Use a cool-mist humidifier, humidity tray or mister to improve your growing area’s humidity levels. You will likely need to water more frequently as well.
If you live in a colder climate, consider moving your Vanda orchids indoors when the weather turns cool. During the warmer spring and summer days, you can leave your Vanda orchids outdoors. Alternatively, you could opt to grow your Vandas in a greenhouse year-round. The choice is up to you.
Prolonged exposure to cold and low temperatures will result in failure to bloom. To get your orchid to rebloom, try adjusting the temperature in your orchid’s growing area so that it does not fall below 50 degrees Fahrenheit at night.
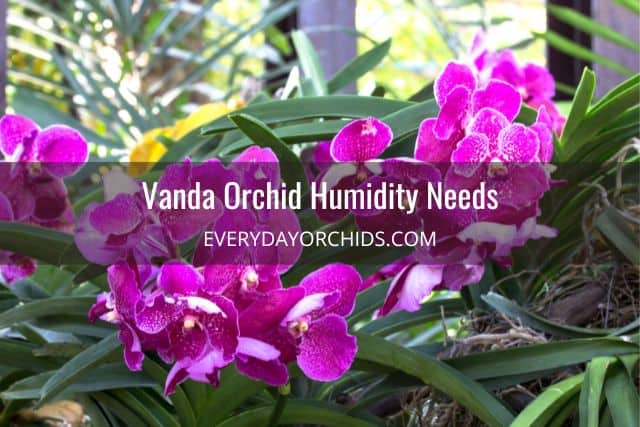
Vanda Orchid Humidity Needs
These orchids love high humidity and grow best in warm, humid environments such as the tropics.
A humidity level around 80% is ideal for Vanda orchids.
If your climate is not naturally very humid, there are ways you can work around this.
For outdoor orchids, you can set up a mister system near your growing area. Monitor humidity levels using an outdoor hygrometer and adjust your mister settings accordingly. You can also grow your orchids in a greenhouse in the backyard.
For indoor orchids, you can buy a cool-mist humidifier to add humidification to your orchid’s growing space. Use a hygrometer such as this one to make sure you are maintaining adequate humidity levels for your Vanda orchids.
If you have a smaller potted Vanda orchid, you can use a humidity tray to add humidity to the area.
A Note About Humidity And Air Circulation
I would be doing you a disservice if I talked about maintaining high humidity for your Vanda orchid and didn’t mention air circulation.
Good air circulation is a MUST for Vanda orchids.
This is less of a concern for outdoor orchids. Outside, natural breezes will help prevent water and humid air from stagnating around the orchids. It is a concern for indoor orchids, however.
High humidity, combined with minimal air flow, can lead to mold growth, fungus and other problems. We see this happening more commonly in homes and greenhouses.
So, along with maintaining high humidity levels for your Vanda orchid, make sure you have good air circulation in your orchid’s growing space.
Air currents will help prevent bacteria and mold from growing in the stagnant water and high humidity conditions.
You can either open a nearby window to provide air circulation, or use a circulating fan in the room.
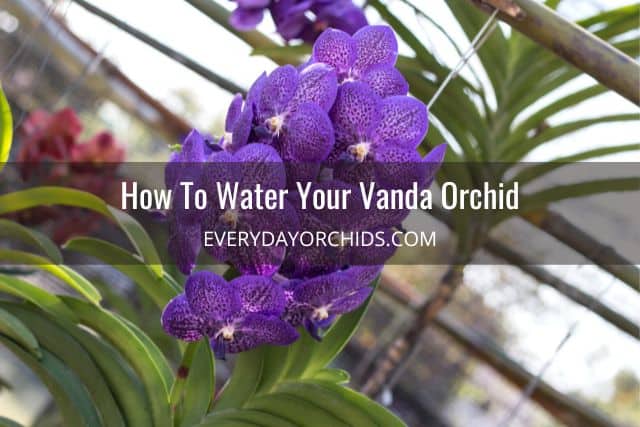
Watering Vanda Orchids
Watering practices will vary depending on how the Vanda orchid is potted. Vanda orchids are usually grown bare-root or less commonly, in a pot. Growing Vanda orchids bare-root means that they are grown in a basket and the exposed roots are hanging down.
In either case, water your orchid in the morning. This allows for excess water to dry off before nightfall.
Watering Vanda Orchids Grown In A Hanging Basket
If you are growing your Vanda orchids bare-root in a hanging basket, then frequent watering or misting will be necessary.
Most orchid growers opt to use a garden hose to water the Vanda orchids outdoors. Watering is done in the morning, then the orchid is allowed to air-dry for the rest of the day. This simulates the “heavy rain” that the orchid might experience in the tropics. This is followed by a dry period until the next “rain” the next day.
Caring for Vanda orchids involves lots of watering during the growth period, usually during the spring and summer. When roots and leaves are sprouting and growing, keep an eye on your Vanda orchid.
During warm weather, daily watering will likely be needed so that the roots don’t dry out.
When watering the orchid, try to keep your the roots evenly moist, but not water-logged either. Orchid roots that are bright green after watering are well-watered roots.
If you forget to water your Vanda orchid for a day or two and the roots begin to dry out, don’t worry. Simply soak the roots in a bucket of room-temperature water for at least 10 minutes and it will bounce back.
As temperatures drop and summer turns into fall and winter, slow down your watering frequency and just water as needed. This might end up being just once a week.
You can safely use rainwater to water your orchids.
Watering Vanda Orchids Grown In Pots
Vanda orchids grown in pots can be watered less frequently and only when the orchid potting media is nearly dry. This might end up being just once a week or so, depending on the size of the pot and season.
For example, a Vanda orchid grown in a large pot needs less frequent watering during the winter than the summer. This is mainly because water evaporates slower during cooler weather.
If you are unsure whether or not your Vanda orchid needs watering, do a finger test. Touch the top two-inches of potting media with your fingers. See if it is nearly dry or still very damp. If it is the latter, you can wait another day or two and test again. Once the potting media is nearly dry, you can go ahead and water.
For more tips and ideas, read this guide on how to water your orchid.
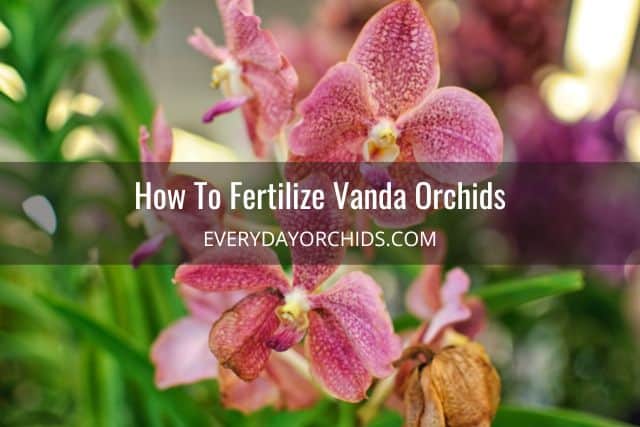
How To Fertilize Vanda Orchids
Use a balanced orchid fertilizer to feed your Vanda orchids each week during the growth season. A balanced orchid fertilizer is one with a 20-20-20 NPK designation on the label. This indicates that it has equal amounts of nitrogen, phosphorus and potassium.
Many orchids prefer weak fertilization, but often, so I usually dilute the orchid fertilizer to a 25% concentration before applying.
If you are new to orchids, you can read more about how to fertilize orchids here. There, I explain in more detail how to choose and prepare an orchid fertilizer for use.
When caring for Vanda orchids, plan on fertilizing weekly during the spring and summer. Vanda orchids are heavy feeders, especially during their season of active growth.
As the weather cools down, growth slows. Reduce fertilization to just once or twice a month at most during the fall and winter. This is similar to how you will reduce your watering frequency during cooler weather.
To help increase your Vanda orchid’s chances for blooming, consider switching to a bloom booster fertilizer during the fall. The higher phosphorus levels in the bloom booster orchid fertilizer is necessary for bloom production.
If your Vanda orchid hasn’t bloomed for the last year or two, consider using a bloom booster fertilizer in the fall.
Orchid Pots And Potting Medium
Vanda orchids are generally grown as hanging orchids, due to the long roots. Slatted baskets such as this one are used instead of pots so that the long orchid roots can trail down below the plant. Since Vanda orchid roots can become so lengthy, they are often not conducive to growing in a small orchid pot.
If your Vanda orchids are in hanging baskets, they will likely need be outdoors with a misting system or in a greenhouse. Many orchid growers hang them from hooks drilled into the beams of their pergolas or roof edges.
As mentioned earlier, caring for Vanda orchids requires high humidity levels. You may need to mist or water your Vanda orchids daily or every other day. This way, the roots do not dry out. Unless you live in a tropical climate or don’t mind keeping up with the watering demands, a greenhouse will be your best option.
Some Vanda orchid varieties do have shorter roots and can be grown in pots. Coarse potting medium should be used. This will allow for larger gaps between the potting media, and thus, room for air to flow.
Repotting Vanda Orchids Grown In Pots
As you might guess, repotting Vanda orchids can come with some challenges, due to the long roots. When preparing your Vanda orchid for repotting, you’ll want to follow these guidelines for repotting an orchid with aerial roots.
Most Vanda orchids grown in pots will need to be repotted every 2-3 years. This is due to the roots growing out of the pots and needing more space.
When repotting an orchid with lots of aerial roots like a Vanda orchid, the key is to make the roots more pliable. Do this by soaking your orchid pot in a bucket of water while you are getting the rest of the potting supplies ready.
Allow the roots to soak, but avoid getting the orchid stem and leaves wet. Soaking the orchid roots in this manner will allow the roots to soften, become more pliable and less likely to break during the repotting process.
When repotting, choose a slightly larger orchid pot with holes. Center your Vanda orchid in the middle of the pot. Align the bottom of the orchid’s main stem with the rim of the pot. Spread the roots out within the pot, then fill the spaces with coarse orchid potting media.
Repotting Vanda Orchids Grown In Baskets
Vanda orchids grown in slatted wooden baskets do not need to be repotted yearly or even every other year. In fact, I would only repot these orchids if the orchid has outgrown the basket or the basket itself has broken down and needs to be replaced.
In my opinion, slatted baskets, rather than an orchid pot, are the best option for growing Vanda orchids. Hanging Vanda orchids in baskets allows the roots to grow out and down the sides of the basket. Airflow is optimal in this type of “pot” and the chances of root rot happening are practically zero.
When placing your Vanda orchid in the new basket, gently work the roots through the basket holes or slats so that they hang down under the orchid. Secure the orchid’s main stem in the basket with plant wire. You can fill the basket with coarse potting media to further support and secure the orchid.
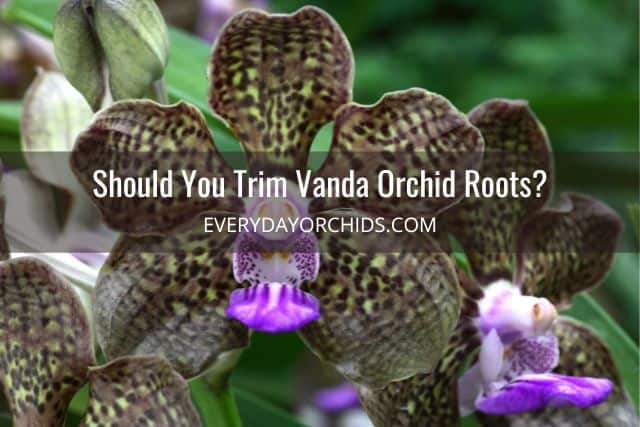
Should You Trim Vanda Orchid Roots?
In general, the only time you really want to trim orchid roots is when they are dead or diseased. Rotted roots, dried shriveled roots, and roots that are no longer viable can be safely trimmed off using a pair of sharp, sterilized scissors.
Vanda orchids are known for their long roots that sometimes grow out of control. However, try to resist the temptation to trim Vanda orchid roots just because they are too long. Doing so will do more harm than good.
Keep in mind that orchids are epiphytes. They use the root system to absorb moisture and nutrients from the surrounding air and environment. This is especially crucial for Vanda orchids, which are often planted in slatted baskets and grown in highly humid conditions.
Vanda orchids really do depend on their root system to stay healthy and continue to grow. Cutting the roots short for aesthetics will cause trauma and shock to the orchid.
In addition, cutting the roots creates a wound or an open pathway for bacteria, viruses and other harmful pathogens to enter the orchid.
So, in short, only trim Vanda orchid roots if they are dead, rotted or no longer viable. Otherwise, leave the orchid roots alone.
Vanda Orchid Problems
While caring for Vanda orchids, you may find signs of disease, rot or some other problem. This may be manifested as wilted orchid leaves or changes in orchid leaf color. You may also see brown spots on the leaves, black or brown discoloration on the main orchid stem, or soft, mushy spots.
These are all telltale signs of rot or an infection or both. I cover all those situations here in this article about top problems growing orchids. Please check out that article to learn more.
Vanda Orchid Pests
Vanda orchids are susceptible to many of the common orchid pests, such as mealybugs, scale, and aphids. Thrips can also attack the Vanda orchid flower buds before they fully bloom, resulting in disfigured flowers.
When caring for Vanda orchids, a good rule of thumb is to regularly inspect your orchid. That way, you can spot and identify pest infestations early, and thus nip them in the bud.
When doing your inspection, pay close attention to the underside of the orchid leaves. Also check the crevices between the leaves and main orchid stem. These are top hiding places for these types of orchid pests.
If you find that your Vanda orchid does have one of the pests mentioned above, deal with it right away. Start treatment measures before the infestation gets out of control. For more information on how to identify and deal with these orchid pests, check out the guides below:
- How to identify and get rid of mealybugs
- Spotting and eliminating scale on orchids
- Identifying and treating aphids on orchids
- How to get rid of thrips on orchids
Final Thoughts
Caring for Vanda orchids may seem daunting at first, but it doesn’t have to be.
Just remember, provide high humidity, bright light and regular fertilization to your Vanda orchid. If possible, plant your Vanda in a hanging basket and water frequently during the growth season.
Hope this Vanda orchids care guide has helped you navigate how to care for these beautiful plants. As always, happy orchid growing!


Recent Posts
Fusarium wilt in orchids is, unfortunately, a problem that you may encounter at one point or another. It is caused by the Fusarium pathogen and this kind of infection can be hard to identify at...
When it comes to choosing an orchid potting mix and knowing what kind of orchid soil is best, the decision can feel daunting. After all, there is a huge variety of options out there, from orchid bark...
