A mold or fungus outbreak on your orchids can be challenging to diagnose. Is it a fungus, or is it mold? Even if you know for certain, it can be a little tricky to remove all of it and keep it from coming back. However, if you are looking for ways to deal with mold on your orchid, or orchid fungus, you have come to the right place. Hopefully, this article will answer your questions about how to treat mold and fungus on your orchid plant.
The best way to treat mold and fungus on orchids is to remove the source and isolate it from the rest of your orchid collection. Next, treat the infected area with a gentle but effective fungicide. Make sure to provide your recovering orchid with a better growing environment, such as adequate airflow and humidity, to prevent future fungal attacks.
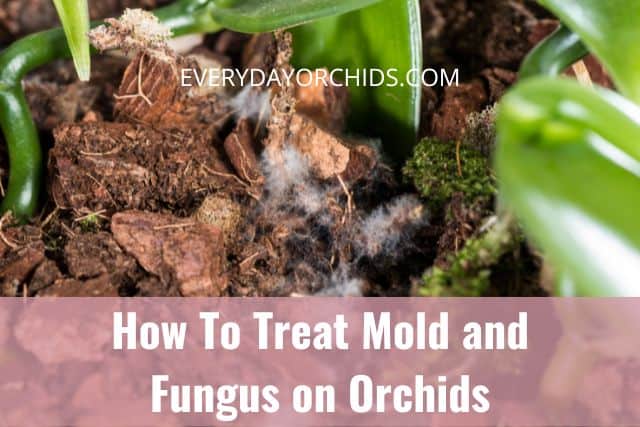
In this extensive guide, I will go over mold on orchid plants and orchid fungus. You’ll learn about the different types of mold and fungus that can infect orchids and what to look for. You will get detailed instructions on how to treat the various kinds of plant diseases you are most likely to encounter. Keep reading to get some ideas on preventing mold on orchids and keep orchid fungus from destroying your beautiful plants.
Please note that these links are affiliate links and as an Amazon Associate, I earn from qualifying purchases. Purchases made through affiliate links in this post may generate commissions at no additional cost to you. Use this link for a discounted Amazon Prime trial. Thank you for your support!
Table of Contents
Types of Orchid Mold and Fungus
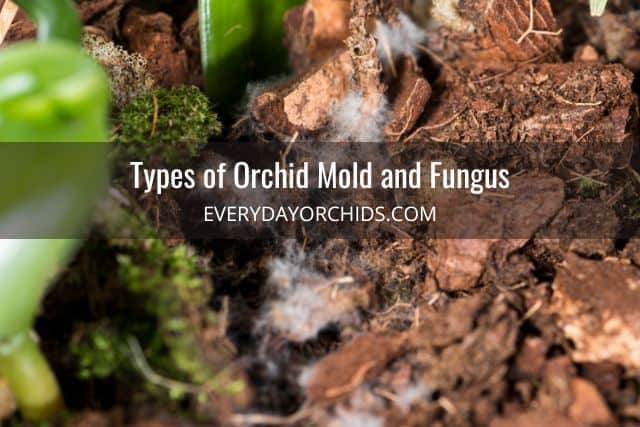
Mold on orchids and orchid fungus often get confused with one another. However, even though they are related, these common orchid problems have some key differences.
A fungus is a tiny, microscopic organism that is an integral part of our natural world. Although it is neither a plant nor an animal, it is a living species with a unique classification.
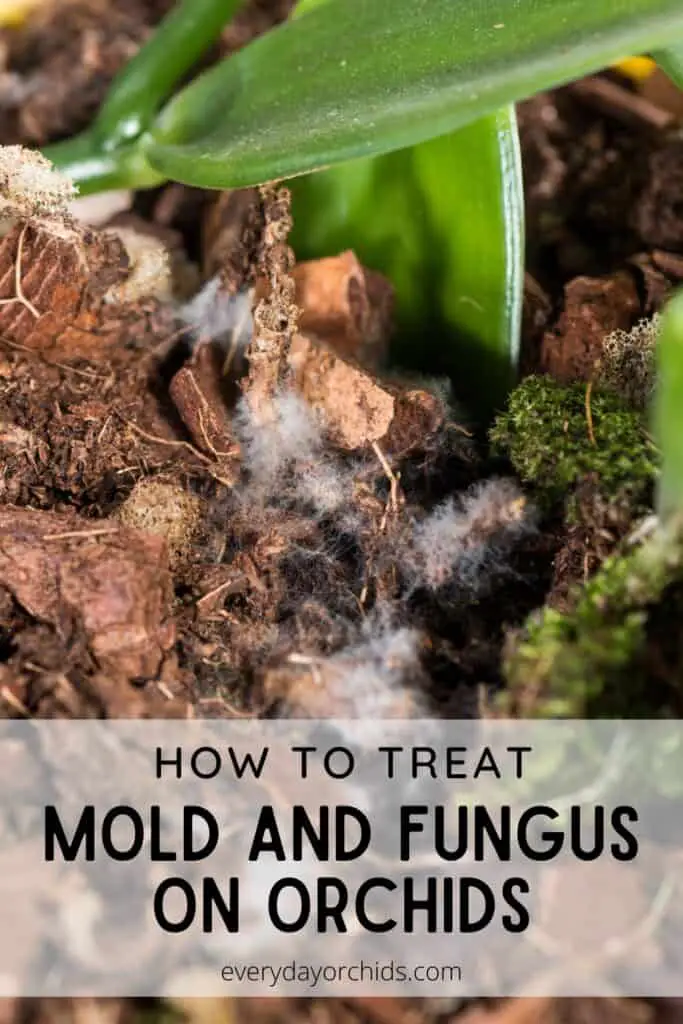
Mold is a type of fungus that is distinct from other varieties of fungi. It is also microscopic, being invisible to the human eye. However, when enough mold spores grow together, they can spread rapidly and become visible without a microscope.
Several Types Of Fungi That Attack Orchids
- Black rot. This is the generic name for a wide variety of fungi attacking several different species of plant life. The symptoms are dark brown and black discoloration and deterioration of the leaves.
- Orchid root rot. The usual signs of root rot are a dark discoloration of the root and wilted leaves. It’s generally caused by poor drainage and overwatering.
- Orchid crown rot. This is caused by standing water in the crown of the plant. This can lead to yellowed leaves that die and fall off and the orchid stem turning black and rotted. If left alone and untreated, the orchid will die.
- Orchid stem rot. This is very similar to orchid crown rot, except that it is caused by fungi breeding in the standing water left in leaf joints. Just like crown rot, stem rot will quickly spread, causing leaves to yellow and fall off the stem. If left untreated, before long, the stem itself will rot completely and the orchid will die.
- Botrytis. This common plant fungus has many species. It shows up as a brown mass and can take over almost all of the orchid very quickly.
- Brown rot. Although this form of fungus usually attacks wooded plants like oak trees, orchids are vulnerable at the tree’s base, where the orchids sit near the tree roots. Brown rot shows up as a brown discoloration, and plants can decay in severe cases.
There are two types of molds to watch out for:
- Black mold on orchid. This is a common plant disease that takes on the appearance of black spots. It can attack any part of the plant but you will usually see black mold on orchid leaves. You may also find black mold on orchid roots.
- White mold on orchid. Orchids are particularly vulnerable to this disease. It forms as a white powdery overgrowth that can attack the plant at any stage of its development. White mold on orchid roots can happen for a number of reasons, including overly wet conditions and poor ventilation.
Treatment Options for Mold and Fungus
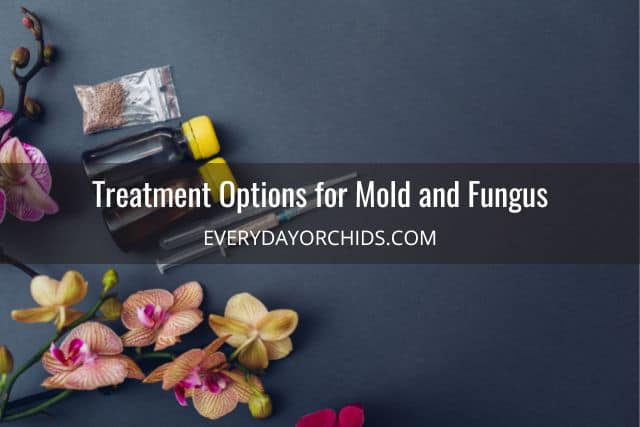
There are two main treatment options for mold on orchids and orchid fungus:
- Natural treatments. Ingredients from other plants are good sources with anti-fungal properties. They include mint, ground cinnamon, onions, and garlic, just to name a few.
- Chemical compounds. These broad-spectrum fungicides are normally non-toxic to humans. However, if these leach into the groundwater or remain in the soil for extended periods, these compounds can be harmful to birds, honey bees, and earthworms.
Natural Fungicides
AgroMagen’s GrowSafe Bio-Pesticide is an excellent place to start. It has the following features:
- Especially used for white mold on orchids.
- It may be used as a natural pesticide.
- Safe for humans and pets.
- Safe for bees and other beneficial insects.
- Two-year shelf life when stored, six months when opened.
Although this treatment option may include prevention for a vast array of pests, it may not treat all mold and fungus forms. That is why I recommend checking the label instructions to make sure it is appropriate for your unique situation.
A product that may be more specific to plant fungus and mold is Botano Health’s Natural Organic Fungicide. With the active ingredient being thyme oil, it is gentle on plants and will not harm the environment. Thyme oil is found in nature, organic and biodegradable. It treats the following orchid fungal infections:
- Botrytis
- Black spots
- Powdery mildew
- Downy mildew
- Fusarium wilt
- Blight
After proper mixing, you can use a simple spray bottle for direct application to the trouble spots. It can also be used as a preventative treatment for fungus, mold, and insects. Make sure to read the label instructions carefully before applying.
What Not To Use
As mentioned earlier, it is best not to use fungicides with harmful chemicals. Even though these are EPA-approved products, there have not been enough studies to prove they will not harm the environment in the long term.
A good example is Ortho 3-in-1 Insect, Mite, and Disease Spray. It contains pyrethrins, which are harmful if inhaled. Children and pets should never go near it, especially while it is being sprayed.
Natural Home Remedy for Orchid Fungus and Mold on Orchids
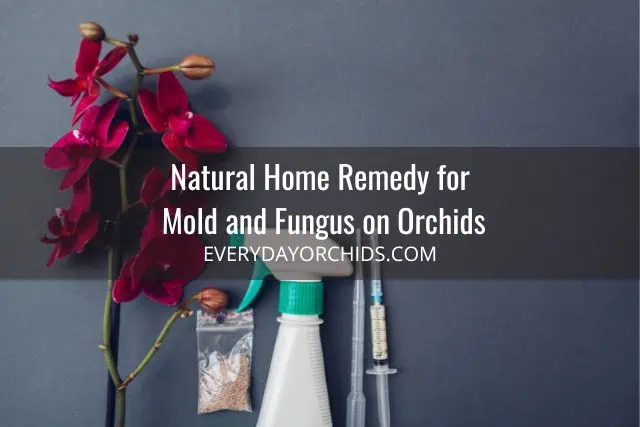
The following steps will help you get rid of the fungal infection on your orchids. There are no harsh chemicals or dangerous tools involved. Here are some of the things you will need:
How To Treat Orchid Fungus
- Unpot the orchid. Lay down old newspapers or a garbage bag in your work space. Gently squeeze the inner pot to loosen the roots from the sides. Gently pull the orchid out from the pot, dumping out the potting media onto the newspapers or into the garbage bag. Inspect the entire root system.
- Remove the potting medium. Make sure to get as much out as possible. Since the potting media is contaminated, you do not want any spores left behind. Throw all of the old potting media away Either wrap it up in the newspapers and throw it away, or throw out the garbage bag of old potting media. You do not want to reuse it.
- Disinfect your work area. After throwing the old medium away, disinfect the work area with 70% isopropyl alcohol or wipe it down with a diluted 10% bleach solution. While you’re at it, make sure to sterilize the orchid pots thoroughly before reusing them.
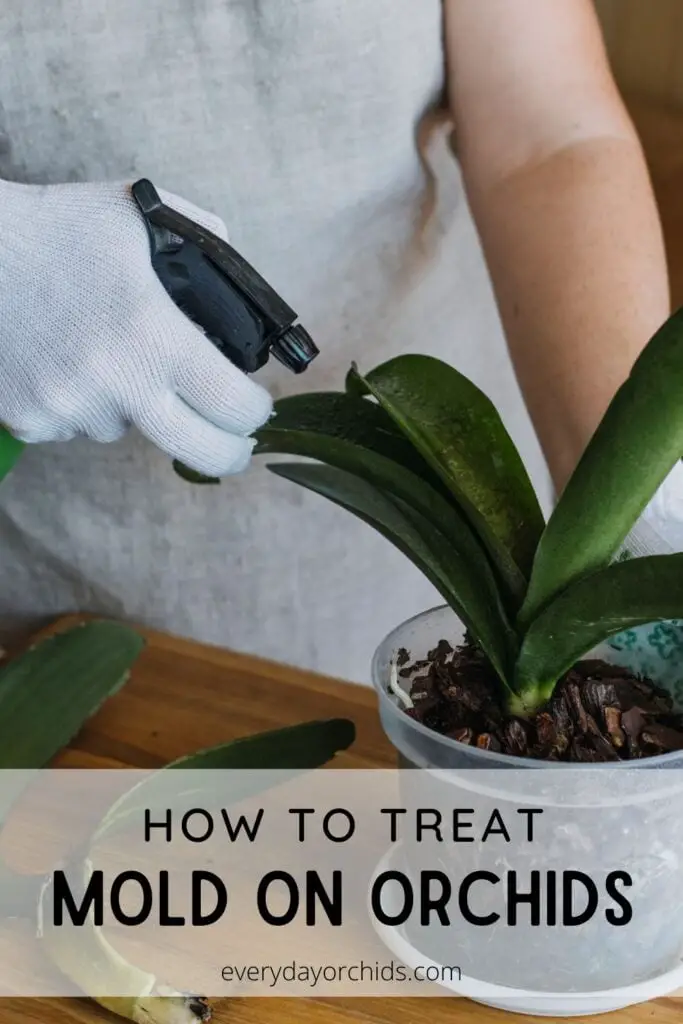
- Disinfect the orchid. The easiest way is to fill an 8-ounce spray bottle with 3% hydrogen peroxide. Spray the orchid liberally. Avoid spraying the healthy orchid roots, otherwise you risk damaging the velamen. Let it sit for about five minutes to let the hydrogen peroxide work.
- Repeat treatment. Respray the orchid for a thorough treatment. Do not rinse with water.
- Re-pot using a new medium. Make sure to dry the leaves afterward to avoid any further mold buildup. Here’s a detailed article on how to repot an orchid if you’d like a step-by-step guide.
How To Treat Black Rot on Orchids
Unfortunately, black rot is so contagious that it may be best to let go of a plant with the disease. You certainly do not want to have it spread to your other, healthier orchids, so as soon as you determine your orchid(s) have black rot, isolate the affected plants from the healthy plants.
Black Rot Symptoms
The symptoms of black rot in orchids are not always obvious. However, here are a few things to watch out for:
- Yellow discolorations on the leaves
- Often progresses rapidly to include large black spots on leaves.
- Discoloration may progress to the plant stem and roots.
- In seedlings, the disease usually starts at the soil line and can kill it very quickly.
Common Causes
The most common causes of black rot are:
- Contamination from other plants
- Unsterilized pots and media sources
- Splash-contamination from poor watering techniques
- Poor circulation
If you decide to keep a plant that has started to exhibit signs of black rot, but is not completely overtaken by the disease, here are the steps to treat it:
- Isolate the sick orchid. Do not let it near any of your other plants.
- Cut off all the infected areas. This step may seem drastic, but it is critical to getting your orchid back to health and keeping your healthy plants from becoming infected. Make sure all your tools are sterilized before you proceed. You will also need to sanitize your work area thoroughly during the process.
- Quickly dispose of all waste. Tie the contaminated potting media and plant matter in a plastic bag and immediately throw it away. Don’t let it get anywhere near your healthy plants.
- Treat with ground cinnamon. One of the most potent, natural fungicides available is ground cinnamon. This is the same ground cinnamon used for baking and cooking. Sprinkle liberally on the cut areas of your orchid to seal up the area and prevent the spread of orchid fungus.
- Re-pot your orchid using a new potting medium and a sterile pot. Getting rid of the old medium will ensure that everything starts clean again. Make sure you use a new, sterilized pot and new orchid potting mix.
- Continue using fungicides. Use a natural, spray-type fungicide daily for at least two weeks or until the orchid makes a full recovery.
How To Treat Fungus on Orchid Roots
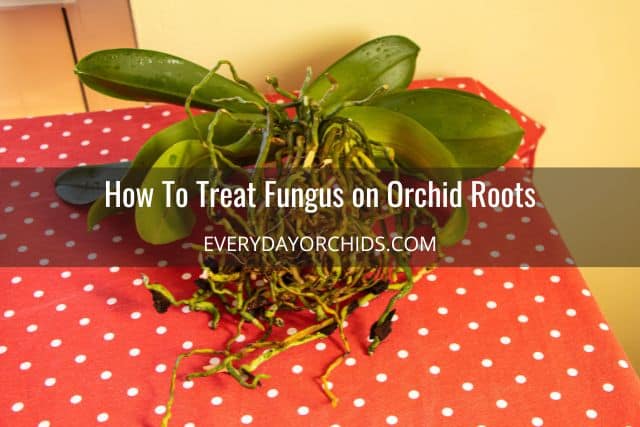
Root fungus, or root rot, is prevalent in indoor plants and is not ordinarily visible because it is below the potting media. For that reason, it is hard to detect until the disease is in the advanced stages.
Common Symptoms
These are the basic signs of root rot in orchids:
- Dark brown or black roots
- Soft or mushy roots
- The root may separate from the orchid when gently tugged on
- Orchid leaves may appear wrinkled or wilted
- Orchid leaves may become smaller or discolored
- Stunted growth
For more information, check out this article on how to spot root rot in orchids.
If root rot is left untreated, the orchid may die. For that reason, it is best to take care of the problem as soon as possible.
Causes of Orchid Root Rot
Most commonly, root rot in orchids is caused by the following:
- Poor drainage
- Overwatering
- Not enough room for the root system (the orchid pot is too small)
- Improper planting medium (not using the right potting media for your orchid)
- Insufficient light
- Use of fertilizers (fertilizing too often or not diluting properly)
Like most plant diseases, root rot and other forms of fungus are highly contagious. Pathogens can spread very quickly between all the orchid pots in your collection. Spores can be either carried in the air or by insects traveling from one plant to another.
Treatment
These are the most critical steps to take when treating your orchid for root rot:
- Sterilize your work area and tools. Make a 10% bleach solution in a bucket of water. Pour the mixture into a small spray bottle. Sterilize all your cutting tools and work areas using the diluted bleach solution. You can also use the bleach solution to sterilize the pot that you will use to repot your orchid.
- Carefully unpot the orchid. Be careful to contain the old medium. It is best to work over a plastic liner or plastic bag so you can easily discard any waste as needed.
- Prepare the fungicide. You can use ground cinnamon powder or a commercial fungicide such as Physan20.
- Cut off the infected roots. Use sterilized scissors or gardening shears to remove the rotted orchid roots. You may have to remove some healthy root along with the diseased area. This will ensure that you contain the spread of the infection.
- Disinfect the pot. This step is necessary if you do not have a new pot sterilized and ready to use. If you are going to reuse the old pot, you will need to sterilize it with a bleach solution first. Make sure to rinse and dry it thoroughly before repotting the orchid.
- Repot the treated orchid. Use new orchid potting mix. Make sure it is suitable for orchids, and it has plenty of room for the roots to breathe.
How To Prevent Mold and Fungus on Orchids
It is obviously better to prevent diseases from harming your plants in the first place, rather than waiting until there is a problem. Here are some ways to avoid mold on orchid roots, mold in orchid bark, and mold on orchid leaves. Similarly, you can reduce the chances of orchid fungus infections using the strategies below.
- Inspect all your plants regularly. Plant your orchids in clear plastic orchid pots such as these ones by rePotme. These will allow you to easily check the roots and potting medium for signs of problems. It is also a good idea to check under leaves, in the crown, and along the stem on a regular basis. This will allow you to spot orchid crown rot or stem rot early and start treatment right away.
- Maintain adequate room ventilation. Make sure the room where you keep your orchids is not entirely closed off. Instead, open some windows to get some fresh air or use a circulating fan. Improper ventilation makes it more difficult for standing water to evaporate. It also makes it easier for mold spores to grow and pass between plants.
- Replace old potting media. Mold and fungus thrive in decomposing potting media. It is best to replace it when it starts breaking down and decomposing, especially if it starts smelling bad.
- Provide your orchid with proper aeration. You can do this by cutting ventilation holes into the pot. Some clear orchid pots available for purchase already have the holes cut out for you.
- Remove dead roots and leaves. When repotting your orchids, make sure to remove any dead roots that mold and fungus can thrive on. Likewise, regularly remove dead leaves and wilted flowers, rather than letting them remain on the orchid or sit in the pot. Any decomposing organic matter will attract fungus and mold to grow around your orchids.
- Use a suitable watering routine. Avoid overwatering your orchids. Mold and fungus thrive in moist environments. Instead, let the medium nearly dry out between waterings. This will decrease the chance of fungal outbreaks and mold on orchids.
What Type of Potting Medium Should You Use for Your Orchids?
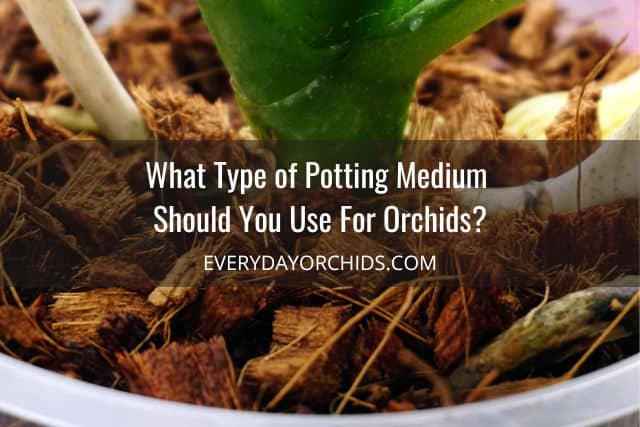
An orchid potting medium is an environment with which to grow your orchids. Potting media is just one of the many general categories. Here are a few specific types that are suitable for orchids:
- Orchid Bark: allows good airflow around the roots.
- Coconut husk: helps soak up excessive water.
- Perlite: is outstanding for aeration and helps retain water for the roots.
- Charcoal: removes impurities from within the medium
- Sphagnum Moss: helps retain moisture
- Cinder: allows the roots to breathe better
- Tree fern: allows for better aeration and moisture retention
There are quite a lot of natural materials you can use for planting orchids. You can read more about orchid potting media and its components here.
The one thing they all these orchid potting media have in common is that water can either pass through quickly or easily dry out (with the exception of sphagnum moss). This feature is necessary for reducing the environment conducive to mold and fungus buildup on your orchids.
If your orchid is potted in sphagnum moss, here is how to water an orchid potted in moss. The benefit of potting an orchid in moss is that it is less likely to grow mold on orchid roots and you don’t have to water as frequently.
Also, here’s a rundown of the difference between potting an orchid in bark vs. moss if you need help deciding which potting medium to use.
What Are the Best Potting Mediums To Buy?
Dirtco’s Long-fiber Sphagnum Blend has a decent base of charcoal, perlite, long fiber sphagnum moss, and orchid bark. It is especially suitable for humid climates. There are no chemical additives contained within it. You need a mix like this if you have thin-rooted orchids. The half-inch pieces of bark are just the right size for allowing the roots to spread out.
Another great choice is the Perfect Plants All Natural Orchid Potting Mix. It has a generous portion of the following high-quality ingredients:
- Pine bark
- Coconut chips
- Sponge rock
- Charcoal
This is an excellent all-purpose mix. It allows for proper drainage without being overbearing to the root system.
A word of caution when purchasing pre-mixed potting media: When you open the bag, make sure that it does not have a foul smell. If it does, it means that there is mold or fungus present. Return it to the seller for an exchange or a refund.
Why Not Just Use Regular Potting Soil?
The same medium you use for other plants will not work with orchids. Commercial potting soil is mostly made up of the following:
- Compost, a byproduct of decomposing material. This is an environment that is great for mold and fungus, but not for orchids.
- Peat moss is an additive that helps to retain moisture in the soil. Adding it to the planting medium of an orchid would cause the roots to become overly saturated.
- Sand is often used in small quantities to help the plant stand upright. It lacks the ventilation necessary for an orchid’s roots.
Potting soil is too densely packed for use with orchids. The roots would not get enough airflow. As a result, the orchid would eventually suffocate and die.
Final Thoughts
There are over 20,00 species of orchids, and we can find them on every continent except Antarctica. There is just something special about them that we can’t put our finger on. That is why we go out of our way to provide the best possible environments for our beloved orchids.
Because we love and enjoy our orchids so much, it can be devastating to lose even one to diseases like Botrytis and black mold. With this guide, you can now grow your orchids with confidence, knowing you now have what you need to combat mold on orchids and orchid fungus.
If you enjoyed this article, please pin it and share!
