
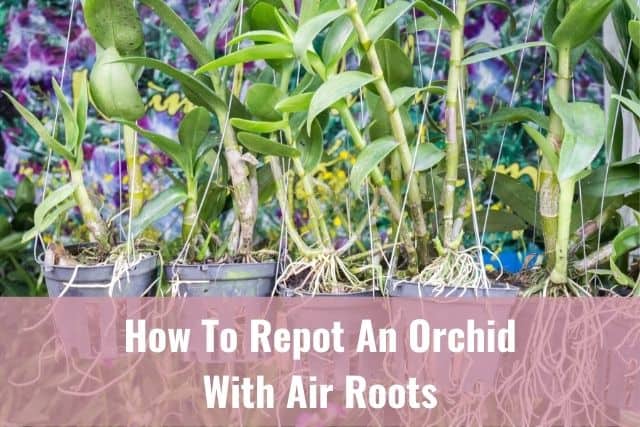
If your orchid has a lot of air roots, you may be wondering how in the world are you supposed to repot your orchid. Air roots, also known as aerial roots, are found on many orchids, including Phalaenopsis orchids, Cattleya orchids, and so on. Repotting these orchids once every year or every other year is part of routine orchid care. If your orchid has a lot of aerial roots, don’t stress.
To repot an orchid with air roots, soak your orchid’s pot, roots and all, in order to soften any aerial roots that may be stuck to the sides of the pot. This will make them more pliable. Some air roots might still break during repotting, but this way, you will be able to repot your orchid without damaging the majority of the aerial roots.
While repotting orchids may seem like a daunting task in general, it doesn’t have to be.
In addition to the key tip to soak your orchid’s roots, I’ll go over the entire repotting process and things you can do to make the job as smooth as possible and avoid damaging your orchid’s aerial roots. I’ll also explain what aerial roots are and answer the question of whether or not to bury air roots.
Note: Air roots are also called aerial roots, and I will use those terms interchangeably in this article.
Please note that these links are affiliate links and as an Amazon Associate, I earn from qualifying purchases. Purchases made through affiliate links in this post may generate commissions at no additional cost to you. Use this link for a discounted Amazon Prime trial. Thank you for your support!
Table of Contents
Why Does Your Orchid Have Air Roots And What Is Their Function?
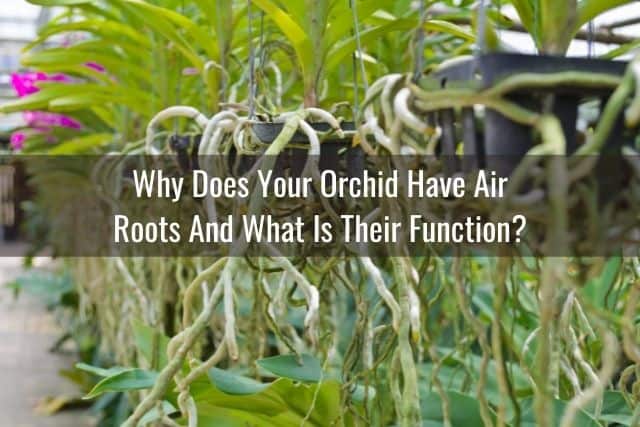
In nature, all epiphyte and lithophyte orchid roots are air roots. Epiphyte and lithophyte orchids are the orchids we see growing on trees and rocks out in the wild. Terrestrial orchids do not have air roots, as all their roots are buried under the ground.
When talking about roots in terms of orchid care, we use the term “air roots” or “aerial roots” interchangeably. These terms help us differentiate between the roots growing in the potting media and the roots growing outside of the potting media. You can read more about how to care for different orchid roots here.
Air Roots Are Important For Orchid Support
In the wild, aerial roots help support the orchid. They keep the orchid securely attached to the tree or rock. Aerial roots absorb moisture and nutrients from the surrounding air. They also perform photosynthesis and harvest energy. Aerial roots are essential to the orchid’s survival.
For many potted orchids, aerial roots will naturally develop as the orchid grows. These roots have the same basic structure as potted roots.
Air Roots Work In Water And Nutrient Absorption
Aerial roots also have a layer of velamen. Velamen is a sponge-like covering found on the outside of orchid roots.
You will find that air roots have a slightly thicker layer of velamen than their potted root counterparts. The velamen helps the orchid absorb moisture and nutrient from the surrounding air.
In higher humidity settings, orchids will produce more aerial roots in an effort to capitalize on the the moisture in the air.
In addition, aerial roots perform photosynthesis for the orchid, but to a lesser degree compared to orchid leaves.
Lots of aerial roots do not necessarily indicate a problem with your orchid or the potting media. Your orchid could simply be producing aerial roots because it is healthy, growing and has the right amount of humidity.
Aerial roots are very important for the orchid’s overall health. Do not start cutting off aerial roots simply for aesthetic purposes!
As I will discuss later, these air roots can be what ends up saving your orchid if you lose the other roots to rot or disease.
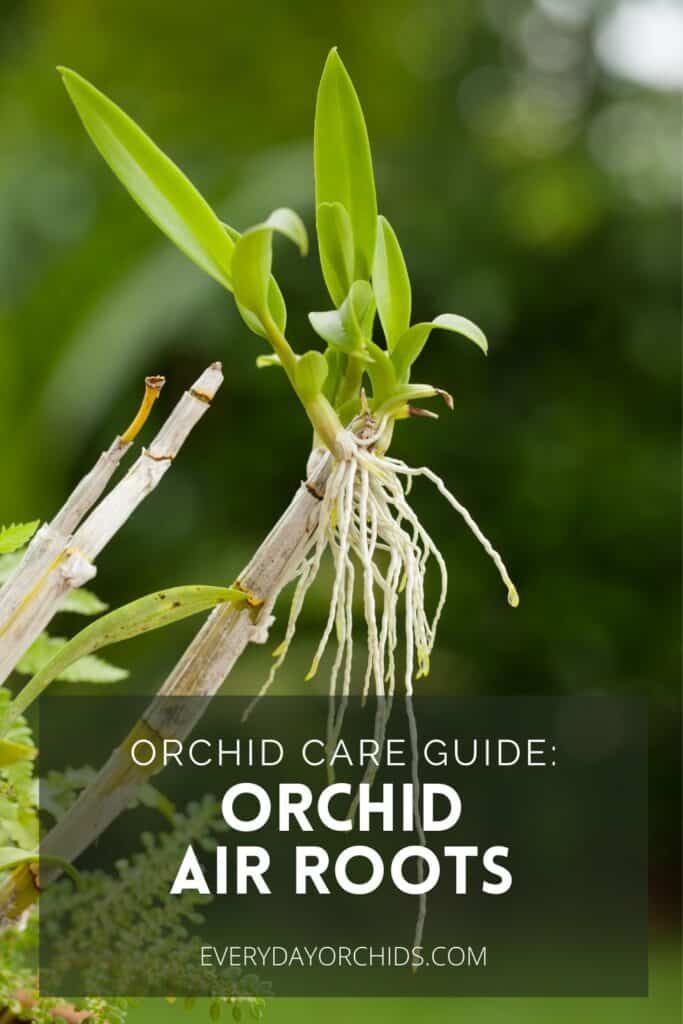
What Do Healthy Air Roots Look Like?
Air roots are essentially roots that grow above the potting media, as opposed to roots that grow underground or under the potting media. Whereas those roots cannot be seen easily, aerial roots are very obvious.
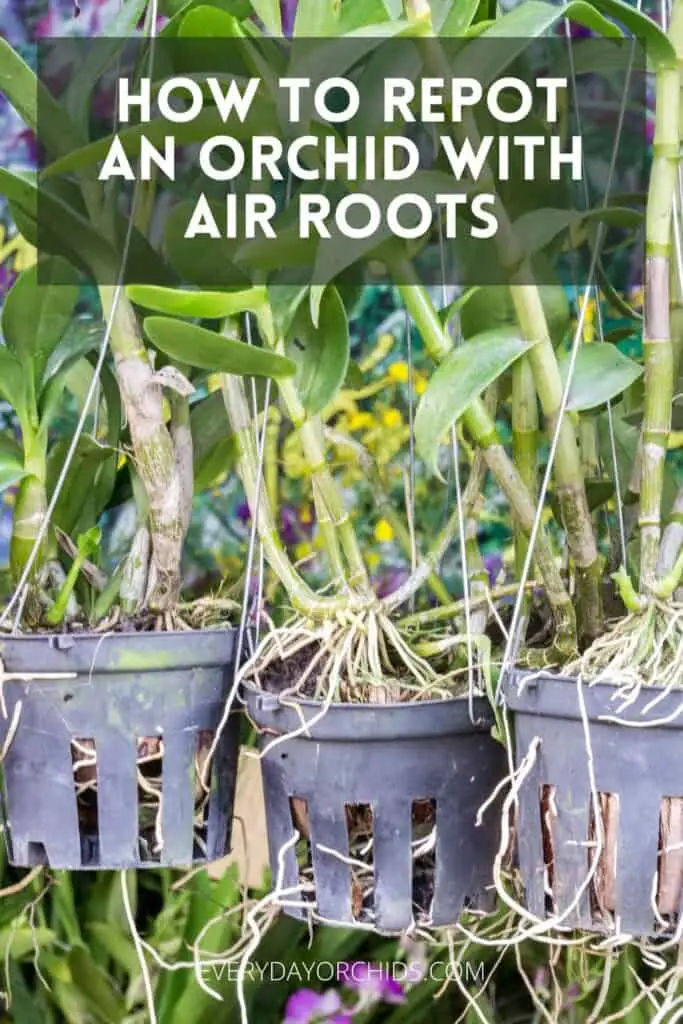
Some of these roots will grow up towards the light and twist up and around the orchid. Other air roots will grow out over the edges of the pot and hang down.
In both monopodial and sympodial orchids, healthy air roots will be green or white with green tips. Some orchids have purple or reddish growing tips due to genetics. Green (or purple-red) tips on the end of the root indicate that the air root is actively growing.
You can read more about the different types of orchid roots here.
Air Roots In Monopodial Orchids
Monopodial orchids include Phalaenopsis orchids and Vanda orchids. These air roots will look different than the air roots of sympodial orchids such as Oncidium and Cattleya orchids.
In Phalaenopsis orchids, healthy aerial roots are plump, firm, whitish-gray tendrils twisting up and around the orchid.
Aerial roots can grow in every direction. If you aren’t used to seeing them, they can look almost alien in nature.
Older Phalaenopsis aerial roots may be a silvery-gray color, but will still be firm and plump. Whether thick or thin in nature, healthy aerial roots should be firm and unwrinkled. Older air roots may not have growing tips and will be fully covered in the silvery-gray velamen.
In Vanda orchids, these aerial roots tend to trail down below the orchid and can get quite long.
As a matter of fact, in Vandas, these aerial roots are the majority of the orchid’s root system. Vanda orchid roots are too long to be contained in a traditional orchid pot.
Air Roots In Sympodial Orchids
In sympodial orchids such as Oncidiums, Dendrobiums and Cattleyas, air roots are more subtle. These roots look like thin, white or green tendrils creeping over the top of the potting media.
These air roots rarely extend up or around the orchid. Rather, they grow laterally across the pot. Longer aerial roots can extend over the rim of the pot and down the sides.
What Do Unhealthy Air Roots Look Like?
Unhealthy aerial roots will be yellow, black, or brown in color. They may be mushy or soft, dried or shriveled, or even brittle, depending on the underlying cause.
Brown, black, or yellow aerial roots that are also soft or slimy are likely rotted and will need to be removed.
Left untreated, root rot will continue to spread. Eventually the orchid leaves will become limp and wilted and the orchid leaves will begin to drop off one by one as the orchid slowly dies.
If your orchid growing area doesn’t have adequate humidity levels, the aerial roots will stop growing.
Humidity is so important to an orchid’s continued growth and health. Without adequate humidity levels, the orchid’s aerial roots will become wrinkled over time.
Gray, wrinkled, or dry-looking aerial roots indicate low humidity and/or underwatering problems in an orchid. If you notice this in your orchid, look for ways to increase humidity around your orchid’s growing area, whether it is through use of a humidifier or a humidity tray.
Very dry or dehydrated aerial roots will be brown and papery with no substance. These roots will not be firm or plump like normal aerial roots. Instead, you can easily bend dried or dehydrated roots. They will feel brittle and paper-thin. These roots are dead and will need to be pruned off.
When Should You Repot Your Orchid With Air Roots?
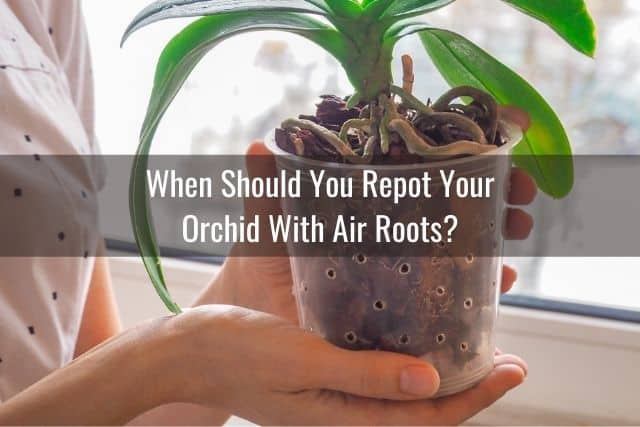
Don’t repot your orchid simply because there are a lot of aerial roots. The number of aerial roots alone is not an indicator that repotting is necessary.
A perfectly healthy, happy, growing orchid could have a lot of air roots. Instead, look at the potting media and the roots within the pot and decide if you need to repot.
Most orchids will need to be repotted every one to two years, depending on the condition of the potting media and the potted roots. Let me explain.
Potting media slowly degrades over time. This time frame is accelerated if the orchids are watered frequently or if orchid fertilizer is used often.
If the orchid potting media has started to break down, or if you notice the potting media is not as airy or well-draining as before, you will need to repot your orchid.
The potted roots may also have become tightly packed together within the pot over time. This orchid will need to move to a larger pot to allow the roots to continue to grow.
Now, let’s say you need to repot but your orchid also happens to have an abundance of aerial roots. Repotting may seem daunting. How do you repot your orchid without breaking the aerial roots?
Let’s go over that below.
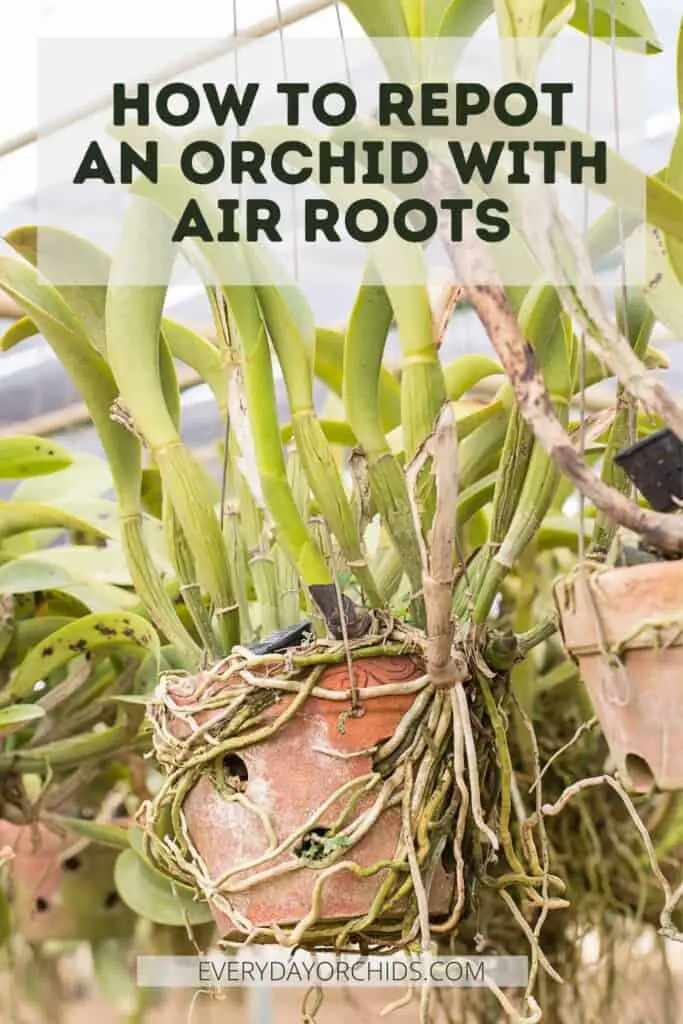
How To Repot An Orchid With Lots Of Air Roots
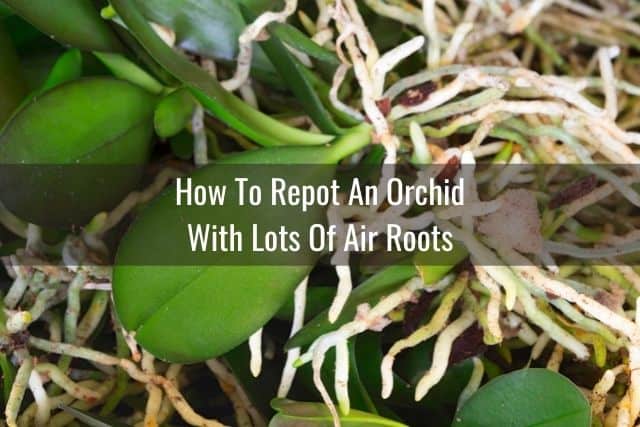
If your orchid is potted in a terracotta or clay pot, there is a chance that many of your orchid’s air roots are stuck to the outer sides of the pot. I had this problem early on in my orchid growing days, when the majority of my orchids were housed in terracotta pots.
If your orchid’s root system, either aerial roots or potted roots, are stuck to the pot, you may need to break the pot to get the orchid out. However, before you do that, try soaking the roots.
Soak The Orchid Pot
If your orchid has a lot of aerial roots, particularly long aerial roots that may snap or break during repotting, you will want to soak the roots and make them more pliable.
To soften up the roots, soak the whole pot in a bucket of water. Soak the orchid pot up to the rim of the pot and definitely don’t soak the entire orchid. Be careful to keep the orchid’s main stem, leaves and crown above the water line.
Soaking the roots, both potted and aerial, will soften them up and allow you to more easily detach them from the pot.
Pry Off The Orchid Roots
Next, after the orchid pot has soaked for at least 10 minutes, you can start to pry off the roots. Using a dull flat instrument, such as a dull butter knife, gently work the roots away from the pot. By doing this, you may be able to avoid breaking the pot and be able to save it for future use.
If the roots don’t come off easily, you may need to soak the pot a little longer and try again.
There is also a chance that the roots are so stuck onto the pot that they don’t come off at all. Instead, these roots may break off the orchid and stay stuck to the pot. If this happens, don’t worry too much about it. Just do your best to get the rest of the roots dislodged.
Repot Your Orchid
When you repot your orchid, you may want to consider sealing off the broken root ends with some ground cinnamon powder to prevent pathogens from entering and infecting your orchid. You don’t have to, but this is something I like to do for my orchids.
I have talked about how to repot your orchid and how to choose an orchid pot elsewhere, so check those articles out for more detailed information on these topics.
In addition, here are some additional resources about orchid potting media and how to choose the best orchid potting mix for your orchid.
Materials Needed To Repot Your Orchid
- New orchid potting media
- Sterilized orchid pot, either in the same size or 1-inch size up
- Sterilized, sharp gardening shears or scissors
- Ground cinnamon powder or a fungicide of your choice
- Large, clean bucket filled with room-temperature water
- Small basin or bucket with water
- Rubbing alcohol or a 10% bleach solution in a spray bottle for sterilizing your pruning tools
- Optional: chopstick and a dull butter knife
Step-By-Step Guide To Repotting Your Orchid:
- First, soak your new orchid potting media in a small basin or bucket of water while you are preparing your orchid.
- Remove your orchid from the pot by tipping the pot upside down and allowing the orchid to slide out, potting media and all. Discard the old potting media and do not reuse it.
- If the orchid’s roots have stuck to the sides of the pot and it does not come out easily, try soaking your orchid, pot and all, in the large bucket filled with water.
- Follow the guide above in the previous section for directions on prying off orchid roots that have become stuck to the sides of the pot.
- Place the unpotted orchid in the bucket of water, allowing the water to cover the roots only, not the whole orchid.
- Using your fingers or the chopstick, gently work away any old potting media that is stuck to the roots.
- Remove your orchid from the bucket once the roots are clean and free of old debris. Dump out the water and clean the bucket.
- Using your sterilized pruning shears, remove any rotted or dried, shriveled, dead roots.
- If your orchid has rot, use the ground cinnamon powder or fungicide to treat the rot. Use ground cinnamon powder to seal off any cut ends and prevent further infection.
- Place a small mound of new orchid potting media at the bottom of the sterilized orchid pot.
- Position your orchid in the pot so that the orchid’s main stem is level with the rim of the pot and the roots are pointing down.
- Fill the orchid pot with more orchid potting media, filling in the large gaps between the orchid roots. Use just enough potting media to stabilize and support the orchid.
- Be careful not to pack the orchid potting media in too tightly. You need to allow for drainage and aeration between the roots.
- Last, spray down all your tools with rubbing alcohol or a 10% bleach solution spray. This will disinfect the tools before you put them away.
Should You Cut Off Or Trim Air Roots On An Orchid?
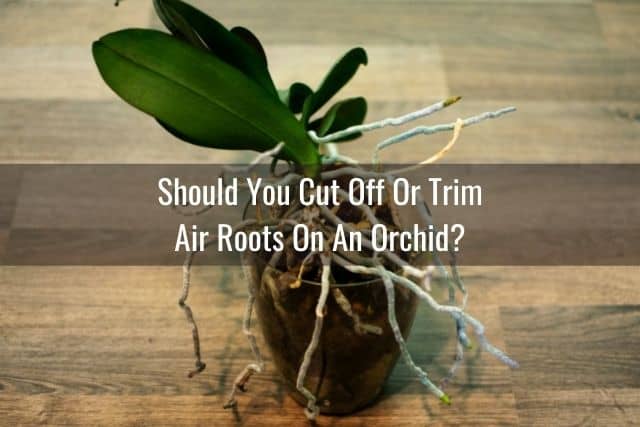
In general no, you should not cut off your orchid’s aerial roots. Leave the aerial roots alone, as long as they look healthy.
Aerial roots can serve as your back-up roots if your orchid turns out to have a lot of rotted roots, or no roots at all. Your orchid can use its aerial roots to absorb moisture and nutrients and save your orchid from dying.
To help this process along, you will need to create a high humidity environment for your orchid. If you’ve found yourself in this scenario, check out this guide about how to save an orchid with no roots.
Likewise, if your orchid has lost all of its leaves, you can still save your orchid using the aerial roots.
The orchid can use the aerial roots to perform photosynthesis and harvest enough energy to carry out it’s basic functions.
Remember, roots can perform photosynthesis, just like leaves, though to a lesser degree. These aerial roots will be enough to sustain your orchid until it is able to produce a new leaf.
Cutting off healthy air roots can actually harm your orchid by creating an opportunity for bacteria and other pathogens to enter and infect your orchid. Any time you prune your orchid, you are creating an open wound.
You can reduce the risk of infection by using sharp, sterilized gardening shears, making a clean cut, and covering the cut area with ground cinnamon powder.
Lastly, cutting off healthy aerial roots can stunt and slow growth and stress and weaken your orchid. In other words, don’t cut off healthy orchid air roots, even if they look unkempt.
When It Is Appropriate To Cut Off Orchid Air Roots
While you generally should not cut off your orchid’s air roots, there are a few exceptions to this rule. In certain situations, it is necessary to remove your orchid’s aerial roots. I went over what a healthy aerial root looks like in the section above. I also covered what an unhealthy or dead aerial root looks like.
If you see any unhealthy, diseased or dead aerial roots, prune them off using a pair of sterilized gardening shears. Seal off the cut end with some ground cinnamon powder.
Ground cinnamon powder is an inexpensive and easy home remedy I use to treat fungal infections in orchids. I also use it to seal off cut ends in orchid stems and roots.
You can read more about how you can use ground cinnamon powder on your orchid here.
The beauty of having roots located above the potting media is that you can do this pruning and orchid care at any time. You don’t necessarily have to wait until the next repotting session.
In fact, if you notice that the aerial root is diseased or rotted, you should cut it off as soon as possible. Doing so will help prevent the problem from spreading to other parts of the plant.
Should You Bury The Air Roots When You Repot Your Orchid?
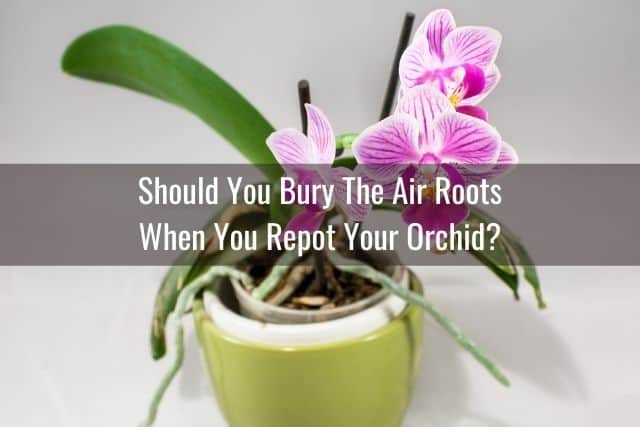
Say your orchid has a lot of air roots cascading down and around the sides of the pot. Maybe these air roots are getting in your way. Can you bury these air roots the next time you repot your orchid?
The answer is, in general, no, you should not bury air roots when repotting your orchid.
Why Shouldn’t You Bury Orchid Roots?
Let’s think carefully about this. Aerial roots have a thicker layer of velamen than their potted root counterparts. This thicker layer of velamen has allowed these roots to adapt to a lower humidity environment. They are used to lots of air flow outside the pot.
Contrast that to the potted roots, which have a thinner layer of velamen. These potted roots are accustomed to the higher humidity and moisture conditions found within the potting media. These roots have also adapted to the reduced airflow and decreased amounts of light in the orchid pot.
Simply put, aerial roots are adapted to survive in the outside environment and potted roots are adapted to survive in the potting media.
Established aerial roots, particularly ones that are no longer growing, will likely not be able to adjust to being buried in the potting media. These roots will likely end up rotted and dead. The effect this will have on your orchid will include: stunted, slower growth, wilted leaves (as a result of less roots for water uptake), and overall stress.
Growing aerial roots, particularly those with green tips, may be able to adjust to the new environment inside the potting media. These growing roots are newer, younger and may be able to adapt and survive. However, that is a big “if”, and you may still end up losing these roots in the end.
In general, I would avoid burying an orchid’s aerial roots. However, if you choose to do so, just be aware that there are risks involved and a lot of these aerial roots may die after you bury them.
Alternatives To Burying Orchid Air Roots
Instead of burying your orchid’s aerial roots, find a way to help them thrive and prosper.
Make sure you have enough humidity in your orchid’s growing area. This will prevent the air roots from drying out. You can monitor humidity levels using a hygrometer.
If your orchid’s growing area requires more humidification, you can use a cool-mist humidifier or a humidity tray to add humidity to the area. Help keep your orchid’s aerial roots happy and healthy by maintaining the right temperature as well.
You can also occasionally mist your orchid’s aerial roots to keep them hydrated. Misting orchids is controversial, with some orchid growers integrating misting as part of their orchid care, whereas other orchid growers feel it is unnecessary.
I’ve written an article outlining the pros and cons of misting an orchid–check it out and decide for yourself if this is something you would like to incorporate into your orchid care.
If your orchid has more aerial roots than potted roots, or if your orchid seems to be producing more aerial roots, you may want to consider mounting your orchid on a board instead.
Mounting your orchid will allow the aerial roots to continue to grow out and around the plant. Your orchid won’t be confined to a pot and will have the freedom to grow as it pleases. What’s more, you won’t have to worry about repotting your orchid or finding the right orchid bark.
Final Thoughts
Aerial roots, also known as air roots, are a normal occurrence in healthy, growing orchids. When repotting, take the time to soak these roots beforehand. This will allow the roots to be a little more flexible and less prone to breaking or snapping during the repotting process.
Prune off any dead, dehydrated, or rotted aerial roots as you see them. Avoid burying aerial roots in the potting media unless they are young and still actively growing. Even then, it is a good idea to just leave healthy aerial roots outside of the orchid pot. Hope this helps!
If you enjoyed this article, please pin it and share!
Recent Posts
Fusarium wilt in orchids is, unfortunately, a problem that you may encounter at one point or another. It is caused by the Fusarium pathogen and this kind of infection can be hard to identify at...
When it comes to choosing an orchid potting mix and knowing what kind of orchid soil is best, the decision can feel daunting. After all, there is a huge variety of options out there, from orchid bark...
