
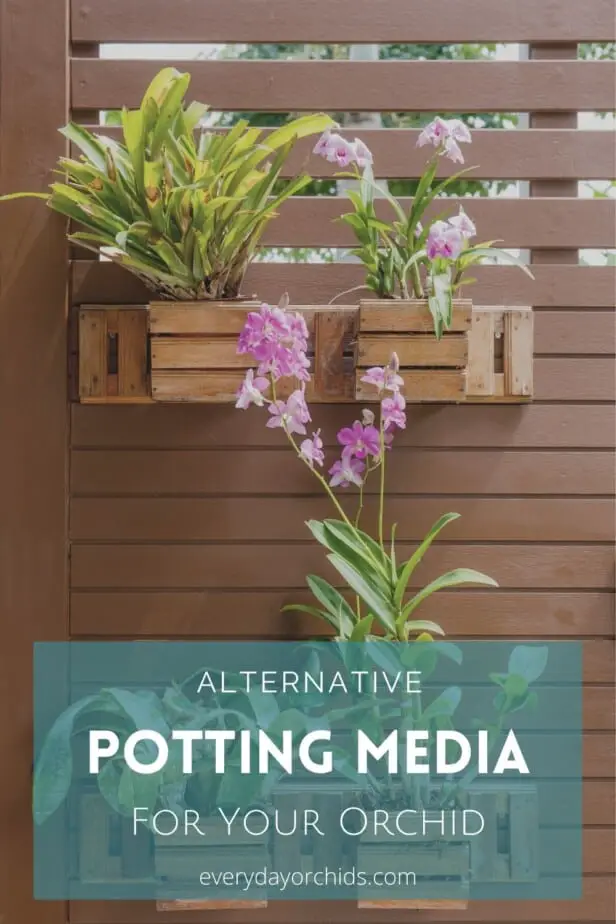
Did you know there are other types of potting media for orchids that you can use? Many of us use the standard orchid potting media to pot and repot our orchid plants. But if you are looking for a change or a challenge, there are alternative potting media available for your orchid. Keep reading to learn more.
Lava rocks, gel beads, and moss are just some of the alternative potting media available for orchids. You can also grow your orchids in a hydroponics system or mount it on a tree outdoors. These are just some of the alternatives for potting your orchid. Just remember that based on what you choose to use, you will likely need to adjust your orchid care to match the potting media.

Understanding the nuances of different potting media is important for being able to successfully care for your orchid. I will discuss some of alternative growing media here, including the pros and cons of each medium. Keep reading to learn how to care for your orchids successfully in each type of media.
Please note that these links are affiliate links and as an Amazon Associate, I earn from qualifying purchases. Purchases made through affiliate links in this post may generate commissions at no additional cost to you. Use this link for a discounted Amazon Prime trial. Thank you for your support!
Table of Contents
Growing Orchids in Lava Rock
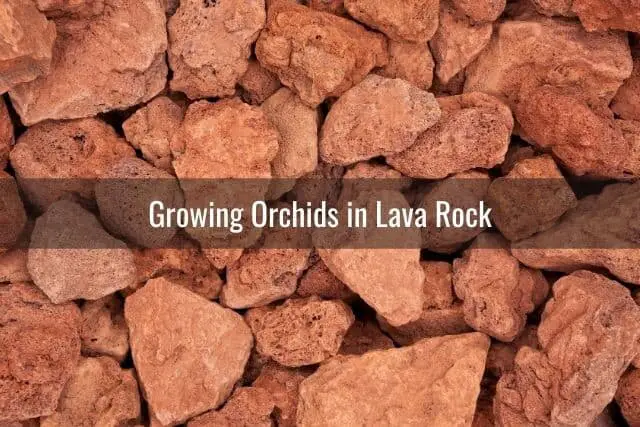
Orchids can be grown in lava rock, but there are pros and cons to using this potting medium. I’ll go into these below.
Benefits of Using Lava Rock
First of all, the pros of using lava rock. Lava rock is a relatively inexpensive, inorganic rock mix. It will not break down over time like bark would.
Due to the shape and size of the lava rocks, you will have spaces between the rocks for airflow. This provides your orchid roots with aeration. Lava rock also allows for quick drainage of excess water, thus reducing the chances for root rot.
Some orchid growers choose to use lava rock as their potting medium. Lava rocks remain fairly stationary, since they do not break down over time. This allows orchids to go longer between repottings. It is perfect for orchids that prefer to have their roots undisturbed. However, since this is an unusual choice for a potting medium, some people may find it difficult to use.
Drawbacks to Using Lava Rock
In general, I would not recommend lava rocks as an orchid potting medium if you are new to orchid growing. There is a lot of complexity and nuances involved in the process of growing orchids in lava rock. A simple variance in color — something that would not matter with other potting mediums — can significantly impact the health of your orchids.
For example, black lava rock is not recommended for use as a potting medium for orchids. Hawaiian orchid growers prefer to use red lava rock. Fortunately, red lava rock is the color that is typically sold for use as an orchid potting medium. When choosing your lava rock, make sure buy the right color rock.
Lava rock also has a tendency to hold on to residual fertilizer salts and residue. This can result in damage to the roots in the form of root burn. Newer orchid growers may not be able to recognize these signals right away. That is one of the reasons why lava rocks are not recommended for beginner orchid growers. Even if you are an experienced orchid grower, due to the complexity involved, you may want to experiment first with an orchid you would not mind losing.
Lava Rock Size Variations
You will also need to pay attention to the size of the rocks to make sure they are right for your orchid. Lava rock is mined and crushed into smaller sizes. As a result, you can have lava rock that looks like small pebbles or pieces that are up to 2-inches in diameter. Many times, lava rock is packed into bags for sale without much regard for sorting the size. Therefore, you will need to sort the rocks out yourself. As you sort through the bag, pick out the larger rocks for your orchids.
Different orchids will require different sized lava rock. For Phalaenopsis orchids and some Cattleyas, you can choose lava rock that is about 1/2-inch to 1-inch in size. For bifoliate Cattleyas and Vanda orchids, you will want to use 2-inch sized lava rocks. You may also find orchids that prefer a drier environment thrive well in lava rocks.
Potting Your Orchid in Lava Rock
Potting your orchids in lava rock will use a similar method to potting your orchids in standard potting medium. One thing to keep in mind is that the lava rock will be very dusty straight out of the bag. You will need to rinse the lava rock thoroughly before using it.
To pot your orchid, place some lava rock at the base of the pot. Then, continue to arrange more lava rock loosely around your orchid roots. Do this until you have reached the top of the pot and the orchid appears stable. To further support your orchid plant, you can stake your orchid.
Remember that lava rock is a very different growing environment than what the orchid is used to. You will need to monitor your orchid carefully that is adjusting well and not showing signs of stress. These are typically first seen in the orchid leaves, whether in their color or their shape. Wilting leaves may indicate that the orchid is dehydrated. Address these stressors right away. Know that orchids planted in lava rock may need more frequent watering.
Growing Orchids in Moss
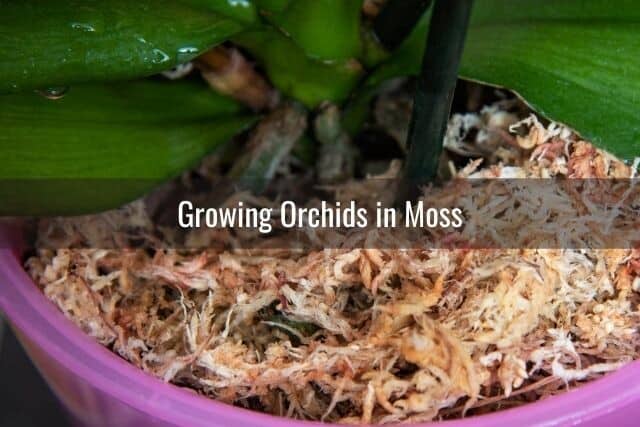
Moss can be an excellent potting medium for your orchids in certain situations. It has high water retention properties. In a way, moss behaves like a sponge, expanding when it is wet and contracting when it is dry. When it is damp, moss can increase the humidity around your orchid plants.
Unfortunately, the water retention properties of moss can be a double-edged sword. While it can be beneficial for orchids in certain situations, it can also create an environment that is too damp and humid. This prevents the orchid roots from drying out properly.
Sphagnum moss also has a tendency to clump together. This can lead to root rot, mold, and a host of other problems. If you choose to use moss as your primary potting media for your orchids, you will need to be mindful of these risks. Be careful with how and when you use it.
Types of Moss
The first thing you have to determine is the type of moss that you are going to use. There are many different types of moss that you can use as a potting medium. Generally moss can be categorized as fine moss or shaped moss.
Peat is an example of a fine moss, while sphagnum is a shaped moss. Both of them are good for various purposes. If you want to create an “airy” environment for the orchid, you can use sphagnum moss. Sphagnum moss is better suited for orchids than peat moss.
I would recommend using sphagnum moss to regrow orchid roots. You can also use sphagnum moss to care for baby orchid plants, or keikis. Sphagnum moss can also be used to lightly cover the tops of the individual pots in a multi-orchid display. Using moss in this manner would give the illusion of all the orchids being planted together seamlessly in one pot.
Potting Your Orchid with Sphagnum Moss
However, there are some drawbacks to using sphagnum moss as the sole potting medium for your orchid. The airy moss can initially create many air pockets that provide the orchid roots with airflow. However, it is soft and cannot support your orchid roots very well. It may also end up clumped together when wet.
Many new hobbyists end up packing in the moss tightly around the roots in an attempt to support the orchid and keep it upright. This is a mistake, since this ends up suffocating the roots. Remember, moss retains a great deal of water and increases the humidity around your plant. Tightly packed moss creates a damp environment for your orchid, leading to root rot, mold growth and other issues.
If you choose to pot your orchid in sphagnum moss, it would be best to use a basket container to pot your orchid. Basket containers have numerous large holes and spaces between the slats. This helps with aeration. Basket containers create a well-ventilated environment and helps drain excess water from the moss. This ensures that your orchids only get the moisture they need.
You will also need to factor in your climate and surrounding environment. Moss can retain a lot of moisture, making it possible for you to water the orchids less often. This works well in dry and warm environments where moisture can quickly evaporate. However, if you live in a high humidity environment, or a cold climate where the moss may not dry out easily, this can lead to root rot, mold, or fungal growth. In this case, sphagnum moss is probably not the best potting media for you.
Growing Orchids in Water (Hydroponics)
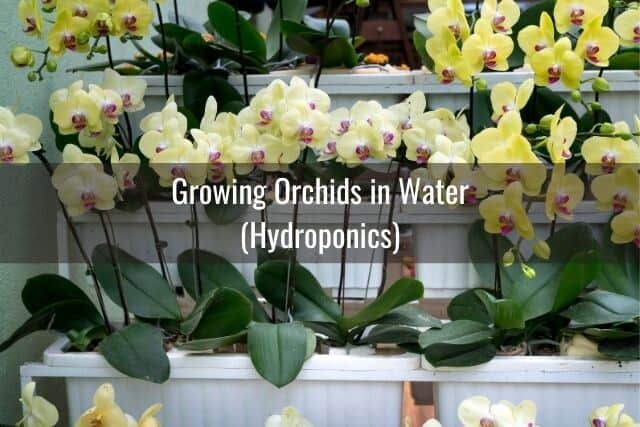
There are a lot of advantages to growing orchids in water. However, not all orchids are suitable for hydroponics. Phalaenopsis and Paphiopedilum orchid varieties can be successfully grown in hydroponics. Terrestrial orchids also do well in hydroponics systems, as these orchids typically require high moisture levels to thrive.
Benefits of Using Hydroponics to Grow Orchids
One main advantage of using hydroponics to grow your orchids is that you have a great deal of control over the growing environment for your orchids. In a way, the water is your potting medium and you can regulate the temperature, amount, pH levels and additives in the water. The water provides your orchid with hydration, nutrition and aeration at the same time. It also reduces or nearly eliminates the chance your orchids will have a mold, fungal, bacterial or pest infestation.
Drawbacks of Using Hydroponics to Grow Orchids
One big drawback to using a hydroponics system for orchids is the complexity. It can be difficult to set up as well as expensive for the beginner orchid grower. When using hydroponics, you should already be familiar with your orchid’s specific needs for light, humidity, water, and fertilizer. You will need to be able to tailor the hydroponics system to meet your orchid’s needs. You may need to add additional artificial lighting for the orchids. This is in addition to buying the hydroponics equipment. The costs can quickly add up.
Lastly, just because the risk for infection and infestation is reduced in a hydroponics system, it is not completely eliminated. You are not guaranteed to have healthy orchids, especially if the system is not set up correctly. For example, the orchids may still fall ill to a Botrytis fungal infection.
Placing Your Orchid in a Hydroponics System
When preparing an orchid to be planted in a hydroponics system, the first step is to unpot the orchid. Rinse all the potting medium off its roots. Just as in routine repotting situations, you will also need to remove any dead or rotted roots. If the orchid is suffering from an infection, you will need to treat this first.
You can use an anti-fungal powder or a fungicide such as Physan 20 to clean the roots before setting it in the hydroponics system. When using Physan 20 on orchids, be sure to dilute it first. Their website recommends diluting 2 teaspoons of Physan 20 in 1 gallon of water when using the product on orchids.
Be sure to insert a wicking growing media, such as clay pebbles or gravel, in your hydroponics system. You will also need to use a special basket container, such as these 4-inch slotted mesh cups by Growneer, or these 3-inch slotted net cups that can fit into a wide-mouth Mason jar. These materials make it easier to bring the nutrients and water into the roots, allowing the orchid to grow passively. Aside from this, the clay pebbles and gravel also work well to support the roots and prevent rot.
When growing orchids in water, be sure to replace the water regularly. There are two ways to do this. You can simply replace the water, then put the orchid back. Alternatively, you can remove the water and let the orchid roots dry out for a few days before putting it back.
You can try both methods to see what works better for your orchid and your environment. What is important is that you change the water regularly. You can use rainwater if it is allowed in your state. You can also use distilled water to avoid any chemicals or lead that may be found in tap water.
If you are interested growing your orchid using a hydroponics system, you can check out this resource on growing orchids in hydroponics and aquaponics.
Growing Orchids in Gel Beads

Interestingly, people either love growing orchids in gel beads, or they hate it and wish they had never tried it. Sometimes florists will place cut orchid blooms in a vase of gel beads for the aesthetic value. But growing orchids in gel beads is a different story. To understand how we can properly grow orchids using gel beads, let’s discuss what makes it unique compared to other potting mediums.
Things to Keep in Mind when Using Gel Beads
First of all, gel beads can retain a lot of water — a lot of it! Gel beads can even retain more water than moss. Unfortunately, it retains moisture so well that it can be detrimental for many orchids. This is especially true for those in cold and humid places. High moisture levels can cause root rot and suffocate the roots. The high moisture levels also increase the risk for fungal or bacterial infections. Most orchids will not do well potted in gel beads.
In order to successfully grow orchids in gel beads, you will need to live in a warm, dry climate. This gives the water a better chance of evaporating from the gel beads. You will also need to choose an orchid that would do well in a high moisture, high humidity environment, such as a terrestrial orchid. You will also need to remember that orchids growing in gel beads need less frequent watering. Check the gel beads first before you water to see if it is time for your orchid to be watered or if you can wait another few days.
Planting Your Orchid in Gel Beads
If you wish to plant your orchid in gel beads, the best way to do this is slowly acclimate your orchid plant to the gel beads. Don’t transplant your orchid directly into a container full of gel beads! The shock of this may kill the orchid.
Instead, start with the potting medium that you are currently using. Add a few hydrated gel beads into the mix. Gradually increase the number of gel beads to the potting mixture over time. Keep a close eye on how your orchid reacts to the changing environment.
If your orchid starts to show signs of stress, this is a clear sign that your orchid is not suitable for growing in gel beads. Stress signals may be the roots starting to die or the leaves changing color or turning limp. You will need to remove your orchid from this mixed media environment immediately. Repot the orchid in standard orchid potting media.
However, if your orchid appears to thrive with gel beads slowly added to the potting media, you can keep increasing the number of beads to the mix. You can do this until you reach the point where you are only using gel beads.
Choosing the Right Container
It would be best to place the orchid in a clear, plastic orchid container to monitor its condition. Ideally, this clear, plastic pot will have slits on the side to provide some air flow. Also, keep in mind that gel beads release moisture slowly, but they never really dry out. This increases the risk of fungal or bacterial infection. A clear orchid pot would allow you to quickly assess for any early signs of root rot, mold, fungal or bacterial infection. This will give you the opportunity to address the problem immediately and save your orchid.
Finally, a transparent container will allow you to enjoy the biggest benefit of using gel beads for your orchid — aesthetics! If you prefer, you can place the plastic pot into a larger clear vase or container for a more pleasing look.
All that being said, while I want to give you the information about using gel beads as an alternative potting media for orchids, I cannot recommend it. This is mainly due to the high constant moisture content and minimal air flow. You can certainly try and experiment with this method if you wish. However, do it with an orchid plant that you would not mind losing, just in case things do not work out in the orchid’s favor.
Using Gel Beads for Cut Orchids
If you really like the look of gel beads and orchids but do not want to risk your orchid’s life, a great alternative would be to use gel beads for your cut orchid blooms instead. That way, you could enjoy the beautiful orchid blooms set in a stunning colorful gel bead filled vase. The moisture of the gel beads can provide hydration to the stems. Meanwhile, the gel beads can secure the orchid blooms in the vase.
When you change the water in your vase, you can easily remove the orchid stems and rinse out the gel beads. Then, replace the beads in the vase and rearrange the orchid blooms. You can do this without the stress of worrying over orchid roots or airflow. Using gel beads for cut orchids will allow you to simply enjoy the blooms.
Mounting Your Orchid on Wood or a Tree
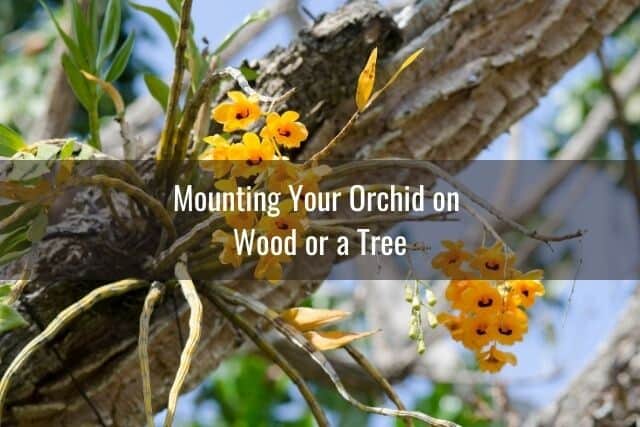
Mounting orchids to a wooden branch or tree trunk is a popular technique used to grow orchids. For one, it is aesthetically pleasing. When an orchid is mounted and hung in a home, there is the “wow” factor when people see it. But perhaps, the most logical reason why this technique works is that this is how nature intended these plants to grow. Many orchids are epiphytes. In the wild, they often attach themselves to tree trunks or branches using their roots.
Benefits of Mounting Orchids
A huge benefit of mounting your orchid to a piece of wood or a tree is that you allow the roots to spread out. The orchid roots will receive maximum light and air circulation. This allows the orchid to thrive. In contrast, growing the orchids in pots confines the roots to a small space. In an orchid pot, the level of air circulation is markedly decreased.
Another benefit of mounting orchids to trees or branches is that you eliminate the need for yearly or routine repotting. One of the reasons why orchid growers need to regularly repot is to address root rot or the potting media breaking down over time. We also repot in order to upsize the pot so that the orchid roots have room to grow. When you mount an orchid to a tree or branch, as long as your orchid is growing and thriving, you will not need to move it or change its “potting medium.”
Choosing the Right Materials
You can use different materials for an orchid mount. Ideally, you will want to choose a wood that will last for several years without requiring a replacement. Some of the materials that gardeners prefer for building mounts are dogwood, highbush blueberry, mesquite, sassafras, and white oak. It would be best to avoid treated, preserved, or painted woods. These chemicals in these wood pieces may be detrimental to your orchids.
Choosing the Right Orchid
In addition to choosing the right material for building your orchid mount, you also want to select the right orchid to mount. Not every orchid does well mounted to trees. Terrestrial orchids are obvious examples of orchids that should not be mounted to a tree or branch.
I would recommend mounting miniature Cattleya orchids and Phalaenopsis orchids for beginners. These orchids are easy to grow and are not as demanding as other orchid species. As you grow more experienced with growing orchids on trees or branches, you can also try experimenting with other orchid species.
In many ways, caring for mounted orchids is similar to caring for potted orchids. A key point to remember when caring for mounted orchids is that there needs to be enough humidity in the surrounding environment. Adequate humidity levels will help ensure that your orchid roots get enough water and nutrition from the surrounding environment and do not dry out.
Preparing Your Orchid for Mounting
Before you mount your orchid onto the wooden support, you can submerge the roots in water to dampen the roots. After mounting the orchid, you can mist your orchid roots as needed. You can also continue to submerge the roots in water once a week. This is to saturate the roots and provide the ideal moisture for the orchid to thrive.
Since mounted orchids rely on air humidity, you may also want to spread their roots around the mount. This will help ensure that the orchid gets enough moisture from the air. Remember, you need to create a balanced environment for these orchids to thrive.
Factors to Consider When Mounting Your Orchid
Besides humidity, one of the most important factors that you have to consider is lighting. Mounted orchids can be prone to too much light or heat exposure, causing sunburn or discoloration. Take note of the type of orchid that you are caring for and the amount of light it needs.
If you are planning to mount your orchid on a tree branch and hang it indoors, you may need to hang it near a window. This will help ensure it receives adequate lighting. If the window receives direct afternoon light, this might be too intense for most orchids. You will need to use a thin curtain to reduce some of the light intensity and heat.
If you want to mount your orchid to a wooden support and attach it to a tree outdoors, you will need to check your local climate first. Make sure you live in a mild climate that allows for your orchid to live outdoors year round.
Choose a tree whose leafy branches that will allow your orchid to receive bright, indirect, filtered light. Place your orchid where it can have good air flow. The ideal tree will also protect the orchid from many of the environmental factors that may damage your orchid plant, such as wind and rain.
Final Thoughts
Genetics and the environment are two important factors that influence your orchid’s ability to grow and thrive. Environmental factors include water, light, humidity, and temperature. The potting medium you use to grow your orchids will also determine your plants’ health.
There are a lot of different ways to grow orchids, including using alternative potting mediums. However, to be successful with growing orchids in these alternative potting media, you’ll need to familiarize yourself with your orchid’s specific needs. You will also need to understand the unique qualities, pros and cons, of each type of potting medium. Doing so will help you take better care of your plants and ensure your continued success growing orchids.
Remember, a growing medium may work well for one gardener, but it may not necessarily work well for another. Sometimes you will need to experiment and undergo trial and error in order to find the technique and potting medium that works best for you and your orchids.
Good luck and have fun!
If you enjoyed this article, please pin it and share!
Recent Posts
Fusarium wilt in orchids is, unfortunately, a problem that you may encounter at one point or another. It is caused by the Fusarium pathogen and this kind of infection can be hard to identify at...
When it comes to choosing an orchid potting mix and knowing what kind of orchid soil is best, the decision can feel daunting. After all, there is a huge variety of options out there, from orchid bark...
