
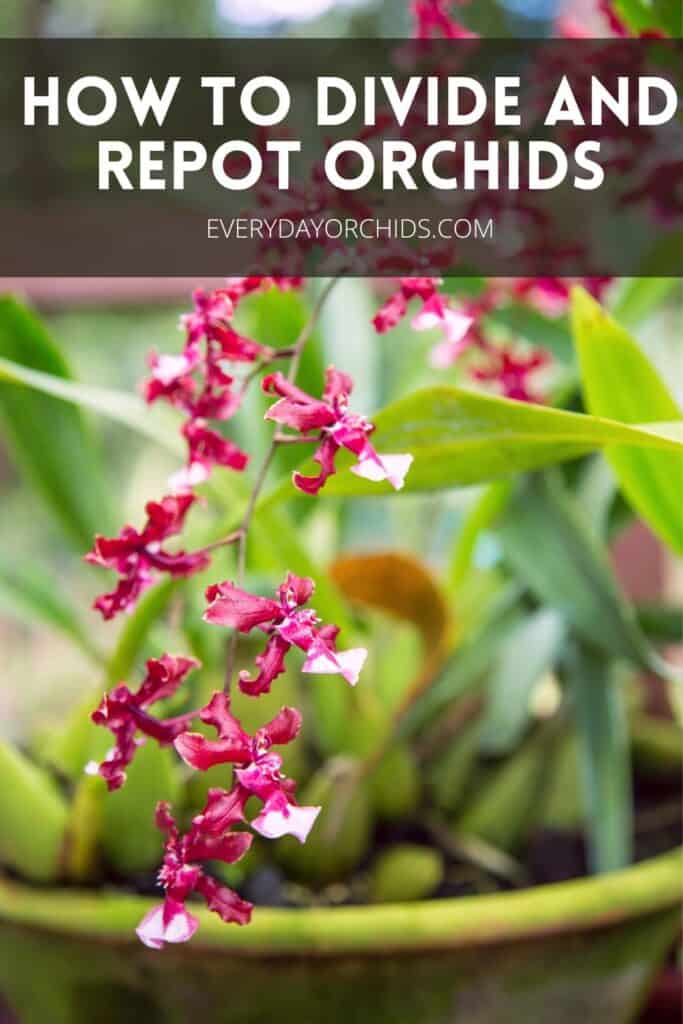
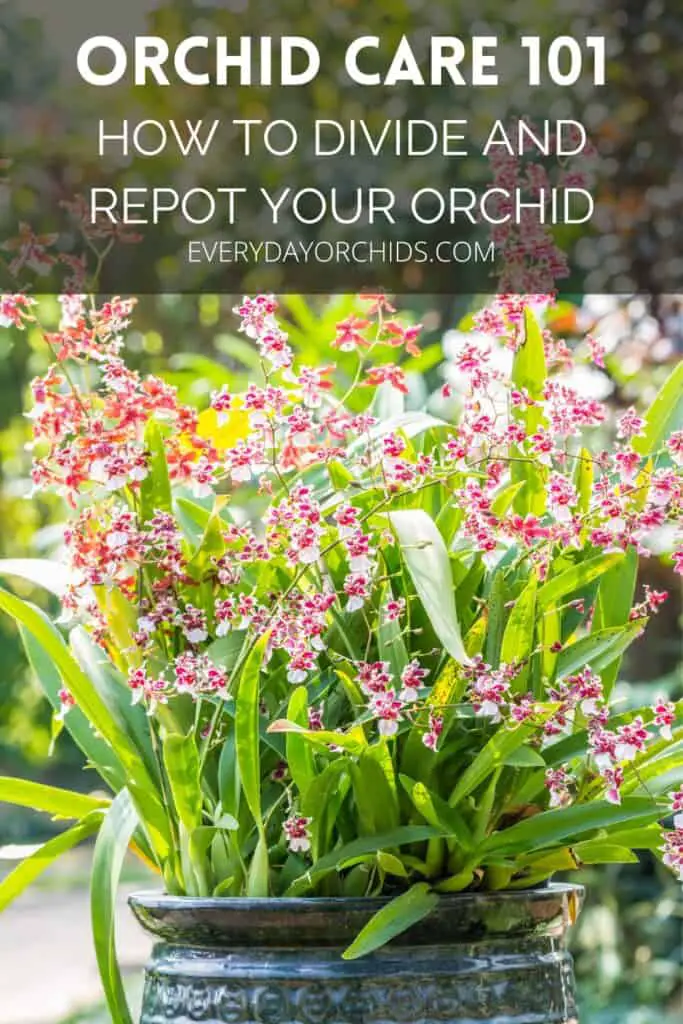
Repotting and dividing orchids is a key part of orchid care. Inevitably, over time, the orchid will grow and produce new pseudobulbs, leaves and roots. As this happens, the orchid will eventually outgrow its pot.
You may also need to repot your orchid for other reasons, such as orchid pests or degraded potting media. Repotting and dividing orchids may seem overwhelming, but it doesn’t have to be.
When repotting and dividing orchids, have all your repotting supplies sterilized and ready to go. Generally, most orchids need to be repotted every two to three years. Springtime is the best time to repot and divide orchids.
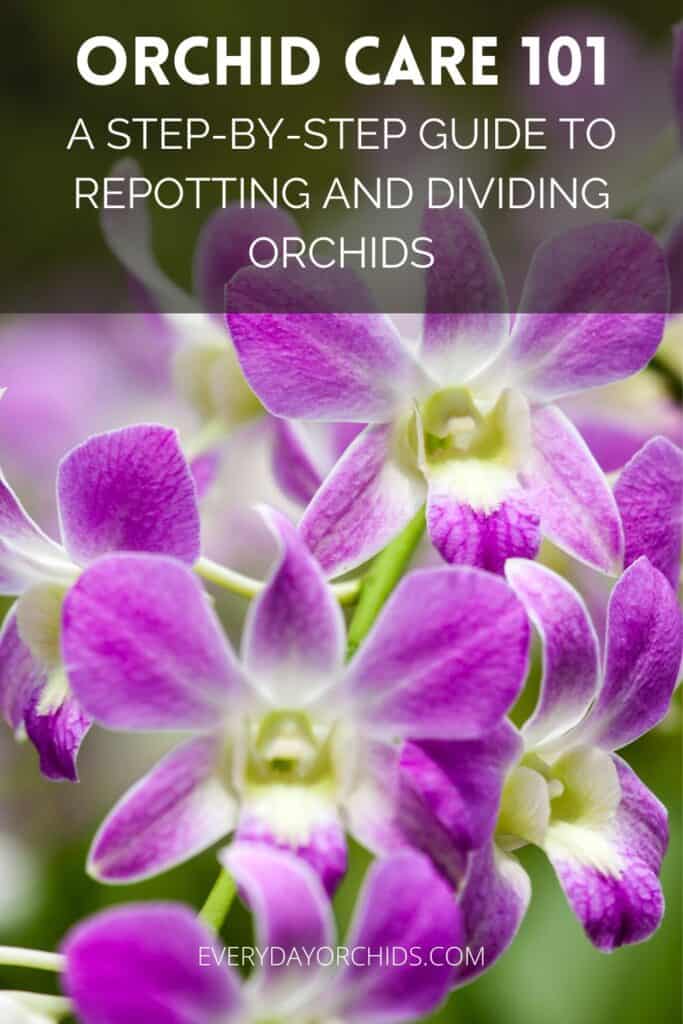
In this article, I’ll go over the step-by-step process of repotting and dividing orchids, particularly those sympodial orchids with pseudobulbs. In addition, I’ll also review when is the best time to repot and divide your orchid. Keep reading to learn more.
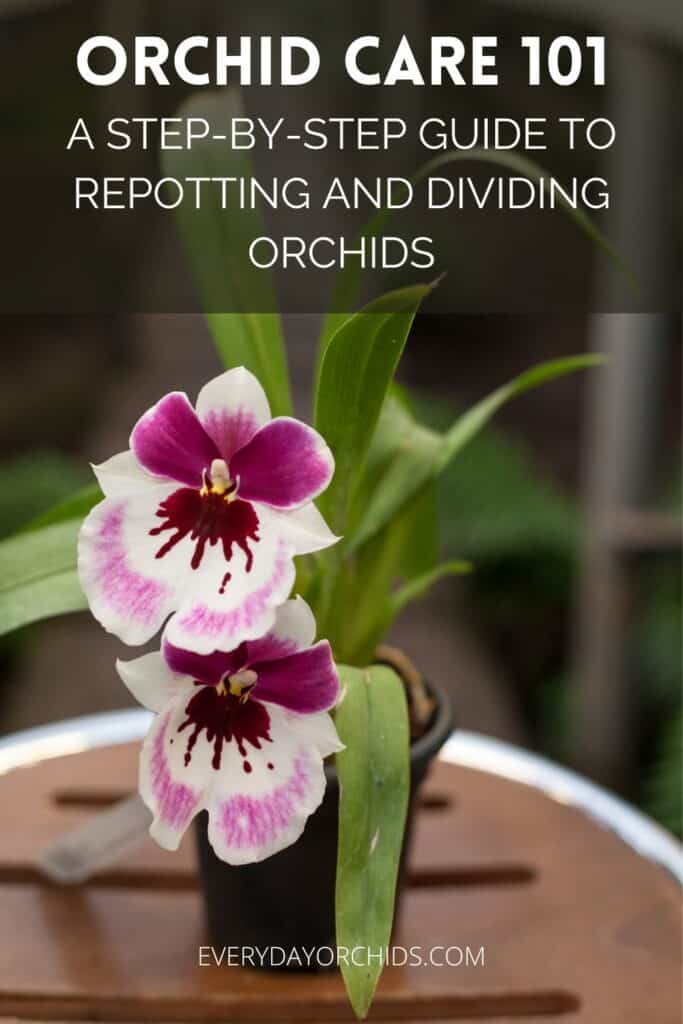
This repotting and dividing orchids guide will work for splitting Cymbidium orchids, Miltoniopsis orchids, Oncidium orchids, and Cattleya orchids, to name a few. Follow the steps outlined here to repot and divide any sympodial orchid with pseudobulbs.
If you have a Phalaenopsis orchid or a Vanda orchid (AKA a monopodial orchid without pseudobulbs), follow this repotting guide for Phalaenopsis orchids.
If you have a Dendrobium orchid or an orchid with lots of air roots, you can learn how to repot an orchid with air roots here.
Please note that these links are affiliate links and as an Amazon Associate, I earn from qualifying purchases. Purchases made through affiliate links in this post may generate commissions at no additional cost to you. Use this link for a discounted Amazon Prime trial. Thank you for your support!
Table of Contents
When Should You Repot An Orchid?
When you are thinking of repotting your orchid, you’ll need to consider two things: the time of year and whether or not your orchid needs to be repotted at all. I’ll answer both of those questions next.
What Time Of The Year Is Best For Repotting Orchids?
In general, late spring or early summer, after the orchid’s flowers fall off, is the best time to repot an orchid.
Once an orchid has ended it’s blooming cycle, depending on the orchid species, it will then either have a brief rest period or go straight into the growth phase.
Repotting an orchid after the blooming period is done is part of routine orchid care after flowering. This is the best time to repot an orchid because there is usually a lot of root growth and development of new leaves during the growth phase.
Always wait until after the orchid flowers fall off and the blooming season ends to repot your orchid.
Among other things, repotting during the blooming period will cause the orchid flowers to fall off early and add unnecessary stress to your orchid.
During the repotting process, you will inevitably trim off some dead or rotted roots. This is partly why repotting is can be so traumatic and stressful to orchids.
Repotting your orchid during the growth phase allows your orchid to recover quickly. It is also more likely to grow new roots to replace the ones that were lost.
I go into more detail about the different phases of orchid growth and rest here, so please check that out for more information.
How Often Should You Repot An Orchid?
While late spring and early summer are the best times to repot an orchid, you don’t necessarily want to repot your orchid every spring or summer. Most orchids don’t need to be repotted so often.
In most cases, you can repot your orchid every two to three years.
Another rule of thumb is to repot your orchid when the orchid rhizome starts to creep over the edge of the pot.
The orchid rhizome is the stem of a sympodial orchid. New pseudobulbs and growth emerge from the top-side of the rhizome, while root growth develops on the underside of the rhizome. New orchid growth will be in the direction of rhizome growth.
When the rhizome starts to move past the edges of the pot, it is a sure sign that the orchid has outgrown it’s pot. The orchid has no more room to further grow or spread out if this happens.
In addition to repotting your orchid, you may also want to consider dividing it as well.
Of course, there may be situations where you’ll want to repot your orchid sooner. These scenarios include orchid pest infestations, root rot, or decomposing potting media.
When Should You Divide An Orchid?

Dividing orchids is usually done at the same time as repotting. This is in order to be as efficient as possible and to reduce the number of times the orchid becomes stressed.
Most orchids will grow two to three new pseudobulbs per year.
If you are following the general guide of repotting every two to three years, then your orchid will have likely grown large enough during this time to be divided.
When dividing orchids with pseudobulbs, you’ll need to have at least six pseudobulbs present on your orchid.
The reason for this is that each division will need at least three pseudobulbs. One of these pseudobulbs must be new growth.
For example, if your orchid has six pseudobulbs present, you’ll be able to make one cut and divide your orchid into two separate orchids.
Step-By-Step Guide To Repotting And Dividing Orchids
Next, let’s talk about repotting and dividing orchids with pseudobulbs.
Step 1: Gather Your Orchid Repotting Supplies
Once you have decided to repot and divide your orchid, gather your supplies.
You’ll need the following:
- sterilized orchid pots (I use these by repotMe and these by Elit)
- new orchid potting media (I use this orchid potting mix by Sunbulb)
- sterilized gardening shears or scissors for trimming off dead roots
- sharp, sterilized knife or blade for dividing the orchid (I use this Exacto knife to make clean cuts)
- orchid stakes and ties
- gardening twine
- gloves (You can use rubber gloves or gardening gloves, whichever is easier for you)
- bucket of water
When repotting, choose orchid pots that are big enough to hold the orchid plus one or two more years worth of growth.
For orchids that spread out laterally, a wider, shallower pot may be more suitable than a large, deeper pot.
For more information, check out this Everyday Orchids’ guide on how to choose an orchid pot.
Note: Each division will need to have 3 pseudobulbs, so count up the number of pseudobulbs and divide by 3. This will be the number of pots you’ll need to prepare.
For example, if your orchid has 9 pseudobulbs, you’ll need to sterilize and prepare 3 pots. I go over how to sterilize orchid pots and gardening tools here.
Step 2: Unpot The Orchid
Once you have all your supplies ready and laid out, put on your gloves and carefully start removing your orchid from the pot.
Many of my orchids are potted in clear, flexible plastic containers. I usually hold the orchid near the base of the mature pseudobulbs and gently tug upwards while squeezing the sides of the pot and pulling down.
If your orchid is potted in a terracotta pot, you may find that some of the orchid roots are stuck to the sides.
To address this, first remove as much potting media from the pot as possible. Then, soak your orchid pot in some water to soften the roots.
Use a dull butter knife and carefully work the roots away from the sides of the pot. You may lose some roots but with this method, you’ll hopefully save most of them.
In some extreme cases where there are a lot of roots stuck to the pot, you may need to break the terracotta or clay pot in order to remove your orchid.
Step 3: Rinse And Clean The Orchid Roots
Once the orchid is free of the pot, I like to place the roots in a bucket of room-temperature water and gently clean the roots.
Use your fingers to carefully work away any of the old potting media that may be stuck to the roots.
This is also your chance to start gently untangling those thin, delicate orchid roots.
Step 4: Remove Dead, Rotted Roots
Before dividing or repotting your orchid, check over the orchid’s root system.
Remove any dead or rotted roots. These could be dried, shriveled roots, or brown or black roots that are soft and mushy.
Orchid roots with black tips should also be removed. These roots will no longer grow and are starting to rot.
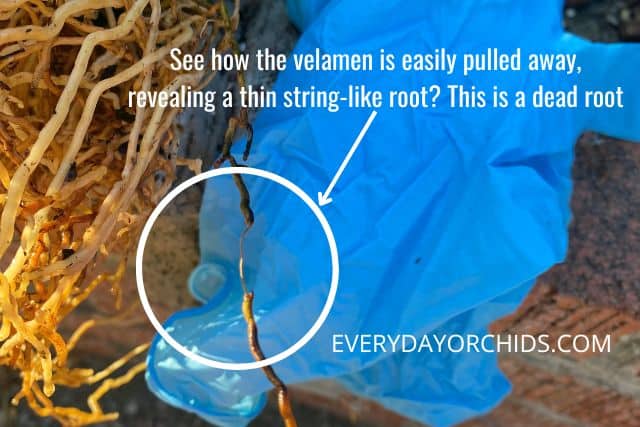
On an orchid with thin roots, it is sometimes harder to tell if the roots are dead.
If you aren’t sure whether or not the orchid root is viable, gently tug on the root. If the root is soft, mushy, or the velamen easily comes off, revealing a thin-string like root underneath, then these are all signs of root rot. The root is dead.
Using your sterilized gardening shears or scissors, cut off all the dead, rotted or shriveled roots.
Step 5: Remove Dead, Rotted Pseudobulbs
Next, inspect your orchid’s pseudobulbs. Look for signs of rot or disease.
If there is presence of disease or rot, the bases of the pseudobulb might be brown or mushy or discolored.
If the orchid pseudobulb is rotted, then chances are high that the attached roots and possibly even the attached rhizome have rot as well.
To address this, use your sterilized blade to remove the rotted pseudobulb and roots completely.
I use a sterilized Exacto knife for this task, simply because it is easier to cut away the rotted areas with precision. Like with the other rotted roots that you removed in the previous step, dispose of these in the trash.
To learn more, read my Everyday Orchids’ guide on how to spot rot and disease in orchid pseudobulbs.
Step 6: Find And Identify The Rhizome
You may be wondering, what is the rhizome and how am I supposed to find it in this mess of orchid roots?
The rhizome is a long, lateral stem that runs parallel to the ground. This rhizome is where all new growth, both pseudobulbs and roots, emerge. It is what connects all the pseudobulbs together.
This may be hard to spot due to all the thin roots along the rhizome. The rhizome looks very similar to the orchid roots, but the rhizome is slightly thicker and bigger than the orchid roots. It also goes in a different direction than the roots, running alongside the bottom of the orchid pseudobulbs, rather than pointing down like the roots.
Step 7: Identify The Newest Or Youngest Pseudobulbs
Every division will need at least one young pseudobulb, so you’ll want to identify where they are before you cut the rhizome.
Young orchid pseudobulbs are typically smaller and may sit near the edges of older, more mature pseudobulbs.
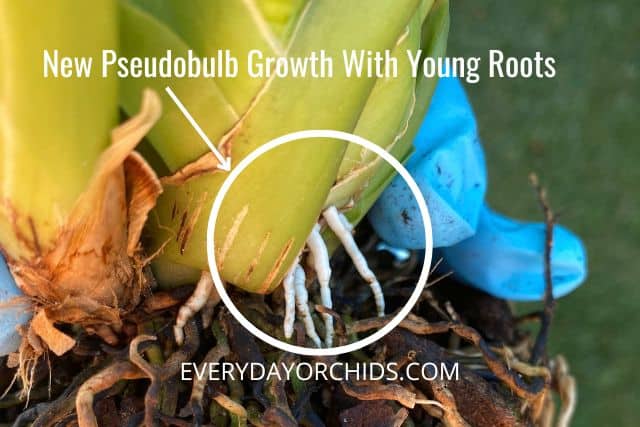
Young pseudobulbs, also known as “new growth,” may be fully formed pseudobulbs or just new buds or shoots that are starting to form. They will have healthy white roots, some of which may have green growing tips.
At least one young pseudobulb must be included in every division because this is where the orchid will continue its growth and expansion across the new orchid pot.
This is why it is so important that you identify where the new growth/young pseudobulbs are located before you cut the rhizome and make your divisions.
Step 8: Dividing Your Orchid
Now that you’ve identified where the rhizome and new pseudobulb growth are, you can move on to divide your orchid.
Remember, each division must have at least 3 pseudobulbs and one of those must be a new or young pseudobulb.
Untangle your orchid roots if you haven’t already. Separate the roots according to the orchid divisions. Sometimes you will be able to spot a natural division, making it easier to group your orchid pseudobulbs.
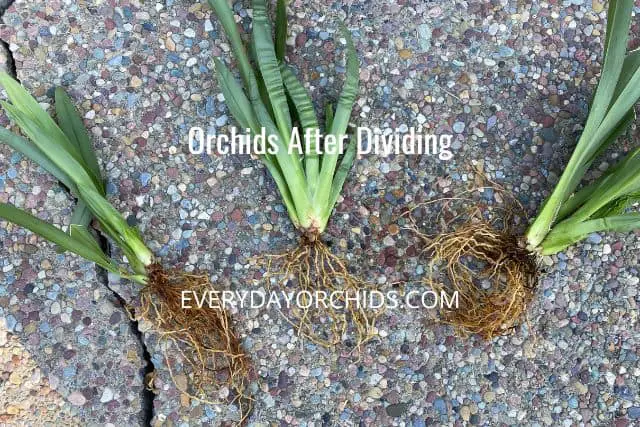
Some orchid growers pull apart the divisions and break the rhizome by hand. I prefer to use a sterilized blade and make a clean cut on the rhizome between the divisions.
Discard any divisions that don’t have at least 3 pseudobulbs, as these will be unlikely to survive and grow.
Likewise, discard any divisions that don’t have new buds, shoots or pseudobulb growth for the same reasons.
Step 9: Clean Up Your Orchid Divisions
Although you may have already gone through your orchid and removed the dead or rotted roots, take another pass at it. Now that the orchid is divided into smaller sections, it will be easier to see the root bunches.
Cut off any dead or rotted roots that you may have missed earlier.
One of the last things you’ll want to do before repotting is to remove any dead leaves that are brown or turning yellow at the bottom.
During this time, I will also remove the leaf sheaths covering the base of the pseudobulb. These are thin, brown papery coverings on the pseudobulb.

Removing the leaf sheaths exposes the base of the pseudobulb and the root buds there, thus allowing the roots room to grow. Otherwise those root buds would have been blocked by the presence of the leaf sheath.
Removing the leaf sheaths has the added benefit of removing a potential hiding place for orchid pests. It also gives your orchid a cleaner, neater appearance.
Step 10: Repot Your Orchid
Now that all that is done, you are finally ready to repot your orchid.
How To Position Your Orchid Division In The Pot
Pick up one of your orchid divisions and identify the location of the new growth. Also take note of the location of the mature pseudobulb. Hint: they should be at opposite ends.
Take your orchid pot and place some new potting media at the base of the pot. Then, position your orchid division so that the oldest pseudobulb is at the edge of the orchid pot and the new growth is pointed towards the middle of the pot. This is key!
The old pseudobulb will not develop new growth, so it is fine to put it near the edge of the pot. However, the young pseudobulb will be the point at which all new growth happens.
Pointing the new growth towards the open, middle area of the pot provides the orchid with the most room to grow and laterally expand out over time.
Potting Your Orchid Division
Hold the orchid division so that the bottom of the pseudobulbs are at about the level of the pot’s rim.
Begin filling the pot with new potting media. The potting media should not cover the new growth’s root buds. Stop adding potting media once you have reached the base of the newest growth. This will give the root buds an opportunity to grow downward into the potting media, while also having enough aeration to prevent root rot.
As you add in the potting media, lightly pack in the potting media around the roots of the older pseudobulbs. This way, the orchid division feels stable and is not wobbly.
If the orchid moves easily in the pot, then there are too many air gaps and the potting media is too loose. This will make it harder for the orchid to adjust to the new pot.
You want the potting media to help stabilize your orchid. The orchid should not be able to move easily in the pot.
If it does, try add more potting media or press the potting media down around the roots better or both.
Repeat these steps for all the orchid divisions using separate pots for each division.
Step 11: Stake Your Orchid
Once your orchid is potted, you are almost done. The last step is to stake your orchid so that it has some support while new roots grow.
For this you’ll need an orchid stake and gardener’s twine. I use green gardener’s twine so it blends in better with my plants, but technically, you can use any color.
To do this, place an orchid stake near the mature pseudobulb, on the opposite side of the newest growth.
Using gardener’s twine, wrap the twine snugly but not too tightly in and around the different pseudobulbs until you get to the stake.
Then, tie the twine to the stake. This effectively secures all the different pseudobulbs to the stake and helps stabilize the plant.
Some orchid growers also use rhizome clips to further stabilize and support the orchid as it grows. You can do this if you like.
Also, check the orchid and the potting media one more time. Make sure the orchid is packed in well and does not move or wobble when the pot is moved.
Step 12: Water Your Orchid
If you had soaked your new orchid potting media in a bucket of water while you were trimming and dividing your orchid, you can skip this step.
Otherwise, once your orchid is divided and repotted, go ahead and water your orchid roots with tepid, room-temperature water. Water thoroughly. Allow the water to run through the pot and drain away.
Now you are done! Continue to give your orchid lots of care as it recovers and grows.
Final Thoughts
As you can see, repotting sympodial orchids, or orchids with pseudobulbs, is slightly different than repotting monopodial orchids like Phalaenopsis orchids.
For one, the roots are thinner and more delicate in these orchids. Secondly, the task of dividing an orchid can feel daunting. However, it is not impossible. Hopefully, you’ve found this step-by-step Everyday Orchids guide to dividing and repotting orchids helpful.
For the best chances of success, always wait to divide and repot your orchid after the blooming season is done. Time your orchid division and repotting so that it coincides with the orchid’s growth period.
Properly repotting and dividing is an essential part of orchid care.
As an added bonus, with each division, your one potted orchid has the potential to become two, three or even four new potted orchids.
Hope this article has helped you! As always, happy orchid growing!
Recent Posts
Fusarium wilt in orchids is, unfortunately, a problem that you may encounter at one point or another. It is caused by the Fusarium pathogen and this kind of infection can be hard to identify at...
When it comes to choosing an orchid potting mix and knowing what kind of orchid soil is best, the decision can feel daunting. After all, there is a huge variety of options out there, from orchid bark...
