
Perhaps you received an orchid as a gift, or you recently bought one at the store. If you are new to orchid growing, you might be feeling a little overwhelmed about what to do and how to take care of this plant. Don’t worry, I’ll provide some information below to get you started, beginning with day one.
One of the first things you need to do when you bring home a new orchid is isolate it from the rest of your plants. Find out which orchid species you have, learn more about the care specifics and tailor your care to match its needs. Once your new orchid has finished blooming, repot the orchid into new potting media.

If you are wondering how to care for your new orchid, you’ve come to the right place. I’ll go over the main things you should do immediately after bringing your orchid home. This article will be chock-full of links to other resources related to basic orchid care to help you learn how to care for your new orchid. Keep reading to learn more!
Please note that these links are affiliate links and as an Amazon Associate, I earn from qualifying purchases. Purchases made through affiliate links in this post may generate commissions at no additional cost to you. Use this link for a discounted Amazon Prime trial. Thank you for your support!
Table of Contents
Isolate Your New Orchid
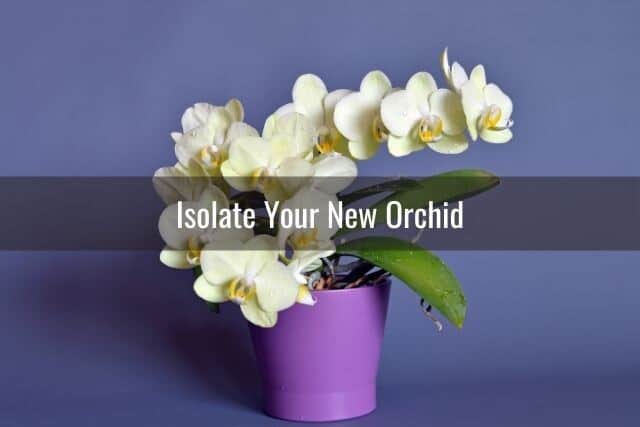
The first thing you want to do when bringing any plant home from the nursery or garden center is to put into quarantine. Put your new orchid in a separate location away from your other plants and orchids for at least two weeks. If you can keep it separate from the other plants for a month’s time, that’s even better.
The main reason why you want to do this is because of potential pests and diseases that your new orchid may be harboring, sight unseen. It can take a few days or even a couple of weeks before insect eggs hatch or pests multiply to noticeable numbers. Likewise, it might take that long for disease or rot to become apparent. In the meantime, you don’t want to inadvertently expose your other orchids or plants to these pests or diseases.
Just an Example…
Case in point: I recently bought a new Epidendrum orchid from the garden center. While I was there, I checked over the orchid for any signs of pests or disease and it seemed to be in good condition. Healthy roots, check. Grassy green leaves that appeared healthy and strong (not limp or wrinkled). The leaves also didn’t break off with a gentle tug. No pests either, as far as I could tell.
I do try to keep any new orchid isolated for the first two weeks after bringing it home. This time frame worked out well, since problems started appearing after the first few days. Spider mites that had been hiding in the Epidendrum blooms started weaving webs. Brown spots appeared on one orchid leaf, then, over the course of several days, spread to several other neighboring leaves.
Fortunately because the orchid was isolated, I was able to deal with these problems before the orchid joined the rest of my collection. Keeping your orchid in quarantine for the first couple of weeks helps prevent the infestation or infection from spreading to your other plants. You are then able to deal with the problem on just your new orchid, rather than your entire orchid collection.
Check for Pests and Disease
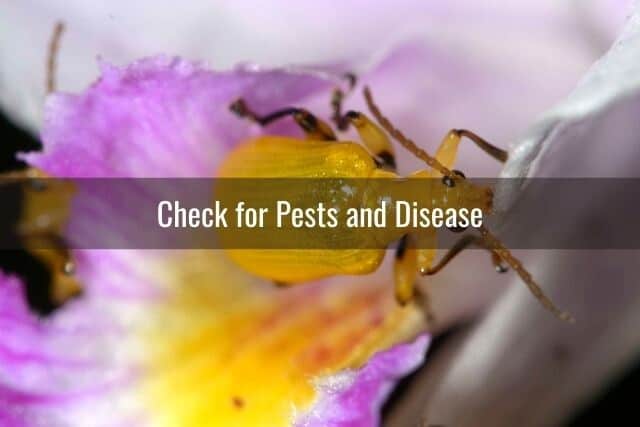
The next thing you want to do after you’ve isolated your new orchid is to carefully inspect it for any pests or diseases. Much like in the store, you may not see anything that first day. However, as the days go on, with daily inspections, you may notice problems or pests that you didn’t see before in the store.
Carefully look over your orchid leaves, under the leaves, and in the crevices of leaves, stems and flowers for any pests. Mealybugs, for example, love to hide under leaves and in the crevices of orchids.
Also inspect your orchid roots and potting media. You should not see any mold or any insects such as fungus gnats or spider mites crawling or flying around. If you do, take care of any pests or disease immediately before the situation gets worse. You can check out these resources for more information:
- How to identify and get rid of orchid pests (comprehensive guide for dealing with the most common orchid pests)
- What to do about mold and fungus on orchids (treatment options)
- How to eliminate fungus gnats from your orchid
- How to identify and treat top orchid pests and diseases (comprehensive guide for dealing with common bacterial, fungal and viral orchid diseases)
- Use neem oil to get rid of orchid pests (aphids, scale, mites and mealybugs)
- Getting rid of mealybugs
As I create more resources and guides, I will add them to the list above.
Learn More About the Growth Requirements for Your Specific Orchid

At the same time you are carrying out regular inspections of your orchid, you want to be learning as much as you can about your new orchid over the first couple of weeks.
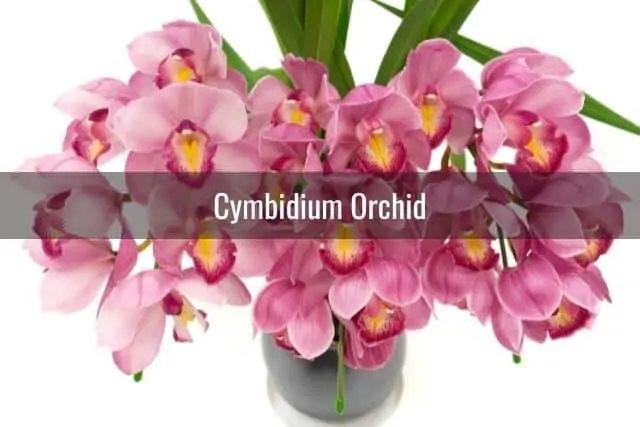
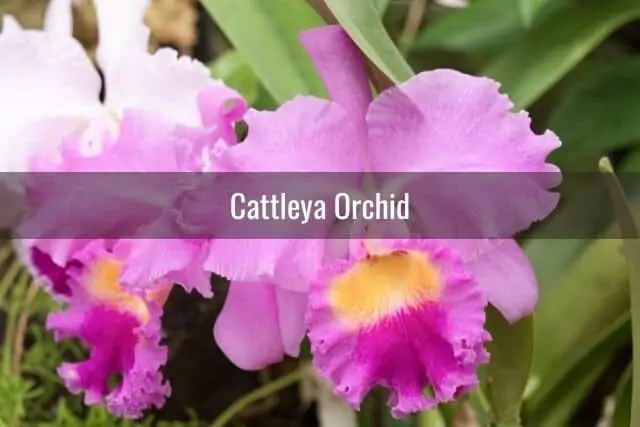
The best way you can set yourself up for orchid growing success is to properly identify what kind of orchid you have. Below are some pictures of the most popular orchid species, starting with the Phalaenopsis orchid. This is probably the most commonly gifted orchid, as it is readily available in grocery stores and flower shops.


Along those same lines, figure out what growing conditions your orchid requires to thrive. You can look up your specific orchid species or follow the general guidelines below. I’ve included some links below where you can find out more information related to basic orchid care:
General Orchid Care
- How to prune and trim an orchid
- How to care for orchids indoors or outdoors (different care methods and things to do)
- Taking care of your orchid while on vacation
- How to care for orchids outside
Lighting Requirements for Your New Orchid
- Make sure your orchid gets enough light! Learn about how much light your orchid needs per day and where you should put it in the home for optimal light.
- How to supplement with and set up artificial lighting for your orchid
Fertilizing Your New Orchid
- Complete guide on how to fertilize orchids
- Supplementing fertilization with Epsom salt solution
- How to make your own fertilizer using kitchen scraps
Humidity and Orchids
How to Water Your New Orchid
- Everything you need to know about watering your orchid
- Watering your orchid with ice cubes–should you do it?
Here are some links to specific orchid care related to certain orchid species:
- How to care for terrestrial orchids
- All about Cymbidium orchid care
- Cypripedium Lady Slipper orchid care guide
- How to care for Phalaenopsis orchids
As I create more resources, I will be sure to add links to those above!
Tips on Where to Put Your Orchid in the Home
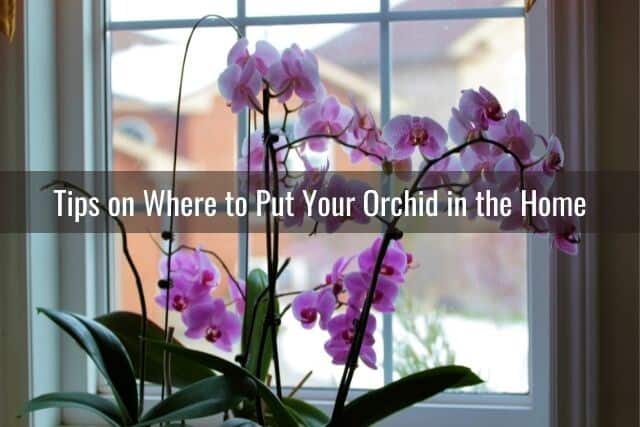
There are certain things you can do to help your new orchid adjust to your home. Finding the proper location for your orchid will make a huge difference between whether it thrives or just survives.
Temperature and Light
Most orchids will do well in mild temperature conditions, ranging from 65 to 75 degrees Fahrenheit. Along the same lines, many orchid species prefer a minimum of 6 hours of bright, indirect light, though 8 to 12 hours of light a day is better.
You can read more about how lighting and orchid care in the links provided above, but a good spot for your new orchid would be near an east-facing window. Just ensure that the orchid will not bake in the sun.
If the afternoon sunlight is a concern, you can either move your orchid further away from the window, or invest in a thin curtain, such as this linen curtain, to help block out some of the sun’s intensity.
Humidity
Don’t forget, many orchids are from a tropical, humid environment. Orchids love humidity. Humidity levels of 40-70% are ideal for most orchids.
If you aren’t sure what your home’s humidity levels are, you can use a hygrometer to check. If you need to raise your home’s humidity levels for your new orchid, you can do this in a number of ways. Some orchid growers use a cool-mist humidifier, while others opt for a humidity tray.
Locations to Avoid
Try to avoid placing your orchid in the kitchen or near a bowl of ripening fruit. In the kitchen, orchids can be sporadically exposed high temperatures related to cooking, appliances, boiling water, or steam.
In addition, ripening fruit such as apples or bananas can release ethylene gas. Exposure to ethylene gas can lead to orchid flowers dropping early, something you definitely don’t want to happen to your new orchid!
On the same note, you also want to avoid placing your new orchid where it may be exposed to fireplace smoke, cigarette smoke, or paint fumes.
These sources of smoke, along with ethylene gas, and other types of fumes are reasons why orchid flowers may fall off early. Without a doubt, this is definitely something you don’t want happening to your new orchid.
Orchids and Pets
If you have curious pets that have a tendency to get into things, try to place your orchid in a location away from your pets. If you have a dog, this may mean placing your orchid in the middle of the dining table or on a high shelf where the dog cannot reach.
Cat owners may have a harder time finding a place in the home where cats can’t get to. I’ve provided more helpful hints about how to help your pets and orchids live well together in another article.
Repot the Orchid After It Finishes Blooming
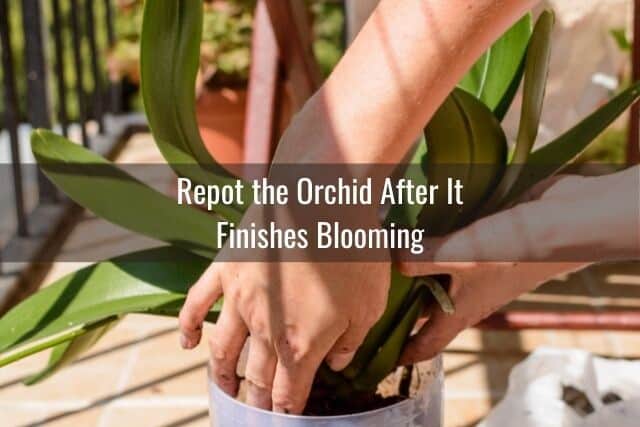
After the orchid is finished blooming, you may want to repot it. Since bringing it home, you likely have not had a chance to thoroughly inspect the roots. You also don’t know quality of or how old the potting media is, and repotting will give you a chance to use fresh potting media of your choice.
Repotting is also a good time to inspect the roots and trim off any dead or rotted roots. Oftentimes, orchids sold in grocery stores are not watered well (usually overwatered) and may have root rot or other problems hidden below the potting media. The only way to discover these issues and treat them is to unpot the plant and repot it into new potting media.
The main reason why you want to wait to repot until after the blooms fall off is that repotting an orchid in bloom can cause the flowers to fall off early. As long as there is not an urgent need to repot your orchid, as in no disease or pest infestation, you can safely wait to repot your orchid until it is finished blooming.
Repotting orchids can seem intimidating, but below, you can find some helpful guides in how to repot your orchid, how to choose a potting media, and how to care for orchid roots.
Beginner orchid growers often run into problems related to orchid roots, so be sure to check out the resources below and learn more about how to care for your new orchid!
Learn about Orchid Roots and Root Care
- How to identify and care for different types of orchid roots
- In-depth look at orchid roots and care
- Grow orchid roots fast using a humidity box
All About Orchid Potting Media and How to Repot Your New Orchid
- Learn the basics of orchid potting media and how to choose the right one
- Find out about alternative potting media options for your orchid
- How to repot your orchid
- Choosing the right pot for your orchid
Final Thoughts
This may seem like a lot of information, but just take it one step at a time. Remember, the first thing you want to do when you bring your orchid home is to isolate your orchid. Inspect it for pests and diseases, and get to know what the common orchid pests look like so that you can readily identify them.
The next thing to do is figure out what kind of orchid you have. If you were given an orchid as a gift, most likely it is a Phalaenopsis orchid, as these are some of the most commonly sold and gifted orchids.
Once you know what kind of orchid you have, learn about what kind of growing conditions it needs in order to thrive and rebloom. Lighting, watering, temperature and fertilization are key. Once the orchid is done blooming, you may want to repot it into fresh potting media.
Most importantly, enjoy your new orchid! With the right care and proper growth environment, your orchid can live for years. Best of luck with your new orchid, and I hope this helps!
If you enjoyed this article, please pin it and share!
Recent Posts
Fusarium wilt in orchids is, unfortunately, a problem that you may encounter at one point or another. It is caused by the Fusarium pathogen and this kind of infection can be hard to identify at...
When it comes to choosing an orchid potting mix and knowing what kind of orchid soil is best, the decision can feel daunting. After all, there is a huge variety of options out there, from orchid bark...
