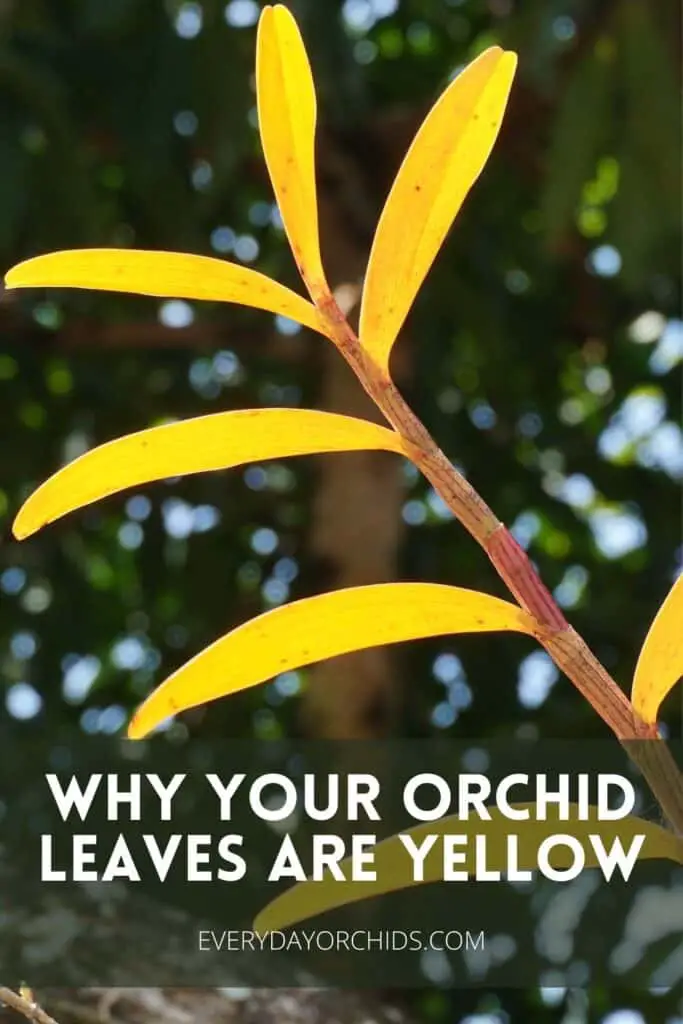
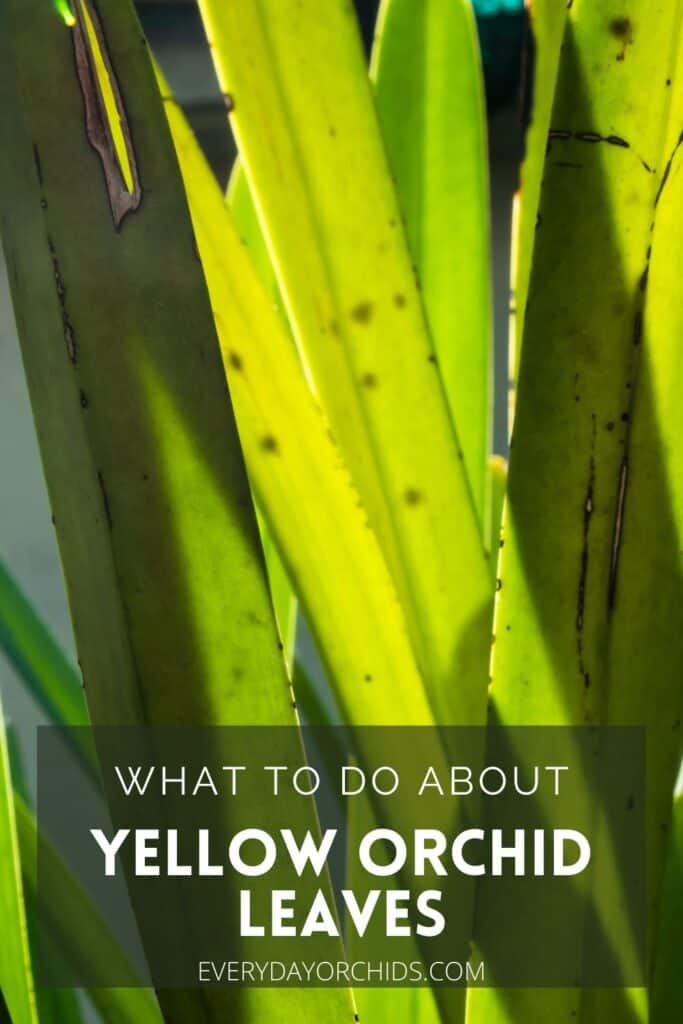
Are you wondering why your orchid’s leaves have turned yellow? Yellow orchid leaves can be a cause for concern for any orchid grower. In general, changes in an orchid’s leaf color are an orchid’s way of trying to tell you something. It is up to you to figure out why the leaves are turning yellow and whether or not you need to do something about it.
Orchid leaves can turn yellow due to a variety of reasons, including problems with watering or fertilization, too much light, pests or disease. Yellow orchid leaves are not necessarily always a sign of illness though. Sometimes, orchid leaves turn yellow simply because of old age.
In this article, I’ll go over the top reasons why orchid leaves turn yellow and what you can do to address each problem. Plus, I’ll talk about why you may see yellow orchid leaves with brown or black spots and what this means. You’ll also learn when it is appropriate to cut yellow orchid leaves off the orchid and when it is better to leave them on. Keep reading to learn more.
Please note that these links are affiliate links and as an Amazon Associate, I earn from qualifying purchases. Purchases made through affiliate links in this post may generate commissions at no additional cost to you. Use this link for a discounted Amazon Prime trial. Thank you for your support!
Table of Contents
Why Are My Orchid’s Leaves Turning Yellow?
There are several reasons why orchid leaves can turn yellow. Orchid leaves can turn yellow due to old age, which is totally normal, or due to disease, pests, or other problems. Let’s talk about each scenario in more detail.
Yellow Orchid Leaves Due To Old Age
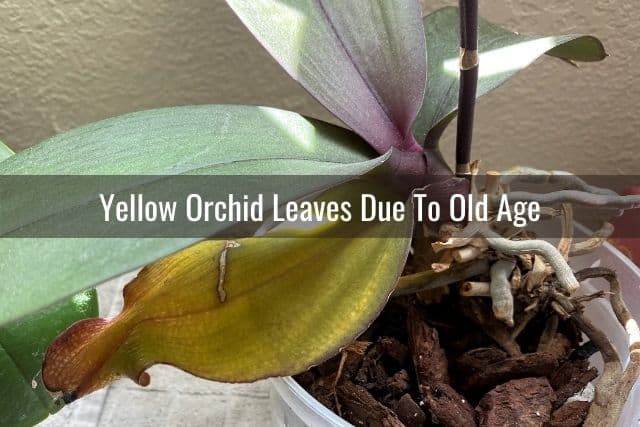
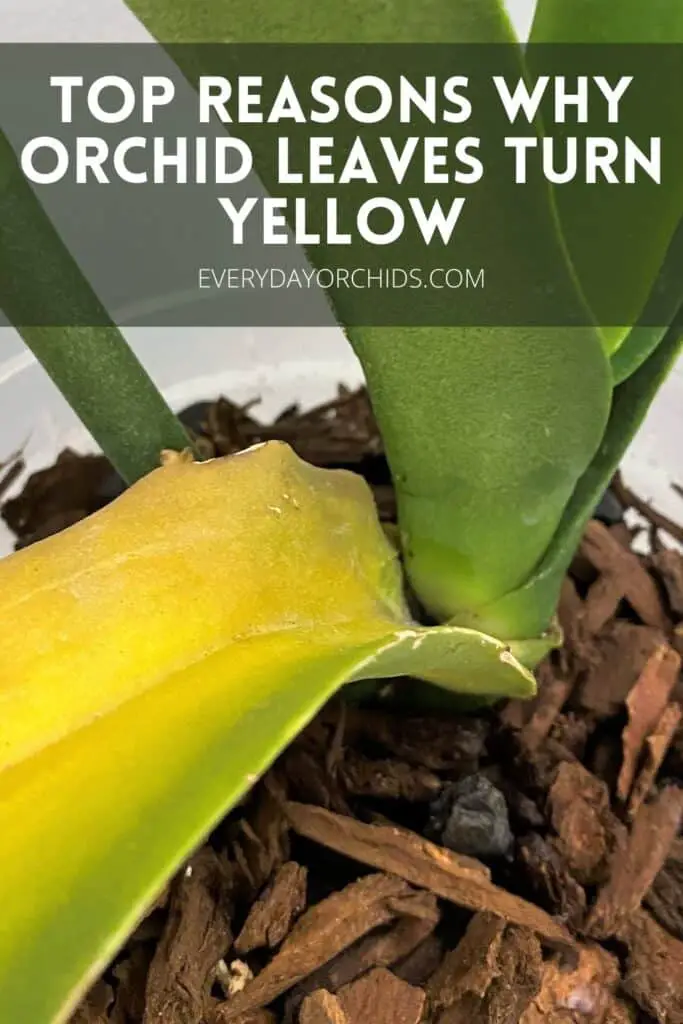
If your orchid leaf is turning yellow due to old age, you’ll notice that the yellow discoloration will begin at the outer edges of the leaf. This will primarily affect only of one of the lower, older orchid leaves.
This is important to note: only one leaf should turn yellow at a time if this is happening due to old age. Two or more leaves turning yellow at the same time is not due to old age and you’ll need to investigate further.
More specifically, it should only be affecting one of the bottom orchid leaves. These are the leaves closest to the potting media. Over the next few weeks, the yellowing will progress further along the leaf, moving towards the center of the leaf and the stem.
Notice that I said “few weeks.” This is a slow, gradual process. If you see an orchid leaf turn from green to yellow in just a matter of days, that is more likely a sign of rot or disease.
As the yellowing progresses, the leaf will start to thin out, turn limp, or lose turgor. Throughout it all, the rest of the orchid plant should remain healthy with no evidence of pests or disease. In most cases, you will also see new growth, usually a new leaf, emerging soon after the old leaf falls off.
In summary, you will see these signs if the orchid leaf is turning yellow due to old age:
- Only one leaf turning yellow, usually one of the bottom leaves (these are the oldest).
- This happens gradually, over weeks, not days.
That’s the good news. The bad news is that this is usually the only time you will not need to worry about a yellow orchid leaf.
Should You Cut Off These Yellow Orchid Leaves?
No, I would actually recommend leaving it on the plant and letting nature take its course.
The yellow orchid leaf will fall off on its own when it is ready. When it does, just be sure to remove the dead leaf from the potting media. This will prevent it from harboring orchid pests, disease or causing other problems in the future.
I discourage cutting the orchid leaf off mainly because of the risk for infection. Cutting off the leaf early creates an open wound. By doing this, you run the risk of inadvertently introducing pathogens to the area. This can lead to other problems.
If the yellow orchid leaf falls off naturally, however, the orchid will seal up the area on its own. In the case of old orchid leaves turning yellow, it is best to just let things progress naturally and not to interfere.
Orchid Leaves Turning Yellow From Too Much Light
Now, let’s talk about some environmental factors that can cause orchid leaves to turn yellow.
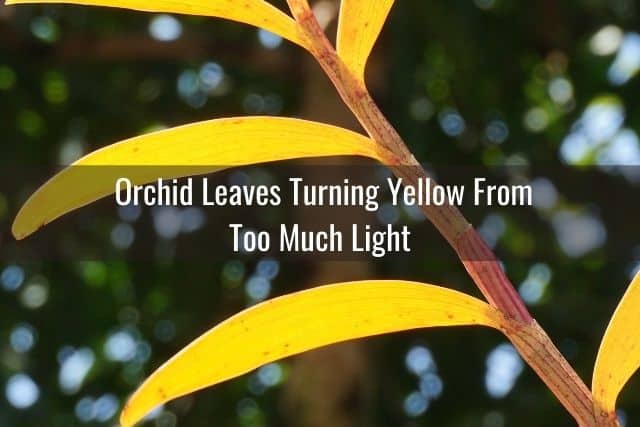
Excessive light exposure is one big reason why orchid leaves start to turn yellow. It’s your orchid’s way of telling you it’s getting too much light. The progression from green to yellow will be very gradual. You may even miss the subtle changes at first.
A healthy orchid leaf color should be a nice, bright grassy green.
Too much exposure to light, especially direct light, will cause the orchid leaf to change from a grassy green color to light green. Continued exposure to too much light will cause the leaf to become green-yellow, then pale yellow, then bright yellow. Once the leaf has turned yellow, it is already well on its way to becoming sunburned.
In this case, the upper leaves will be most affected. This makes sense, right? The leaves that are closest to the light are at the top of the plant. These leaves will show the most evidence of light damage.
In summary, here are the top signs that excessive light exposure is causing your orchid’s leaves to turn yellow:
- One or more of the top-most leaves are turning yellow.
- This transition from green to yellow happens gradually.
- Yellowing usually starts on the top of the leaf (as opposed to the underside) and appears in the middle or center of the leaf.
- The orchid is usually left near a window that gets a lot of direct sunlight.
- Yellowing of the leaves stops once the orchid is moved out of the light. At times, the leaves can recover and become green again.
Should You Cut Off These Yellow Orchid Leaves?
Don’t cut off the yellow leaves. Rather, leave them on the orchid. As long as they are healthy and the only issue is the yellow discoloration, you can safely leave them alone.
As soon as you notice that your orchid’s leaves are starting to become light-green or yellow-green, you’ll need to take steps to stop the progression. Do this by reducing the amount of light your orchid is exposed to.
You can achieve this in one of several ways. You can move your orchid to another location. If you like to keep your orchids by the window, an east-facing or south-facing window is best. West-facing windows tend to get too much light. They receive the hot, direct sunlight in the afternoons. You can also use a thin curtain to help block out some of the sunlight.
Orchids like bright, indirect sunlight as a general rule. However, certain species prefer low light while others prefer lots of bright light. Get to know your orchid’s preferences and adjust the lighting accordingly. If you aren’t sure, read this guide about light and orchids.
Yellow Orchid Leaves From Stem Rot Or Crown Rot
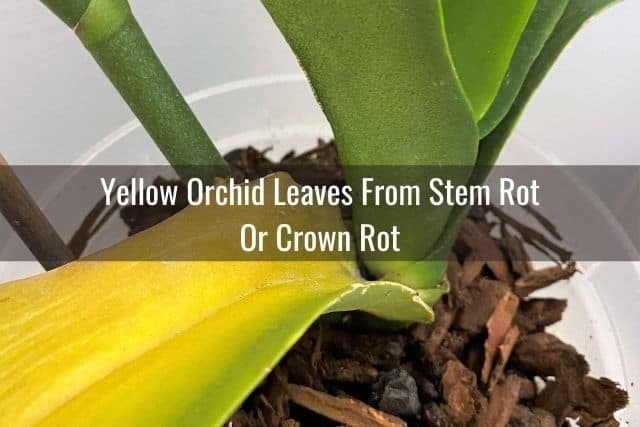
If you see orchid leaves turn yellow in a short period of time, be wary. Rapid yellowing of an orchid leaf often happens due to disease or rot.
Stem rot and crown rot are two common causes of orchid leaves turning yellow. This is most often seen in monopodial orchids such as Phalaenopsis and Vanda orchids.
In these cases, standing water in the orchid’s crown or along the stem, between the leaf joints, allows for the growth of bacteria or fungi. This then leads to rot, which spreads quickly. If left untreated, stem rot or crown rot can kill an orchid within a matter of days or a couple of weeks.
The most notable signs that your orchid’s yellow leaves are due to rot include:
- One or more orchid leaves quickly turning yellow, often within a matter of days.
- Yellowing on the leaf begins close to the main stem, where the leaf joint is located, or at the crown.
- Yellowing may be accompanied by wet, brown soft spots on the leaves.
- The main stem also shows signs of yellowing, or if more advanced, brown or black discoloration, indicating rot and necrotic tissue.
- Yellow leaves die and fall off quickly, within a matter of days. Where the leaf once was, you’ll see a yellowed, rotted area on the main stem. This area may also be brown or black, depending on the severity of the infection.
If you notice any of the above happening to your orchid, separate your infected orchid plant from the rest of your plants right away. Take immediate steps to treat the rot and stop it from spreading. Stem rot and crown rot are serious. Left untreated, it can quickly kill an orchid.
Should You Cut Off These Yellow Orchid Leaves?
Yes, in this situation, you should cut off any and all yellow orchid leaves. Why? They are infected. Leaving these yellow leaves on the orchid will only allow the rot to continue to spread and progress.
Use a sterilized razor blade to cut off any yellowed, discolored or rotting leaves. Once you cut off the leaves, you’ll likely see evidence of rot on the main orchid stem. This will also need to be removed. Prune off as much rotted, infected plant tissue as possible, then follow up with a treatment of hydrogen peroxide and ground cinnamon.
Check out the guides below for more information about how to treat an orchid with stem rot or crown rot. If you can identify the problem early and start treatment right away, there is actually a good chance that you’ll be able to save your orchid.
Yellow Orchid Leaves Due To Bacterial, Viral And Fungal Infections
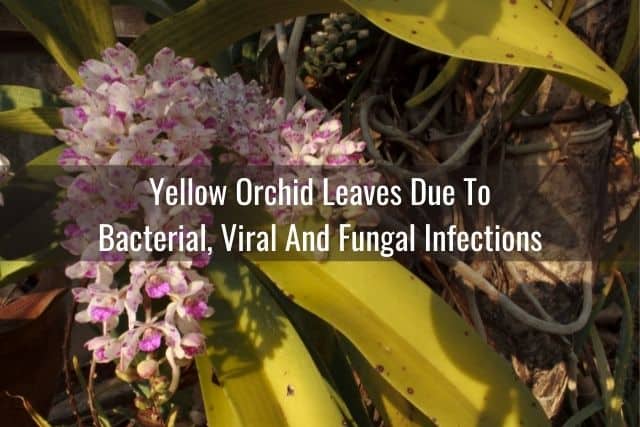
Bacterial, viral, or fungal infections can also cause orchid leaves to turn yellow. Stem rot and crown rot are actually two common fungal infections that affect orchids, but there are, unfortunately, many other pathogens that can spread disease. Yellow orchid leaves with brown or black spots often indicate an infection.
Here are some more key signs that the yellow orchid leaves are due to a disease or infection:
- Spotting and yellow discoloration will appear first on the undersides of the orchid leaves or will be most prominent there. This is characteristic of fungal diseases.
- Yellow leaves are accompanied by brown or black spotting.
- Usually, multiple leaves will be affected.
- The orchid appears sickly and/or growth has slowed significantly or stopped.
- There may be a foul odor.
Black rot, brown spot and brown rot are a few types of fungal and bacterial infections that can cause an orchid leaf to turn yellow with black or brown spots throughout.
Fusarium wilt is another common fungal infection that affects orchids and other plants. You can read more about how to spot Fusarium wilt in orchids and treat it.
Anthracnose is another condition that can cause yellowing of orchid leaves with brown spots. I go over these infections and many more, along with treatment options, in my article about top problems growing orchids, so be sure to check that out.
Should You Cut Off These Yellow Orchid Leaves?
In this case, yes, you will need to cut off the yellowed orchid leaves. These leaves are likely infected and harboring bacterial, viral, or fungal pathogens.
Once you’ve identified the problem, isolate the affected orchid away from your other plants. This will keep the bacteria, virus or fungus from spreading.
Next, use a pair of sterilized gardening shears to remove all the yellowed leaves and diseased parts of the orchid. Dispose of these in a sealed bag immediately. Sterilize your gardening tools before storing them away.
Depending on what the root cause is, you may opt to treat your orchid with a fungicide, virucide, or bactericide. Follow the product instructions carefully. Afterwards, continue to keep your orchid isolated until you are certain the infection has been dealt with and is completely gone.
Pests and Infestations Causing Yellow Orchid Leaves
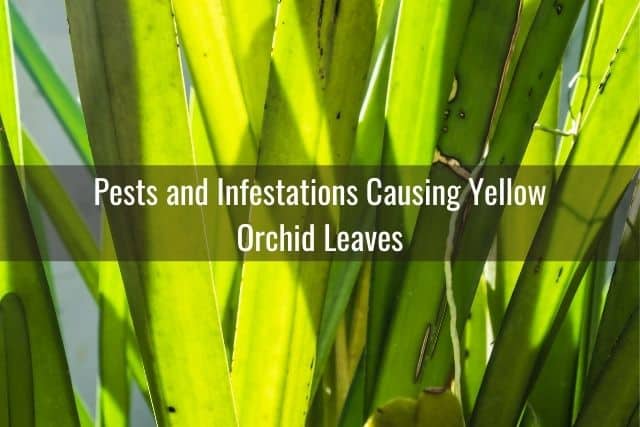
Along with disease and rot, pest infestations are another known cause of yellowing in orchid leaves. If you have pests on your orchid and the leaves start to turn yellow, this is generally a sign of a severe infestation. Some examples of orchid pests that can cause the leaves to turn yellow include thrips, scale, spider mites and mealybugs.
Many of these pests attack the orchid by sucking out the sap and nutrients from the leaves. You will usually find them hiding along the underside of orchid leaves.
Some of them, like thrips, can damage the orchid leaves by leaving bulls-eye pits along the leaves. Yellowing around the bulls-eye damage can be seen in advanced infestations.
Should You Cut Off These Yellow Orchid Leaves?
Whether or not you cut off the yellow orchid leaves depends on the extent of the pest infestation. Keep in mind that the orchid is already in a weakened, stressed state. Cutting off the leaves will cause additional stress and trauma, not to mention that it will create an opening for bacteria and fungi to enter the plant. If I were you, I would focus on treating the pest infestation first.
First step, isolate any infected orchids away from your other plants. Inspect the pests to determine what you are dealing with, then treat accordingly. Treatment options will vary depending on the pest, so I’ll give you some links to pest treatment guides I have written:
- How to get rid of orchid pests. This is a general guide that covers a variety of orchid pests.
- How to get rid of scale. This is a targeted guide that will show you how to identify and treat scale infestations.
- How to get rid of aphids. Everything you need to know about identifying and treating aphids on orchids.
- How to get rid of thrips on your orchid. Here is a detailed guide on dealing with a thrip infestation.
- Identifying thrip damage on orchids. This is a companion guide to help you spot thrip damage. This is key because often, thrips can escape notice. Recognizing thrip damage is often how these infestations are identified, rather than by looking at the pests themselves.
- How to get rid of spider mites on orchids. A detailed guide to dealing with a spider mite infestation.
- How to get rid of mealybugs. This guide will help you identify and treat a mealybug infestation.
- Neem oil and orchids. Neem oil is a popular horticultural oil used to deal with orchid pests. Learn more about it here.
In every case, early identification of a pest infestation is key to early treatment and getting the infestation under control. During the warm summer months, a pest population can quickly breed and grow exponentially. This can lead to the yellow orchid leaves that you see in severe infestations.
Do what you can to treat the infestation and eliminate the pests. If the yellow orchid leaves are severely damaged, chances are, they will fall off on their own. Recovering from a pest infestation can be a long process for an orchid, and it will need lots of TLC.
Be patient, do your best, and continue to provide your orchid with optimal care. As it recovers and gains its strength back, your orchid will start to produce new growth to replace what was lost.
Yellow Orchid Leaves Due To Fertilization Problems
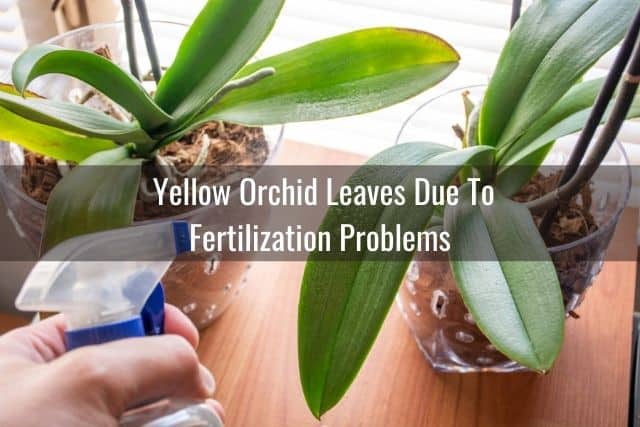
Another cause of yellow orchid leaves is over or underfertilization. Usually, you will see this happen:
- Multiple orchid leaves are turning yellow.
- The orchid overall appears healthy, but has slow growth.
First, let’s talk about underfertilization. When you underfertilize your orchids, some of the leaves may begin to turn yellow. This is mainly because the orchid is not receiving adequate nutrition and thereby cannot produce enough chlorophyll to harvest energy. Chlorophyll is what gives leaves their green color. Low or inadequate chlorophyll translates into yellowing leaves.
On the flip side, if you overfertilize your orchids, you may start to see the leaves turn yellow as well. It’s a delicate balance. This can happen if you don’t dilute your orchid fertilizer. It can also happen if you use regular plant fertilizer on your orchids, rather than orchid-specific fertilizer. Regular plant fertilizer can be too strong for delicate orchid plants.
Orchids like weak fertilization on a regular basis. Excessive amounts of fertilizer can cause root damage and burn the roots. This in turn leads to a reduced ability of the orchid to absorb water, which then causes yellow orchid leaves.
Should You Cut Off These Yellow Orchid Leaves?
No, don’t cut off the yellow orchid leaves. Keep them on the plant as long as the rest of the orchid appears healthy and the leaves themselves are not limp, wrinkled or showing signs of pests or disease. In this case, yellow orchid leaves are a sign that your orchid needs regular fertilization. Not too much, not too little, just right (think Goldilocks).
When feeding your orchids, use an orchid-specific fertilizer and dilute it to quarter-strength. Fertilize once a week or every other week, depending on the season. If you are dealing with underfertilization, start with a balanced fertilizer. Look for something with an NPK of 20-20-20.
I go into how to fertilize your orchid in more detail elsewhere on Everyday Orchids. Read that guide on fertilizing orchids for instructions on how to choose a fertilizer, how to prepare it, and how often to use it.
I recommend using something like this Miracle Gro water-soluble orchid fertilizer or rePotme’s urea-free orchid food when you water your orchids each week.
Grow More sells a two-pack combo of a balanced orchid fertilizer and a bloom booster fertilizer that is great as well. Bloom booster fertilizers are used in the fall, when you are preparing your orchid for the blooming season or trying to get it to rebloom.
Orchid fertilizer mist spray is another option for feeding orchids. There are also time-release orchid fertilizer granules or food sticks you can use to fertilize your orchids. Perfect Plants sells a slow-release orchid fertilizer that is highly rated.
Whatever you use, just remember that regular fertilization is an important part of keeping your orchids healthy, happy and green.
Overwatering Can Cause Orchid Leaves To Turn Yellow
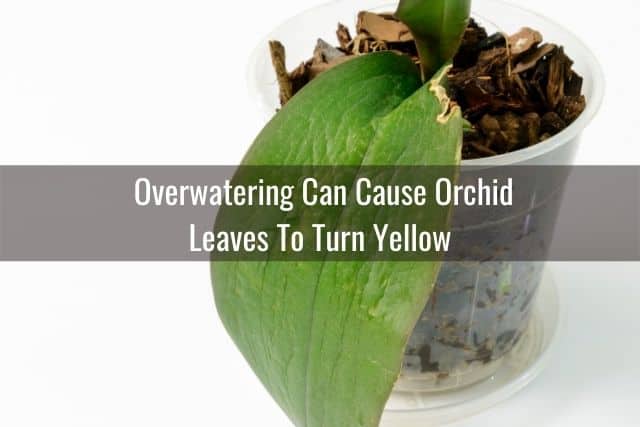
Next, let’s address watering issues, starting with overwatering first.
Watering your orchid too much or too often can cause the orchid leaves to turn yellow.
This is because overwatering often leads to root rot in orchids. As the roots die and the orchid is unable to absorb the water and nutrients it needs, the leaves will start to turn yellow and die.
Here are the key signs your yellow orchid leaves are due to root rot:
- Orchid leaves first turn limp and wrinkled, then turn yellow.
- Your orchid looks like it isn’t getting enough water. This happens despite your best watering efforts.
- Multiple leaves may be affected, usually on both sides of the plant.
For more information, read my in-depth guide on how to spot root rot in orchids.
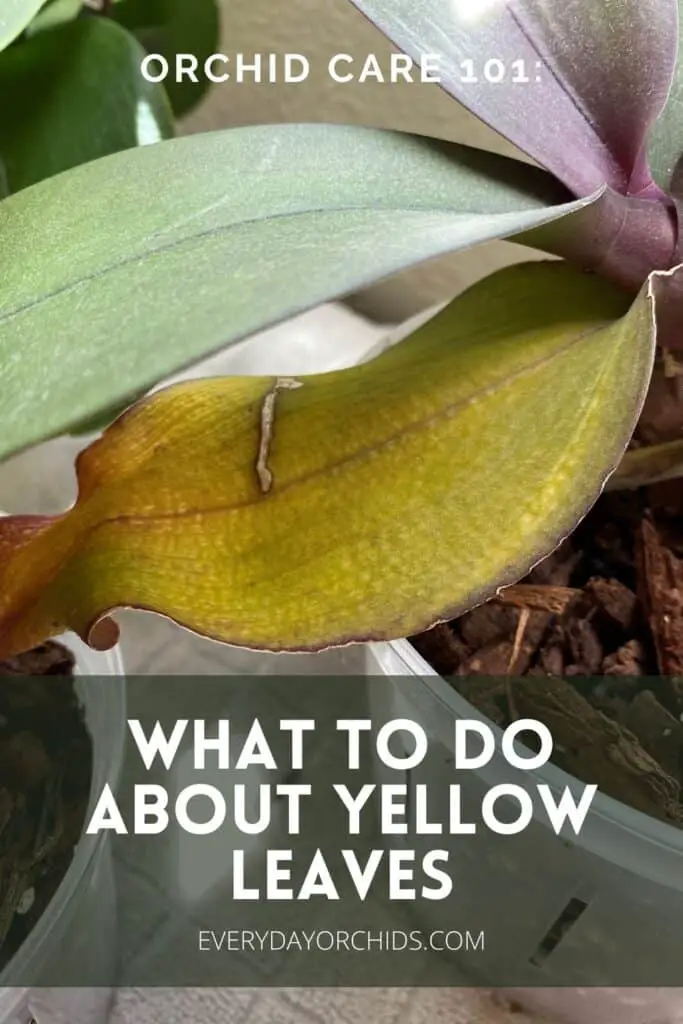
If your orchid has root rot, you will see orchid leaves becoming limp and wrinkled. This is a key difference that helps you determine that the yellowing leaves are due to a root problem. The leaves will start to wilt, but still remain green at first.
Inexperienced orchid growers may think their orchid needs more water. As they mistakenly water their orchid more, the root rot worsens, and the orchid continues to decline.
Remember, orchid leaves changing color are your orchid’s way of telling you something is wrong.
Yellowing due to overwatering is different than yellowing due to old age. For one, multiple leaves may be affected. In addition, the leaves will have the characteristic limp, wilted, wrinkled look that signifies inadequate water uptake. You’ll also notice your orchid overall looks pretty unhealthy.
Should You Cut Off These Yellow Orchid Leaves?
In this case, I would not cut off these yellowing, wilted orchid leaves. They are actually a sign of a bigger problem. In this situation, the best thing to do is unpot your orchid and examine the roots. Chances are, you’ll see evidence of root rot.
Root rot is characterized by brown or black rotting roots. These roots may also be slimy and fall apart when touched or squeezed. Oftentimes, the outer covering, called velamen, comes off easily, revealing a thin string-like root underneath. These roots are soft, mushy and can no longer absorb water or nutrients.
Root rot can happen to any orchid. Most every orchid grower has experienced this at one time or another. Beginner orchid growers are most susceptible to getting root rot in their orchids because they are still learning how to water their orchid.
Don’t worry though! Root rot can be treated. Instead of cutting off the yellowed or wilted orchid leaves, focus on the roots instead.
Deal With The Roots And Treat The Rot
After you unpot the orchid, use sterilized gardening shears to cut off all the dead, rotted roots. If the root rot is severe, you may end up with little to no roots. If that’s the case, read this guide on how to save an orchid with no roots. There is still hope for your orchid.
Once you’ve removed all the rotted roots, treat your orchid with a fungicide. Repot your orchid in new orchid potting media. Be sure you use a new, sterilized orchid pot. I go over how to choose and sterilize an orchid pot here. You can also learn how to repot an orchid here.
Whatever you do, don’t reuse the old pot and old potting media. Throw away all the old potting media. Rinse out and sterilize the old pot. Save it for future orchid repotting sessions.
Moving forward, don’t overwater your orchid. If that is easier said than done, read this Everyday Orchids’ guide on how to water an orchid. In that guide, I give you step-by-step instructions on how to water an orchid, along with tips on when and how often to water.
Underwatering Can Cause Orchid Leaves To Turn Yellow
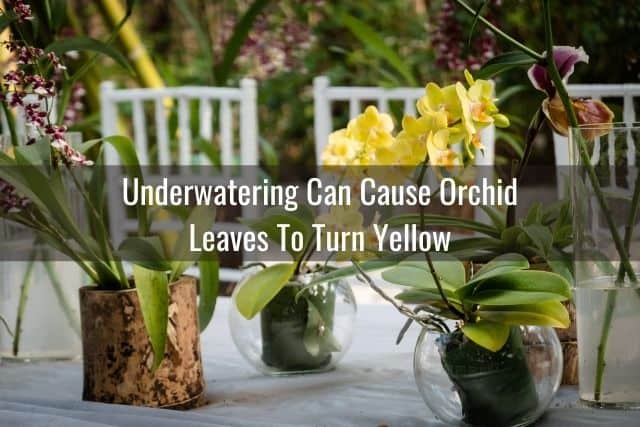
Very similar to the situation above with overwatering, underwatering can cause the orchid’s leaves to turn yellow. Why? Irregular and infrequent watering often leads to orchid roots becoming dry and shriveled. Overtime, if the watering problem is not corrected, the roots will become papery dry, brittle and die.
Dried, dead roots cannot uptake water or nutrients, just like rotted roots can’t absorb water. In an underwatered orchid, you will see limp, wrinkled leaves that slowly start to turn yellow as they die.
Should You Cut Off These Yellow Orchid Leaves?
I would recommend that you leave these yellowing, wilted orchid leaves on your orchid. Don’t cut them off. These yellow leaves may eventually fall off and die, but I’ve found it’s better to let this happen naturally.
The orchid is under enough stress. Cutting off these leaves prematurely might add to the stress. Plus, there are still nutrients and water stored in the leaves, especially if this is a Phalaenopsis orchid with thicker leaves.
Instead, focus on root care and watering your orchid.
You can soak your orchid’s roots in water for 20 to 30 minutes. Alternatively, you can also use an Epsom salt soak to rehydrate your orchid’s roots if the problem is not too severe.
However, if multiple orchid leaves are yellowing and wilted, and you can see a number of dry orchid roots, it may be necessary to do a more thorough inspection. Just like in the overwatering situation above, you’ll want to unpot your orchid and examine the roots. Remove all the old potting media.
Using sterilized gardening shears, prune away all the dried, dead orchid roots. Before repotting your orchid, go ahead and soak the remaining roots in a container of luke-warm water. Keep the water below the level of the leaves. Then, repot your orchid using new orchid potting media and a new pot.
Moving forward, stick to a regular watering schedule. I personally like to let my orchids potted in bark soak in a bucket of water for at least 5 minutes each time I water them. This gives the roots enough time to absorb the water and turn green.
If you’d like to learn more about how I water my orchids, read here. Note: Orchids potted in moss will need to be watered with a different technique. I go over how to water orchids planted in moss here. Be aware that if your orchid is in moss, it is also less likely (though not impossible) that you will be dealing with an orchid with dried, shriveled roots.
Final Thoughts
If you see yellow leaves on your orchid, don’t stress. I wrote this guide to try to help you figure out why your orchid’s leaves may be turning yellow.
As you now know, there are a number of reasons why you may have yellow orchid leaves. Over or underwatering, fertilization issues, pests, disease, old age and excessive light exposure are the main reasons why orchid leaves turn yellow.
Of all these reasons, old age is the only natural, “normal” reason. All other reasons require early intervention and possibly a change in care practices in order to keep the orchid alive.
Seeing yellow leaves on your orchid aren’t a sign that the end is near, though. It is merely your orchid telling you that something is wrong and you need to do something about it, sooner, rather than later.
Now, after reading this guide, you have lots of ideas regarding how to deal with yellow orchid leaves. Good luck and I hope this has helped you. As always, happy orchid growing!
If you enjoyed this article, please pin it and share!
